
This iron from Aliexpress was recommended by Bruce Campbell of Fairbanks, Alaska – a man of many great ideas! I bought one to try it out for myself, and I agree that it’s the best iron I’ve used for heat sealing the DIY Packraft fabrics (with one caveat).
I’m not sure how long this link will last, but here’s the iron I bought (choose the digital 110V option). If that link expires, just search for “digital leather iron” on Aliexpress.com and choose the one with the same features.
Pros:
- It’s available with a North American plug and is designed for our 110V electricity, so there’s no need change the plug or use an adapter.
- It costs about $25 USD including shipping.
- It heats up in about two minutes (much faster than other leather irons I have tried, which take about ten minutes)
- The temperature range is perfect for heat sealing the DIY Packraft fabrics
Cons:
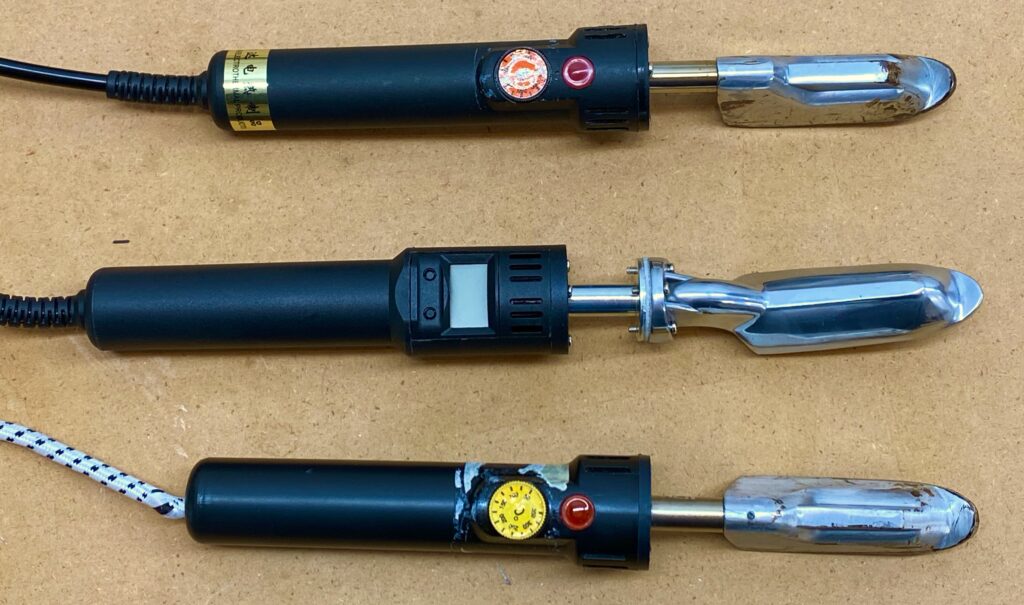
- Unfortunately the iron’s foot is quite rounded on the bottom, and for heat sealing you need it to be flat, so there’s lots of aluminum to sand off (see the video above). I used a belt sander to flatten this iron and it worked very well.
So, for those of us who have access to power tools, this iron is a great option, but if you don’t have an electric sander and you’ll be using sandpaper and elbow grease to flatten your iron, in that case you might prefer one of the other leather irons that have a plastic dial for adjusting the temperature, because there’s significantly less metal to remove on those ones. Some people have successfully filed the digital iron flat with a bastard file, however, so it’s not a deal-breaker.
Thanks for the recommendation, Bruce!

0 Comments