Note: I’m not recommending that you buy an expensive carbon paddle and then cut it up to make a packrafting paddle – if you’re purchasing a new paddle then you can probably find a 4-piece paddle that suits your budget – but if you already own a 2-piece paddle, or if you can find a high quality used paddle for a good price, then it is possible to modify it so it packs down smaller. See how in the video below.
My favorite paddle was a two-piece carbon fiber Werner that I was given as a gift several years ago, but if you’ve ever tried to bushwhack with a two-piece paddle strapped to your backpack, or tried to take one on a flight, then you know how cumbersome those two long pieces are.
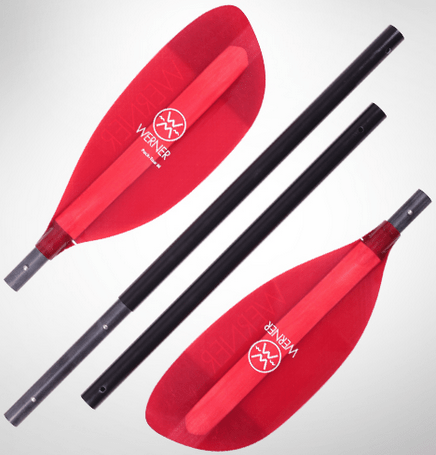
I thought I could get the best of both worlds by purchasing a four-piece paddle, and I wanted the best, so I ordered the Werner Pack-Tour M through my local paddling shop. I have to say it was a disappointment.

In spite of being four pieces, the Pack-Tour M has one piece that is so long that it doesn’t fit in my biggest (85 litres) backpack – even when the bag’s expansion neck is fully extended! That paddle piece is way longer than my regular packrafting backpack, plus I worry about it getting damaged if I take it on a flight. The Pack-Tour M is also much heavier than my carbon paddle – 300 grams heavier (10.6 oz).
For all those reasons, I decided to cut up my favorite paddle, buy some carbon fiber tubes, and turn it into a five-piece paddle that packs down small, weighs only 724 grams (1.6 lbs), and also converts into a trekking pole. It’s not quite as stiff as it was originally because there’s a tiny bit of flex in the joints, but it is still quite stiff and responsive, and I love it even more now.
If you’d like to see how another DIY Packrafter made his own 5-piece paddle from carbon fiber tubes and sheets, check out this post here.


0 Comments