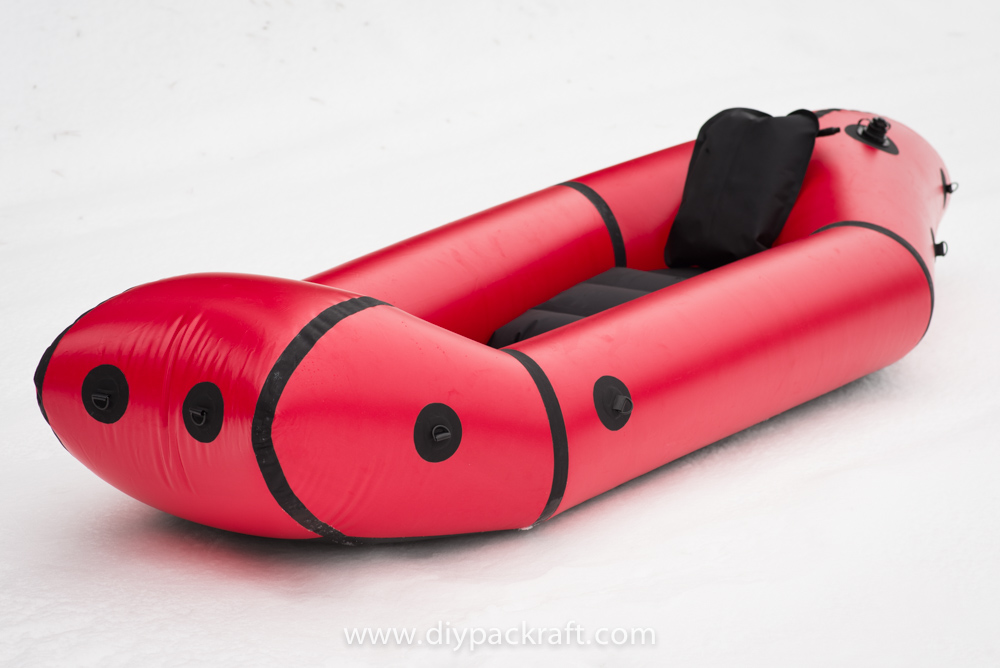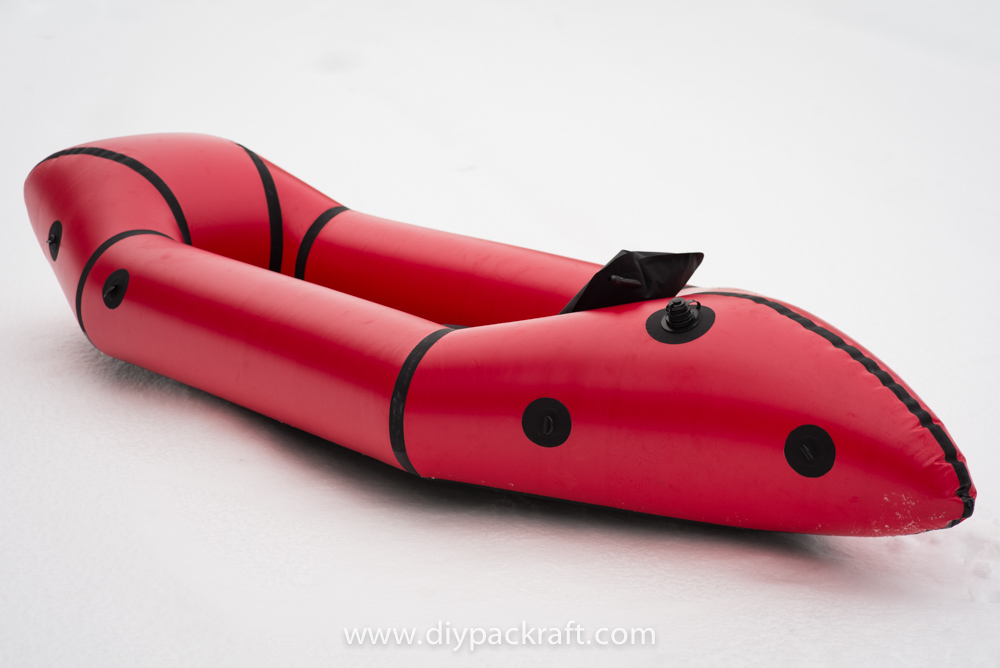

Your Atlin kit includes ten pre-scored attachment points. If you want to add more you can make them from the leftover fabric.
In your kit there are pre-scored parts for making ten attachment points like the one in the video above (optional D-rings are not included). In the video, I use paper patterns and scrap fabric to make the shapes, but I’ve saved you hours of tracing and cutting by scoring the more intricate parts (I haven’t pre-scored the 25 x 80 mm strips of fabric, but making them is just a few straight snips with your scissors).
If you want to add D-rings to the fabric loops, you can find inexpensive 25 mm (1″) plastic D-rings on Amazon and elsewhere. In my experience, regular plastic D-rings are strong enough for gear attachment points, and unlike steel D-rings they are lightweight and will not rust. Titanium and aluminum D-rings tend to have relatively sharp edges, so I haven’t tried them.
This page has more details about how to assemble this type of attachment point, as well as some other types of attachment points that you can make from your scrap fabric.
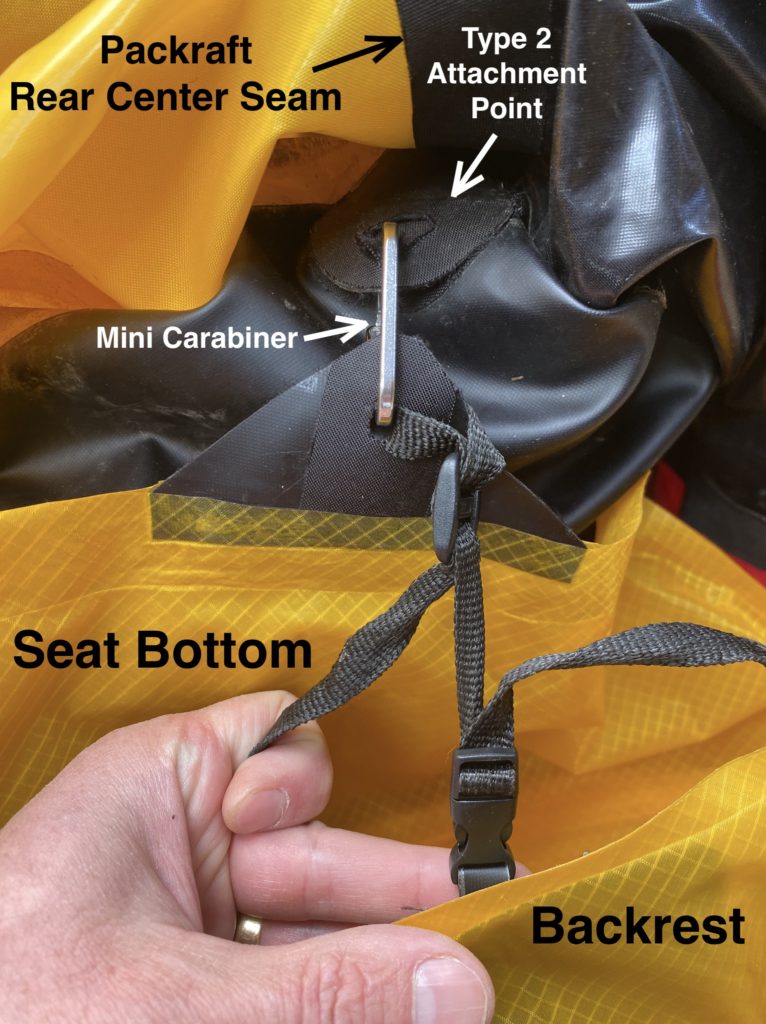
To tie in my seat, I prefer to install a Type 2 attachment point at the rear of the cockpit.
Note: you can seal these attachment points to your packraft when it’s inflated – this is now my preferred method.
I recommend adding at least five attachment points to your packraft – four around the bow so you can securely attach a backpack or bicycle to your packraft there, and one at the rear of the floor inside the cockpit so you can tie in your seat. You may want to add 2-4 more attachment points on the stern tubes so you can add grab lines, and you also might want to add one at the front of the floor inside the cockpit if you intend to make an inflatable foot rest.
Where to locate your attachment points:
To choose where to install my attachment points on the tubes, I inflate the packraft and tape them in place on one side of the packraft, moving them around until they look right, keeping in mind the loads I plan to carry and the direction the attached straps will pull. Then I mark the center of each location with a pen.
To ensure the attachment points are mounted symmetrically on both the right and left sides of the packraft, once you’ve decided where you want them on one side of the packraft, measure the position of those spots and transfer the measurements to the other side of the packraft. This is easily done with the inflated packraft sitting on your floor or table: locate each spot by measuring the vertical distance from the floor and the horizontal distance from the nearest seam strip. Double check that everything looks good and then seal the attachment points in place.
Wherever you choose to install your attachment points, consider where your gear attachment lines will be when you are paddling and endeavor to minimize the possibility of entrapment (getting caught in the lines if you flip in rapids)!
The diagrams below show the measurements for placing the attachment points as I did in the pictures above, but you can locate yours wherever suits your needs.
Note: Vertical measurements are straight up with the packraft sitting on a flat surface. Sideways measurements are from the center of the attachment point to the nearest edge of the seam strip (not the center of the seam strip). The rearmost attachment point is measured from the tip of the stern.

Seat Attachment:
The image below shows how I attach my seat and backrest to the packraft – this is just one possible method. I install a “Type 2” attachment point at the center-rear of the cockpit floor and use a mini carabiner to link the seat bottom to it. I then attach the backrest to the seat bottom with a length of 1 cm (3/8″) webbing and a plastic buckle, to make it easily removable (because I also use the backrest as a camping pillow).


0 Comments