Approximate time: 20 minutes.
I recommend adding a seat attachment point to the rear of the packraft’s cockpit before you join the rear tubes together because it’s easier to access this area with your iron before the seam strip is in place. If you prefer, you can wait and do it after the packraft is otherwise finished.
Note: Be sure to leave room on the floor fabric to attach the end of the seam strip behind the seat attachment point (as I do in the video)!
Newer kits include ladder locks to make a seat & backrest attachment point:
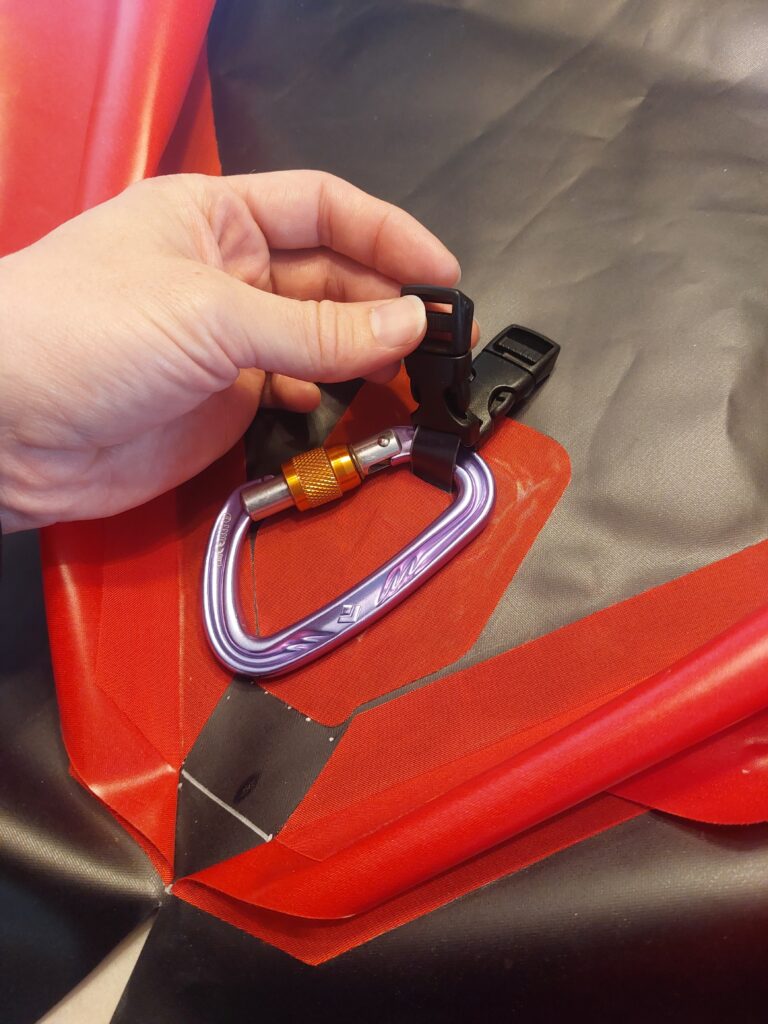
Optional: Use buckles instead of ladder locks for quick removal, and/or leave room to attach other items (in case you want to use a drybag as a backrest, for example).
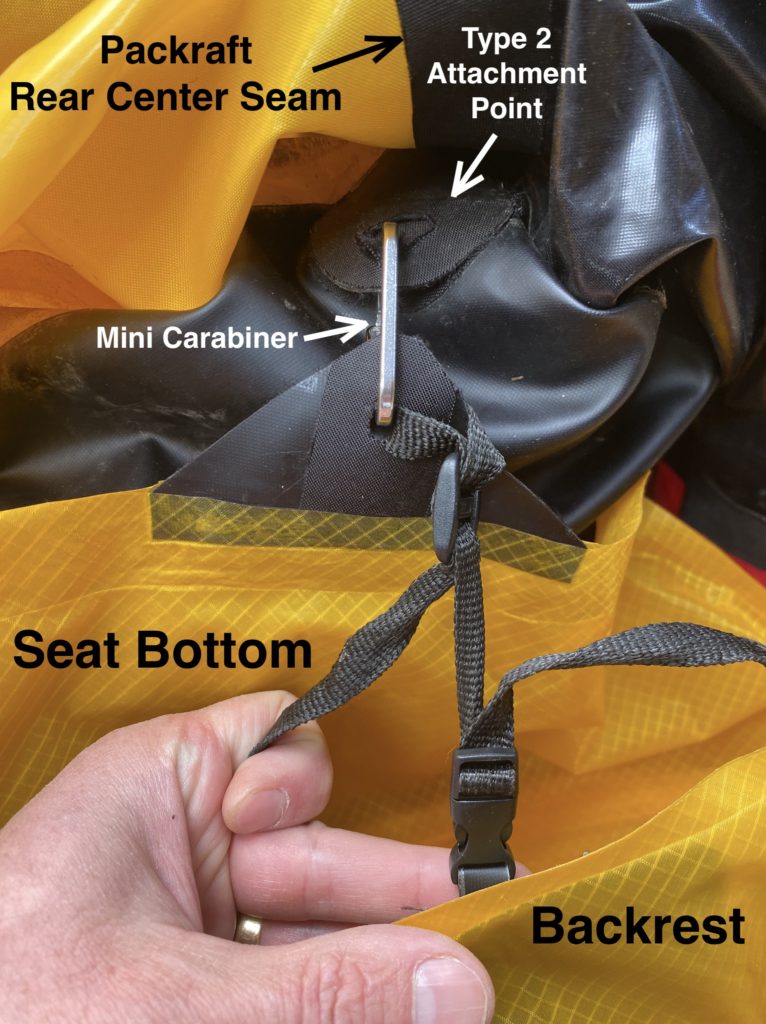
Seat Attachment (old style):
Seat and backrest location is a matter of personal preference. The image below shows how I attached my seat and backrest to one packraft – this is just one possible method. I used a mini carabiner to link the seat bottom to the packraft. I then attach the backrest to the seat bottom with a length of 1 cm (3/8″) webbing and a plastic buckle, to make it easily removable (because I also use the backrest as a camping pillow). You can see that the attachment point is frayed after a lot of use, so installing a plastic grommet in the hole might be a good idea.
Questions? Leave a comment below!
Note: this page is shared between multiple instructions sets. Use the back button to navigate back to your kit’s instructions.
6 Comments