A heat-sealing iron is the only specialized tool you’ll need to make a DIY Packraft. (Learn about the DIY Packraft heat-sealing technique here.)
DIY Packraft doesn’t sell irons, but I can offer some unbiased recommendations:
My favorite iron is a leather iron I purchased for $25 USD including shipping from www.aliexpress.com
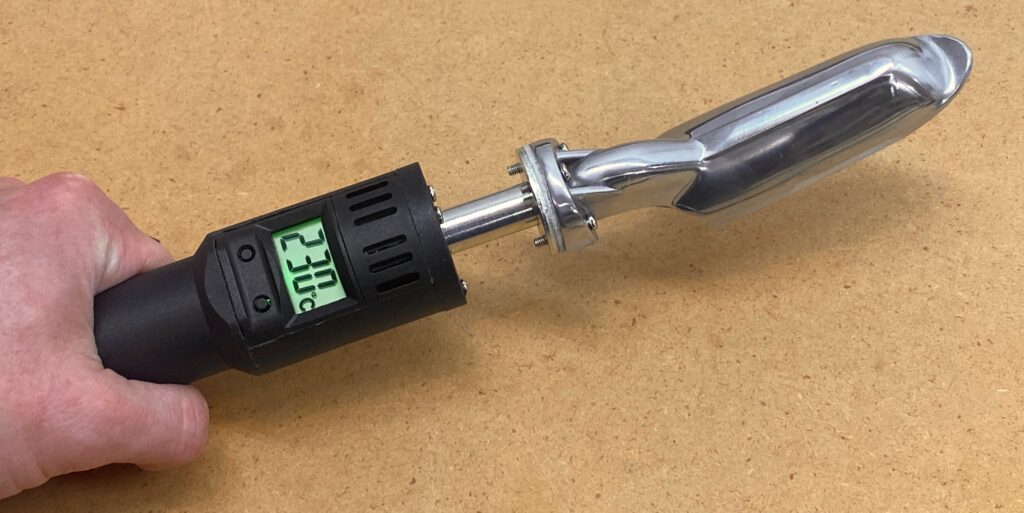
To purchase one, visit www.aliexpress.com, enter “digital leather iron” in the search bar, and then choose the 110V one that looks similar to the one pictured above.
Mine took about two weeks to arrive from China. Leather irons are often available from Amazon as well, but at higher prices.
Notes about leather irons:
- If you’re in the USA or Canada, choose an iron that is advertised for 110 V electricity so it will come with the correct plug. If you live elsewhere, choose the appropriate voltage.
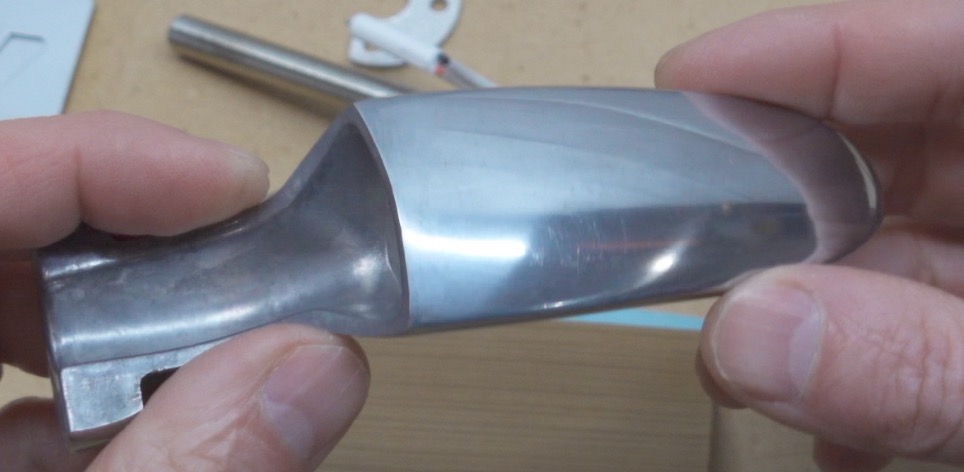
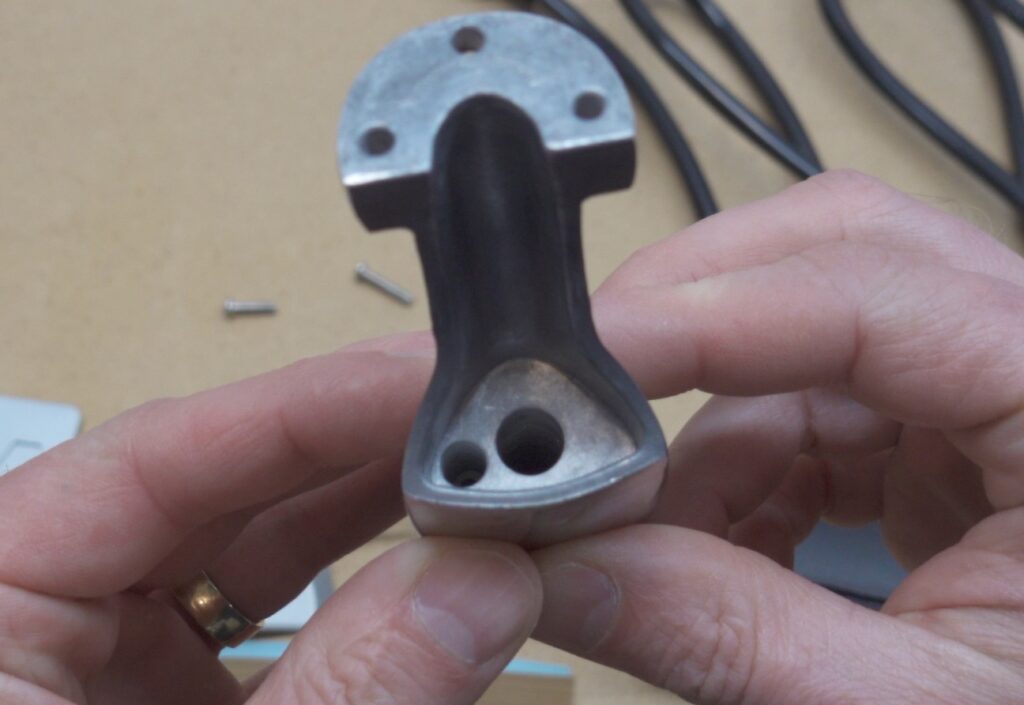
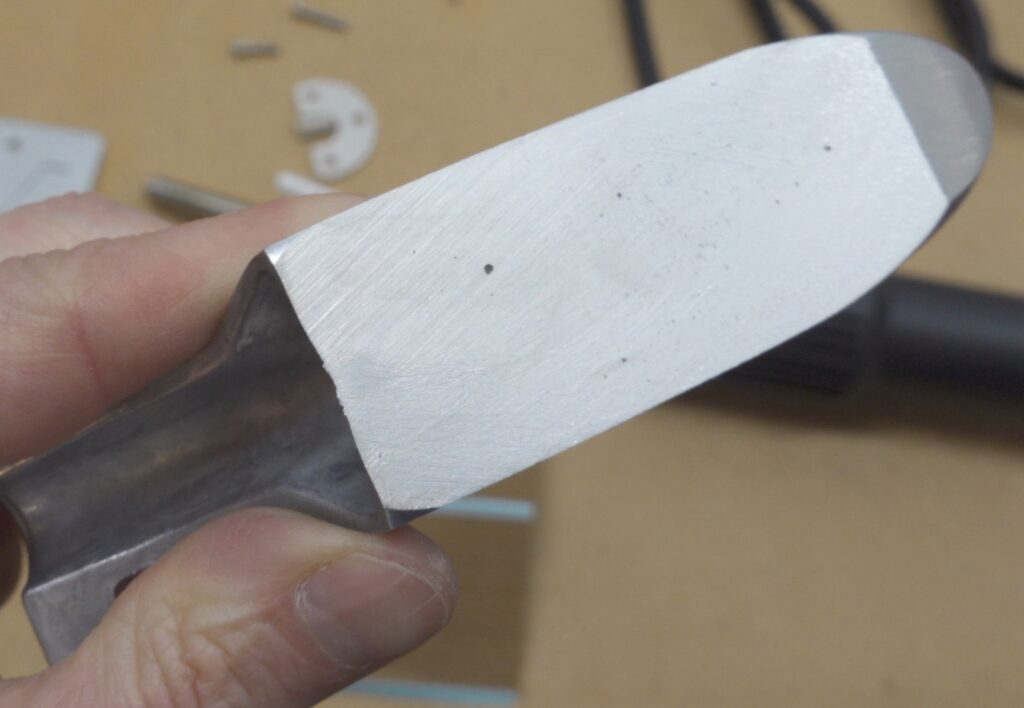
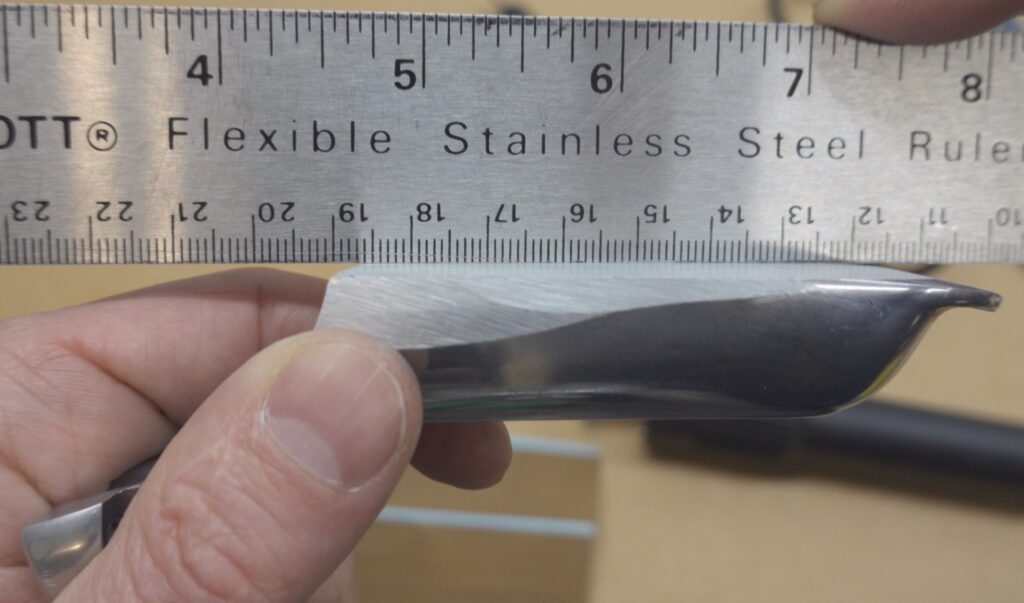
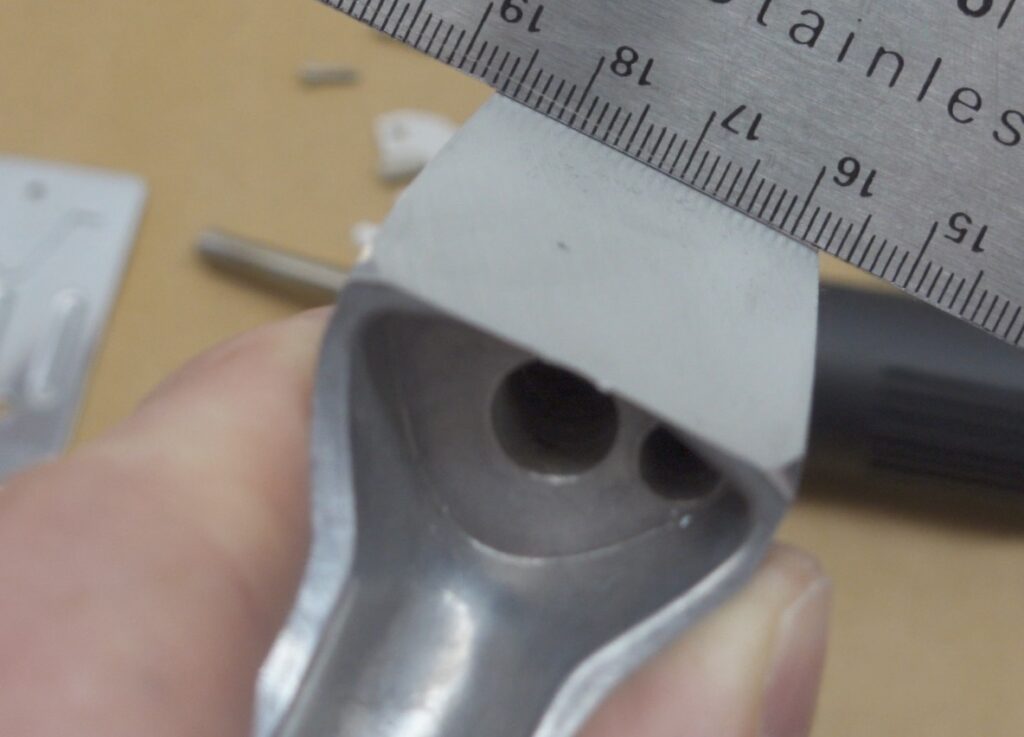
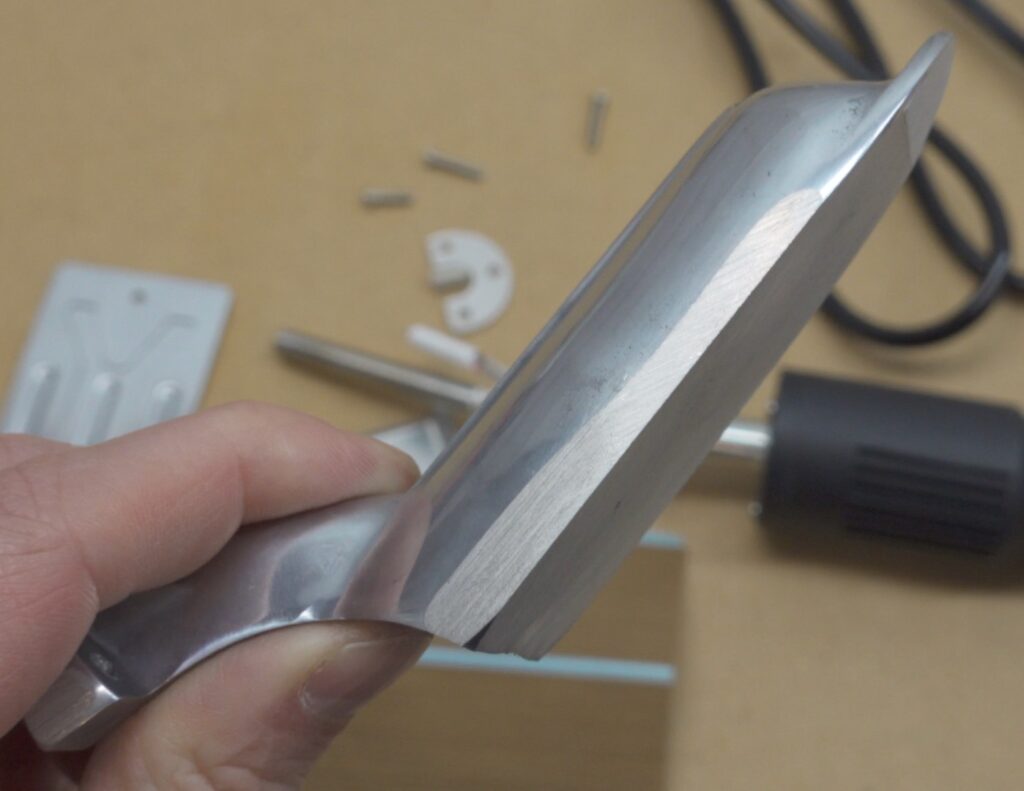
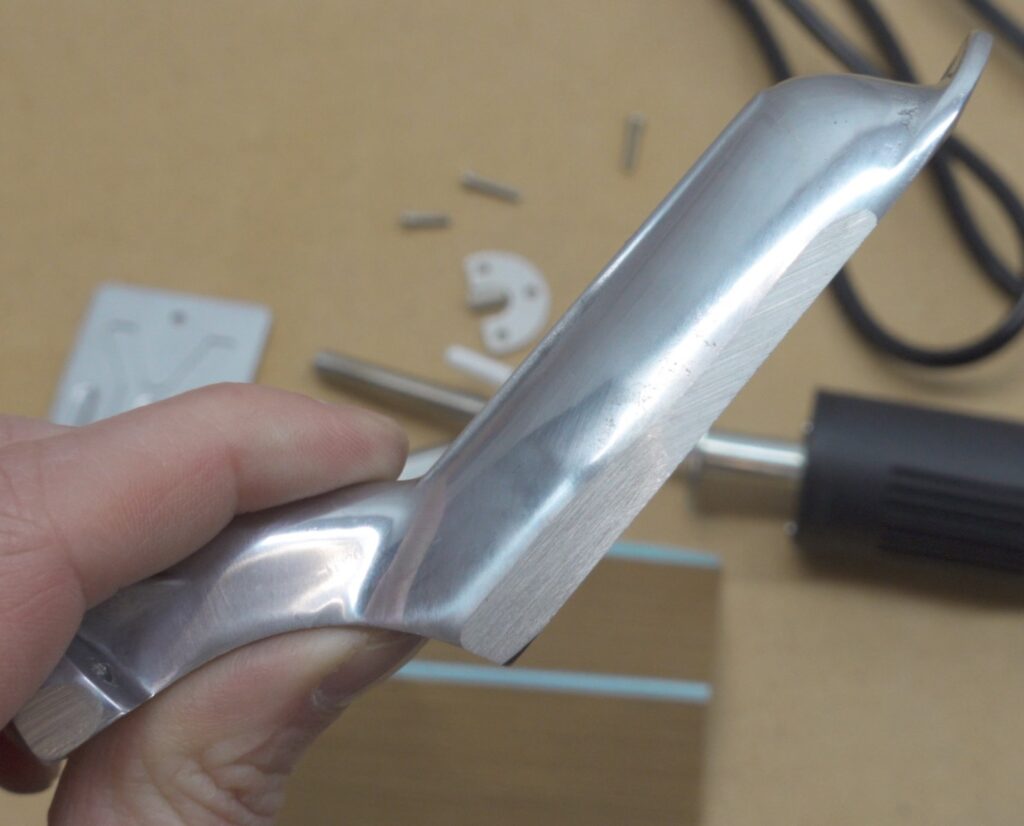
- The leather irons are slightly rounded on the bottom, and for heat sealing fabric we need them to be flat, so you will have to file or sand yours flat. A belt sander works well, but a metal file or sandpaper works too.
- The digital leather iron has a more rounded foot than the analog version with the round temperature selection dial, so it requires more sanding. An electric sander such as a belt sander is recommended.
- Choose the analog version if you don’t have access to an electric sander.
- Even irons designed for 220 volt electricity work fine in North America if you use a travel adapter. A simple plug adapter works – it doesn’t have to include a voltage converter.
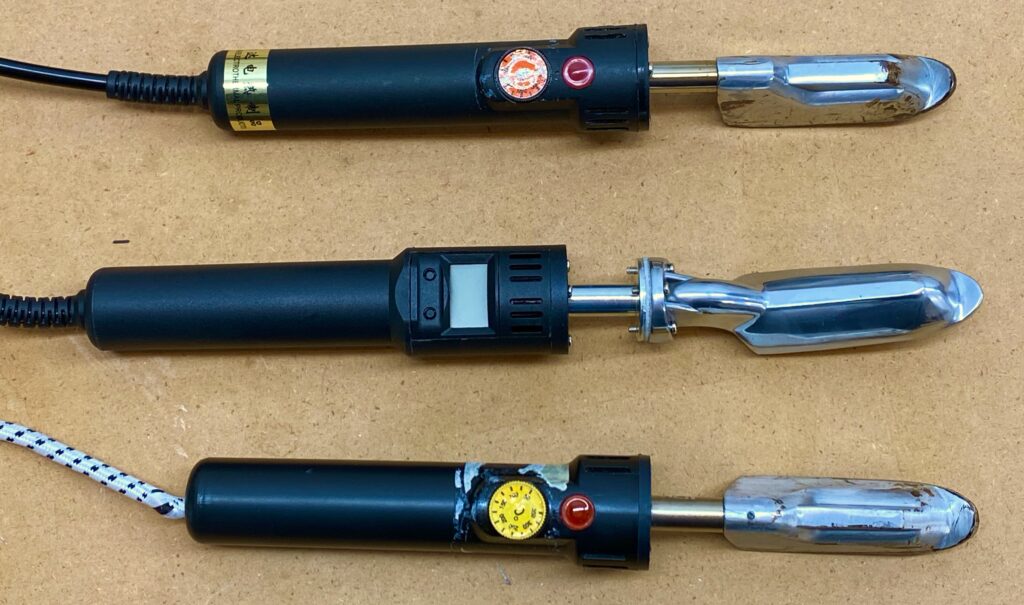
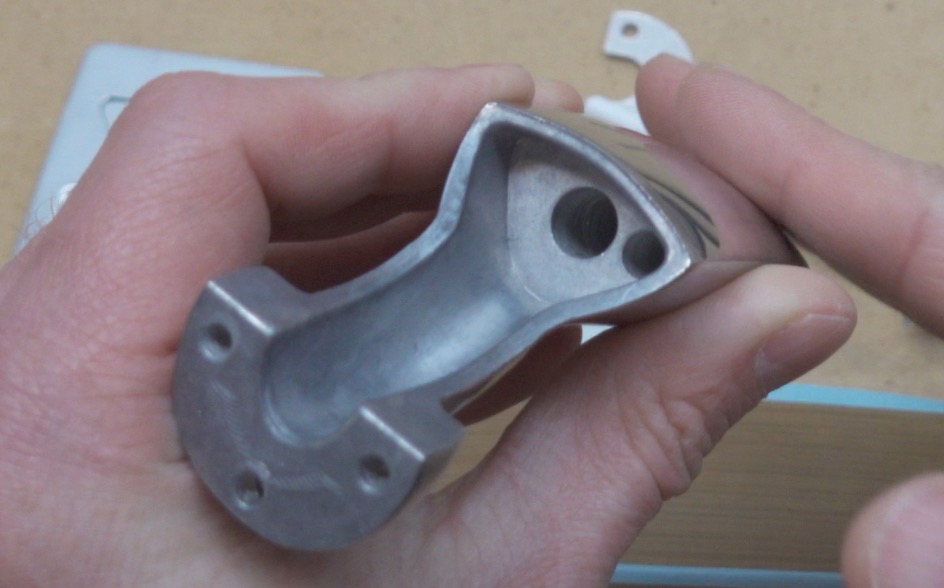
The photos below show the digital leather iron’s rounded foot and how I sanded mine flat (see the video above). You don’t need to disassemble the iron to do this.
Other things you’ll use when constructing a packraft:
- Sharp scissors or fabric shears
- A permanent marker (silver Sharpie works well on dark fabric)
- Parchment paper (a.k.a. “baking paper” used as a non-stick surface for baking, available in your local grocery store). I’ve included some parchment paper in your packraft kit, but you may want more. Biodegradable parchment paper also works.
- Paperweight-type items, such as books, to keep your fabric from sliding around
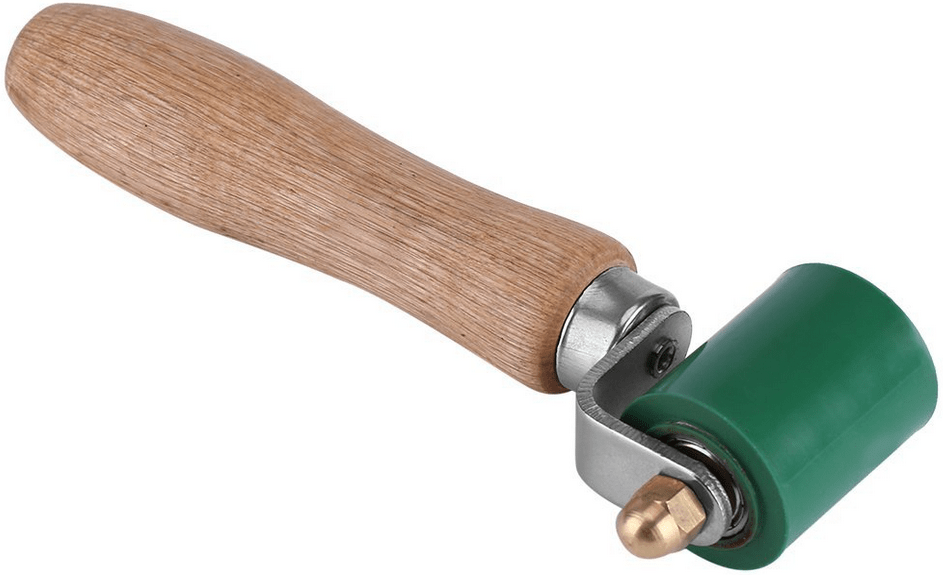
- A clean rag or glove for pressing on the seams as they cool – or a silicone roller is even better:
- Masking tape for holding things in place
- A fairly large work surface in an area with good lighting. You don’t need a workshop or garage – I built my first three prototypes on my dining room table
- Pieces of wood, cardboard, or some other smooth, flat, heat-resistant material to protect your dining room table from burns…
- You should probably wear some kind of heat-resistant glove on the hand you use to hold the fabric (I have burned myself several times because I don’t always follow my own advice)
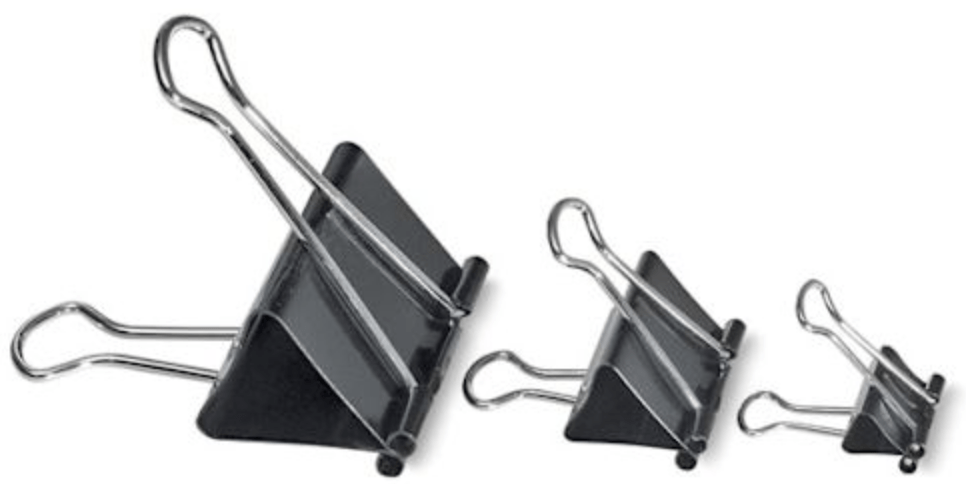
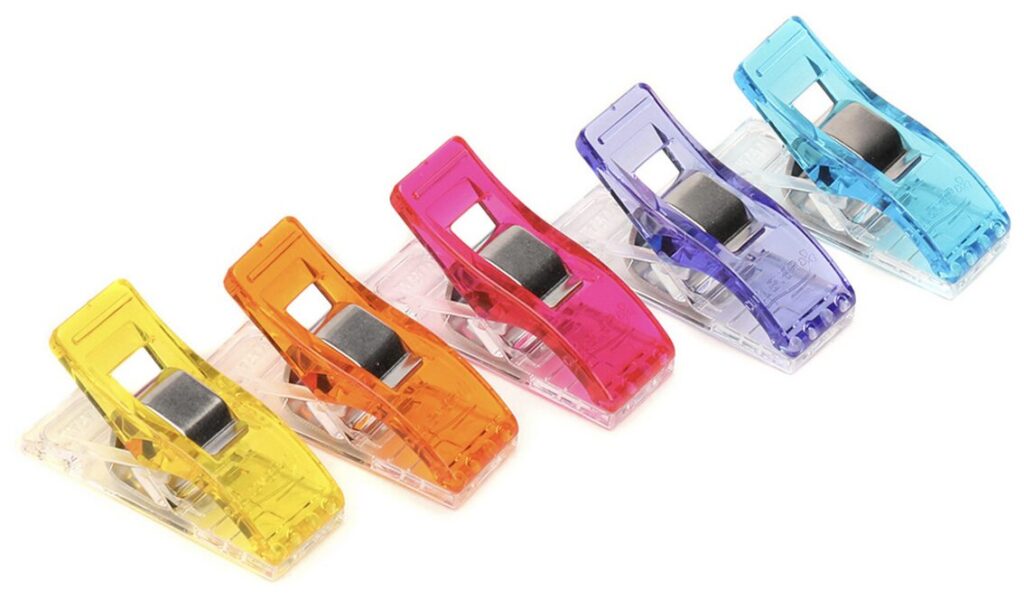
- Several paper clips, binder clips, Wonder Clips, or small spring clamps to keep fabric out of the way while you’re working.
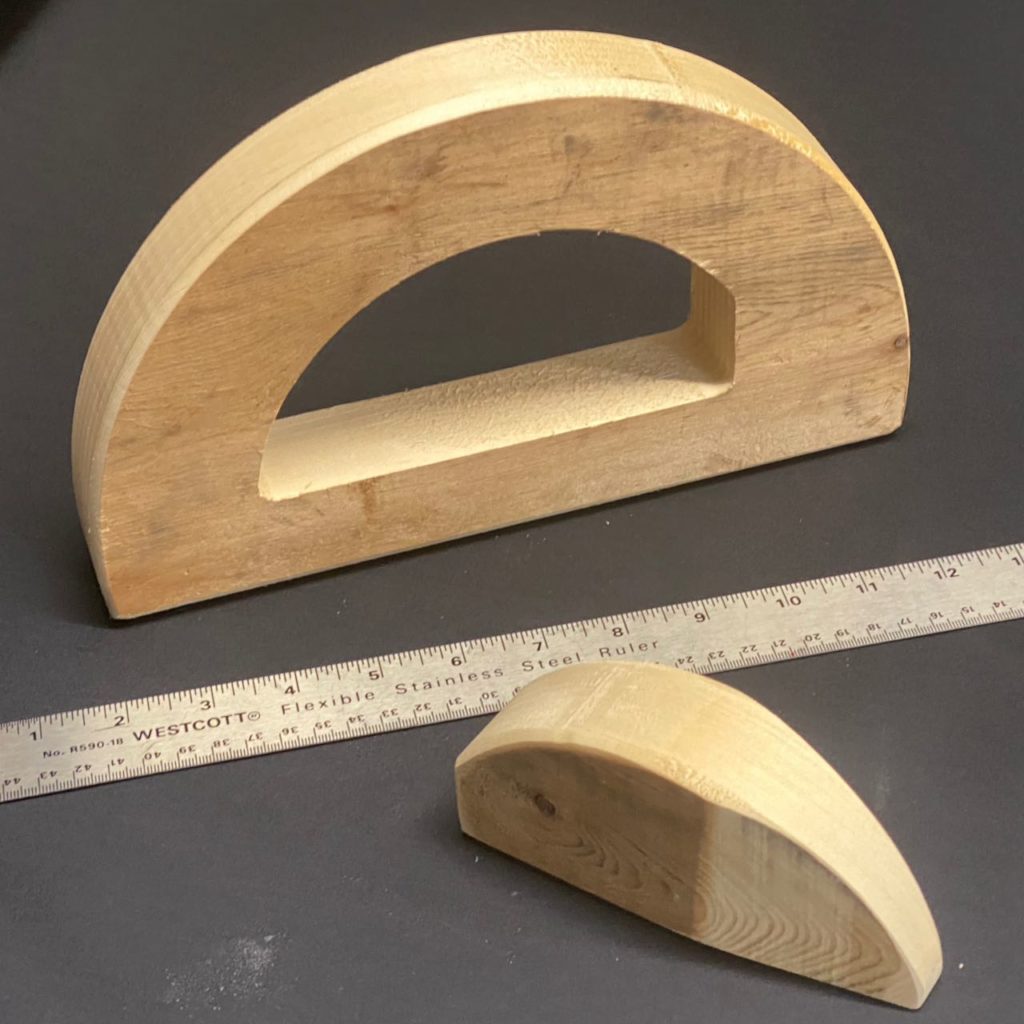
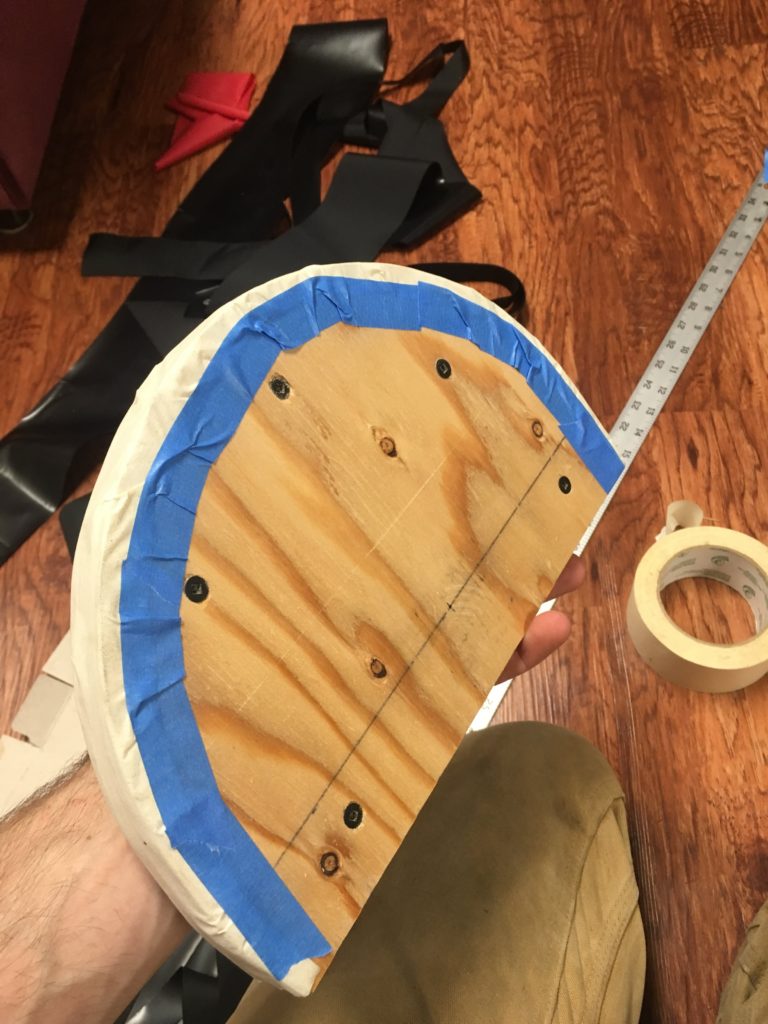
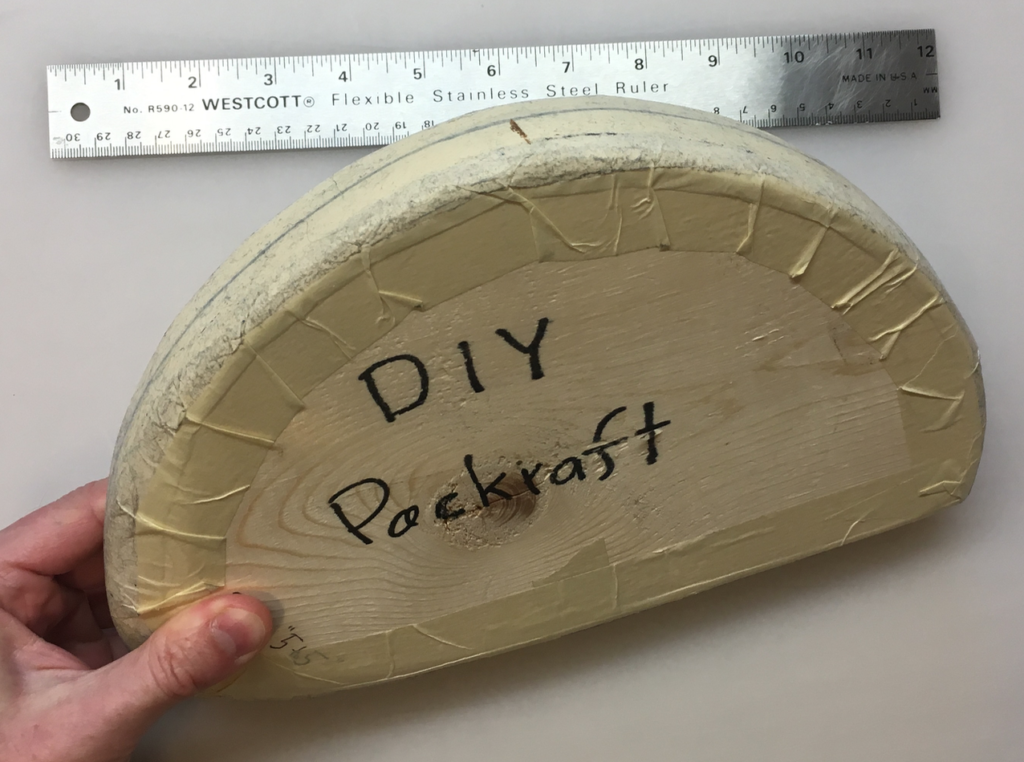
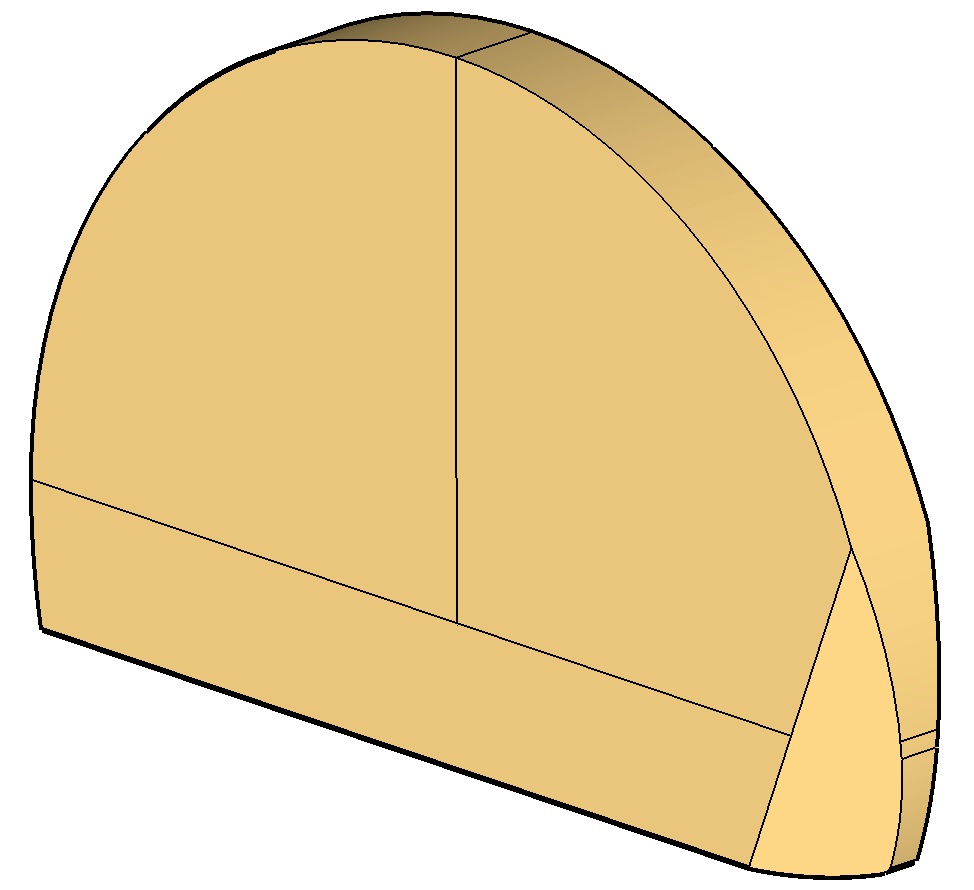
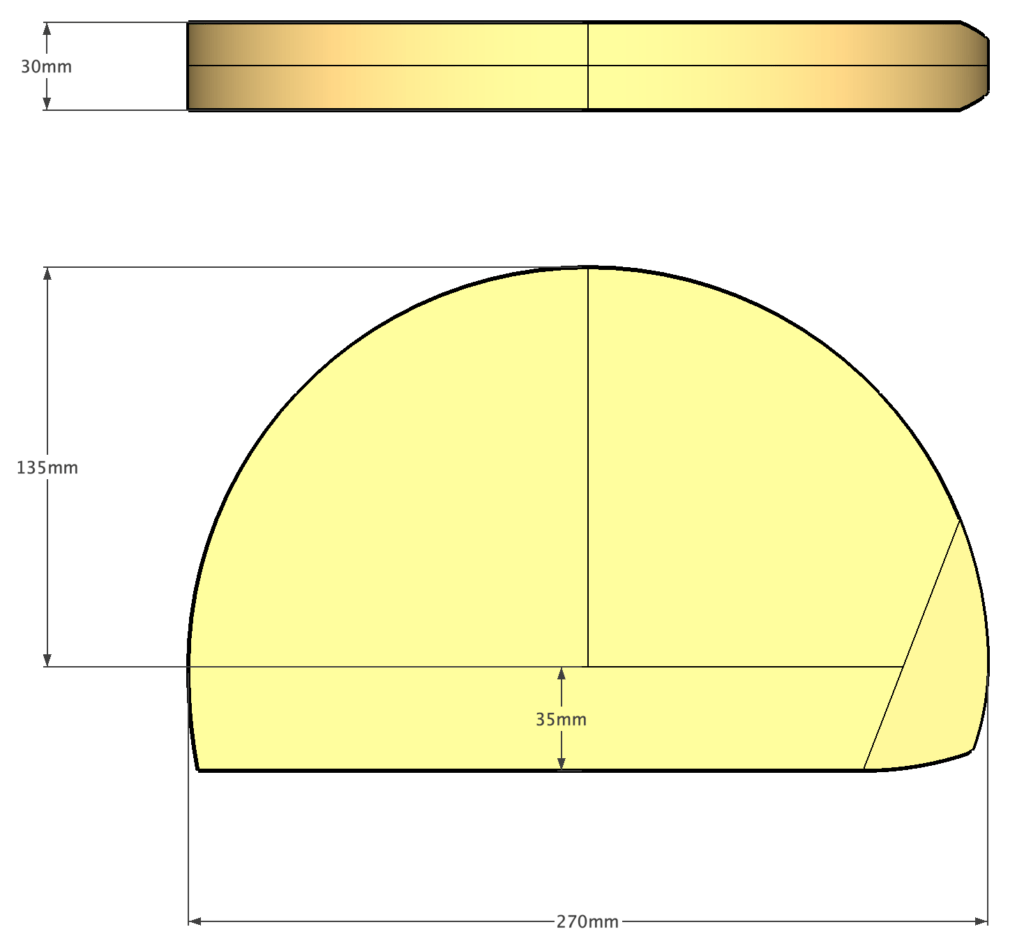
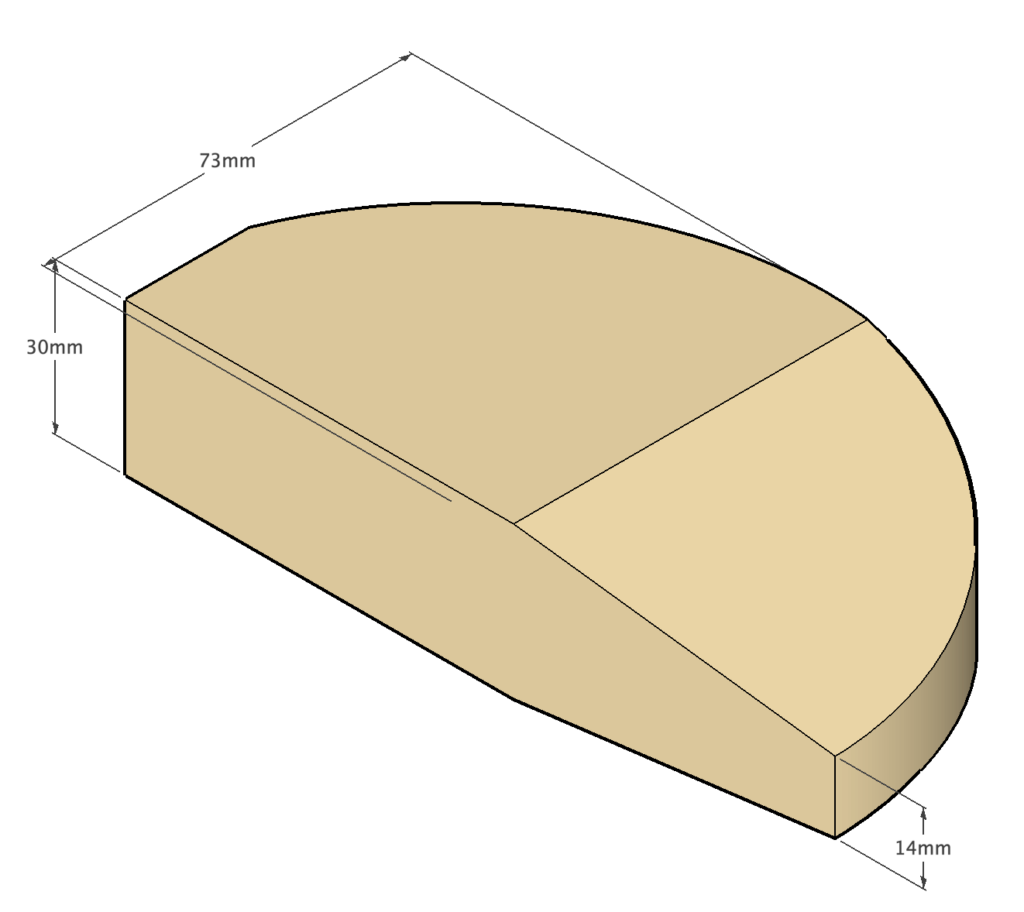
- For sealing curved seams (see the Heat Sealing video), you’ll need a ceramic or wooden bowl with no sharp lip around the bottom, or a purpose-built wooden form like the ones shown below. Maximum diameter ~25 cm (10″)
Other Irons that are NOT Recommended:
Over the years I’ve tried several different methods of heat sealing, mostly with various irons, and unfortunately most are unsuitable for packraft making. To avoid making the same mistakes as me, check out the tools I do not recommend:
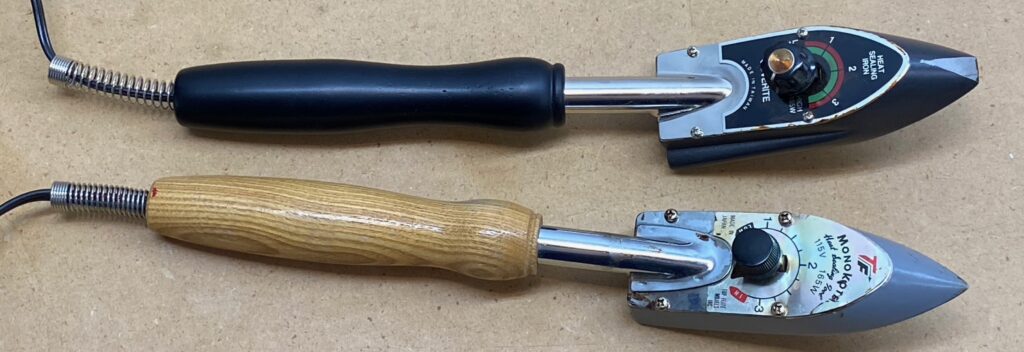


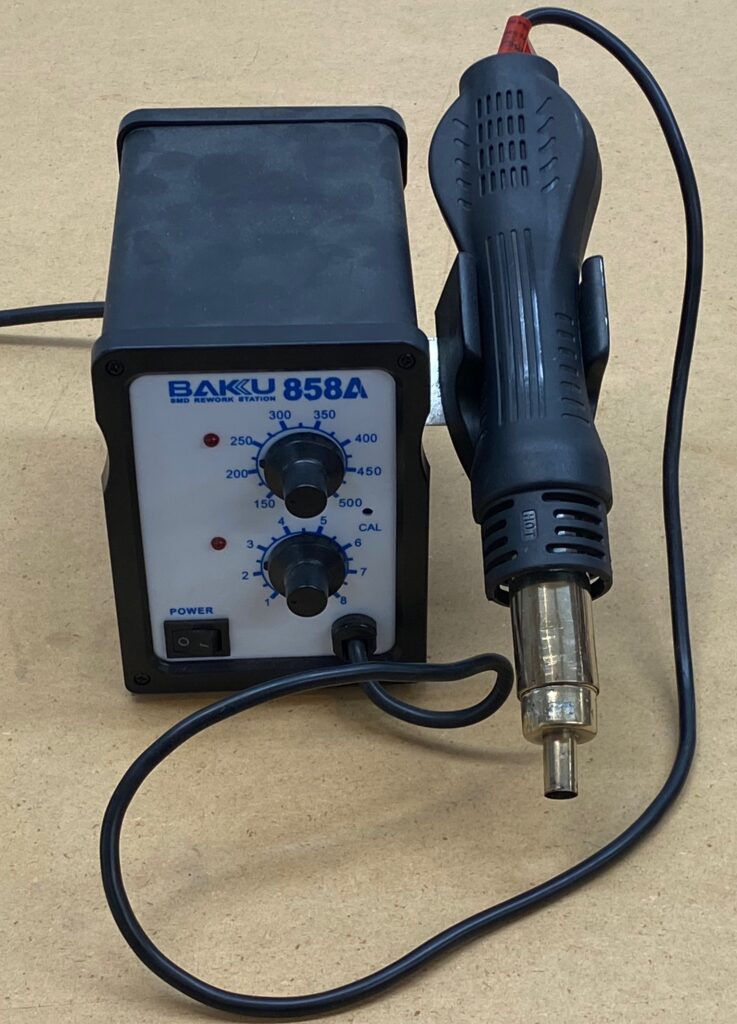

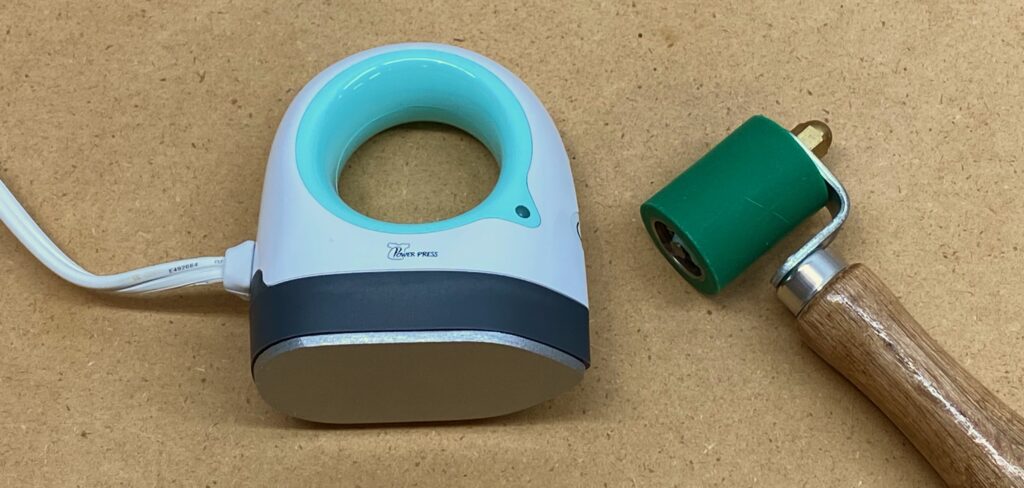
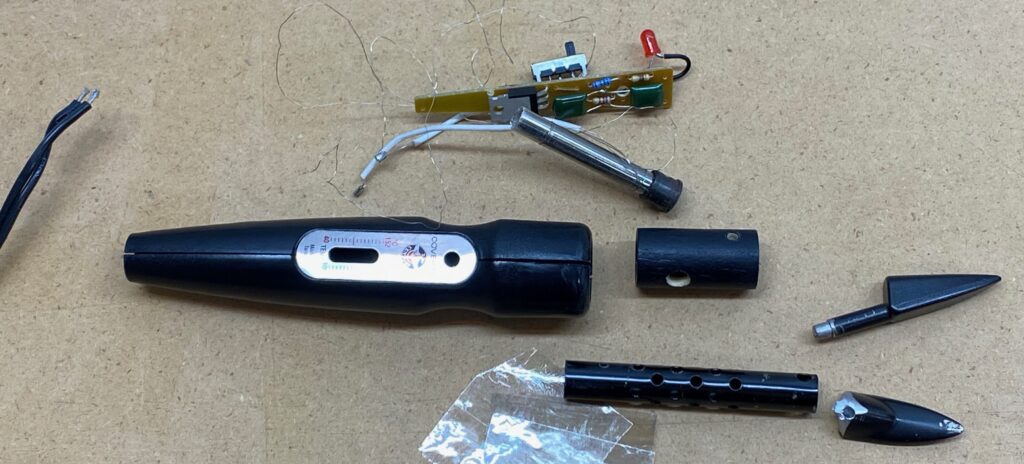
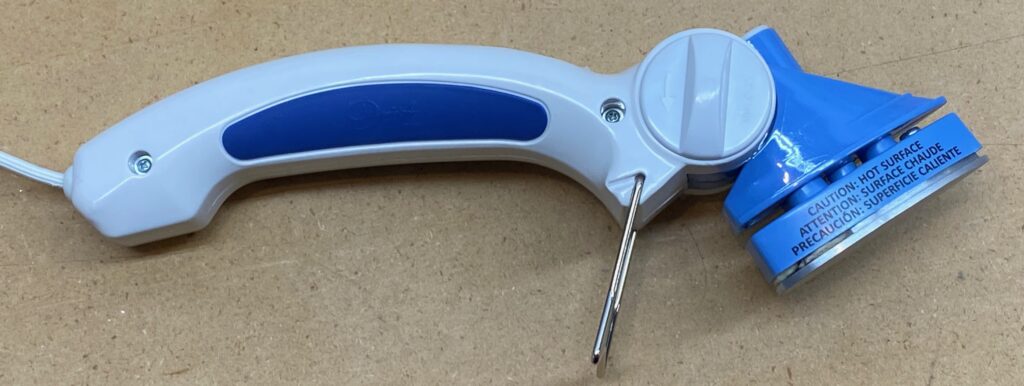
Irons tried by customers that do not work*:
- Jamara Pro Star – poorly constructed, short circuited
- Pichler Profi Star – poorly constructed, short circuited
- Jamara Pro Decal – not hot enough
*Thanks to Stefan D. for sharing this info!
34 Comments