Words and pictures by Opie – originally posted in the DIY Packraft forum under the DIY Packraft Photos and Tips & Tricks topics. Minor edits by me (Matt).
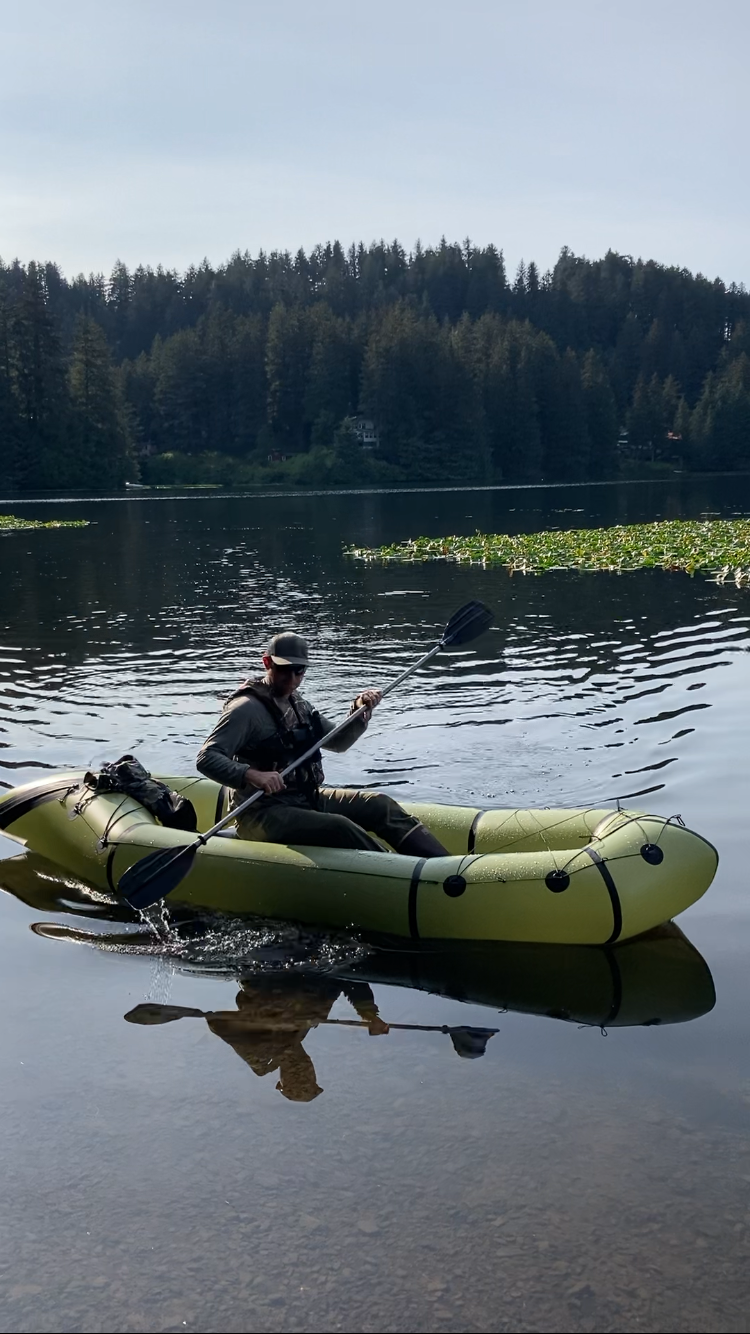
Here are some pics of my green 2P DIY Packraft. I haven’t seen too many finished 2P photos or packrafts in the newer green color and I wanted to share them. (You have permission to use the photos Matt) To start off let me say I love the color especially contrasted with black trim. This project was one of the most challenging projects I have tackled yet but very rewarding too. I have built a lot of projects over the years such as tents, packs, saddles, wood projects, welding projects, auto work etc. Most of the time I have built up the skills to completing a project of this size but on this one, it was zero to a hundred because of my inexperience with welding tpu. The most difficult part was welding eight different panels without knowing if I was making good welds. I had an enormous level of satisfaction and relief when I finally inflated the raft and only had one small leak. The leak was at the base of a seam on the inside of 2L and 3L. The raft would hold air but required about 5-8 breaths after a day. I fixed it with some aquaseal and now it holds airtight for at least 24 hours and only seems to fluctuate with temperature changes.
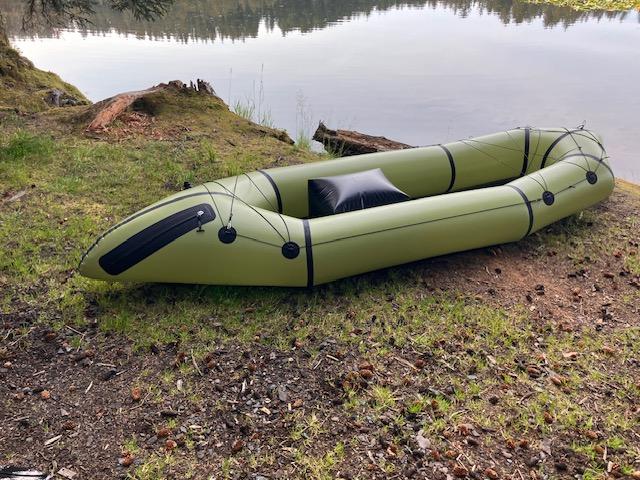
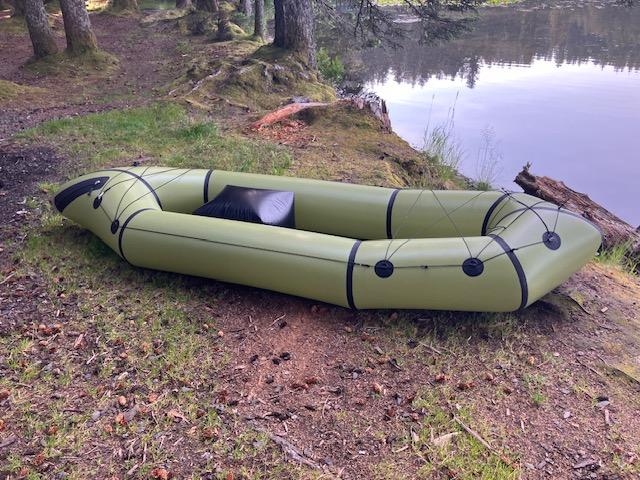
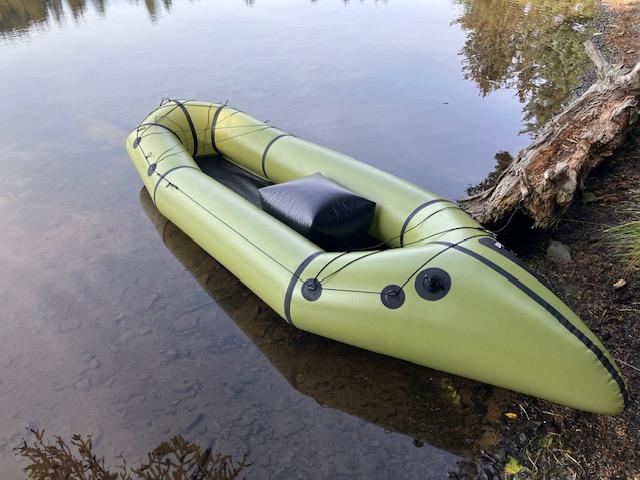
Performance seems awesome, although this is my first packraft so I don’t have anything to compare to. I purchased the 2P to haul heavy loads solo and have not tried 2 people yet. I have canoes and have paddled a fair bit but this is quite different. I have found that with the 2P seat height, paddling solo with a single canoe paddle actually works very well on flat water. The kayak paddle seems to work better on moving water. I was able to hit a few small white water sections with no trouble at all. The river I’m paddling here in Kodiak is shallow and I was able to transit in only 4 inches of water at times while only mildly touching the river bed. Hitting rocks on the bottom only lightly scuffed the bottom and the floor appears extremely durable. Overall I feel confident to take this raft on its intended purpose of hunting the north slope of the Brooks Range in Alaska at the end of August.
I worked on the raft after work for 14 consecutive days (a lot of really late nights). The build took me 50-60 hrs to get to the inflation stage. I took an unknown amount of time to build and decide on placement of the tie down points afterwards. My wife is thrilled that I’m done working on it as now I can help watch our 8 month old son again. As others have stated, I also recommend taking plenty of time when tackling this project. I used strait edges rulers and tapes and marked everything out with tailors chalk and silver sharpie to ensure every weld went as well as possible. I measured and re-measured everything to limit mistakes. All in all I’m very pleased with the outcome of the build.
Instructions were great and only left me scratching my head a few times. Here are some things I learned and ideas from my Green 2P build:
I personally preferred aquaseal fd over seam grip. I sealed every tube and floor seam on the inside only and used a 1-1.5cm wide application of sealant.
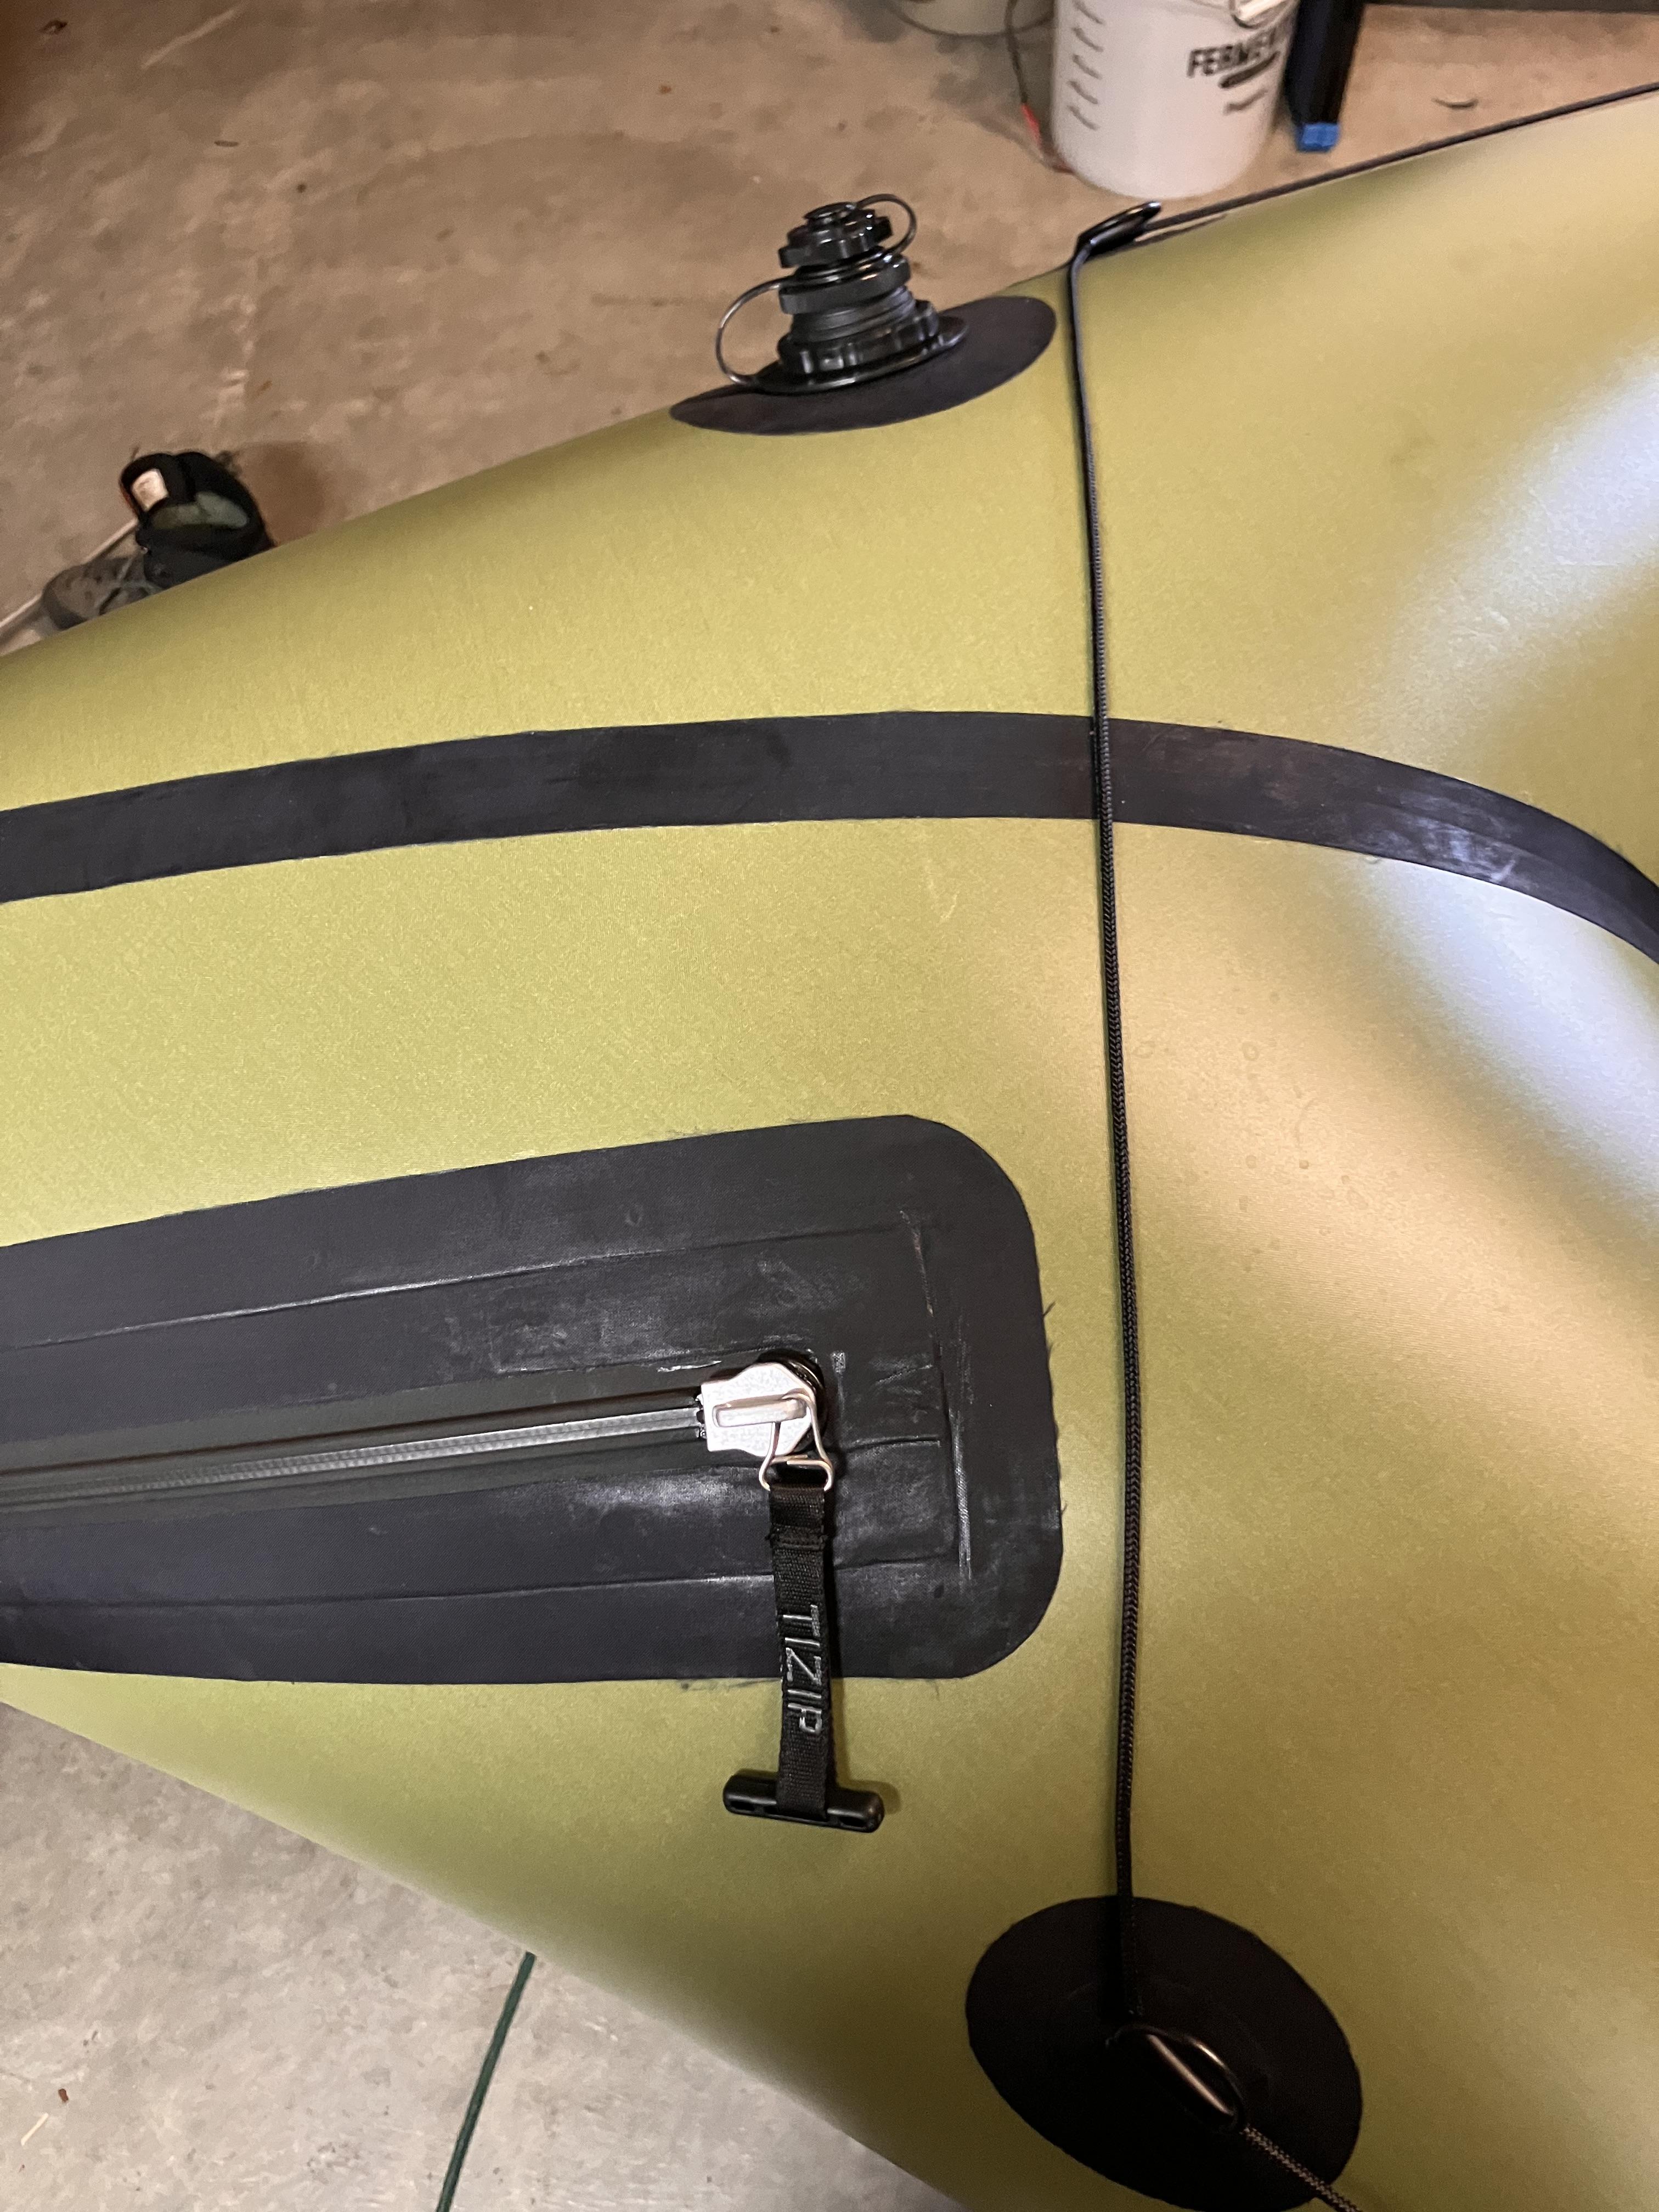
I installed the Boston valve and zipper using the recommendations however I moved the zipper forward (parallel to the seam but more towards the bow 1 inch, which I’m glad I did due to slightly trimming to make the stern seam even). I might have moved the inflation valve to match the distance from the seam to the same as the end of the zipper(about 150mm). This would have made installing tie down points easier to make symmetrical however the valve may be in the way to tie things down to the stern in that location.
I seam sealed the zipper flange to the tube material after it was completely installed into the panel. I don’t know if it helped but I know it didn’t hurt anything.
I installed the Boston valve before I welded the panel onto the floor and it worked very well.
Install the Boston valve and zipper into both panels then lay panels on top of each other to ensure they are exactly the same size/shape before attaching to the floor. I did not do this and I think my stern seam would have come out a lot more straight if I had. It is the only part of the raft that I feel I could have done a better job given my experience level.
I welded all the tie down points on while inflated. This was very easy to do but I made a demo video of installing while inflated that I will try to post. https://youtu.be/AjPfHmqTkBA?si=uzcMUYzyfIH3E_QI
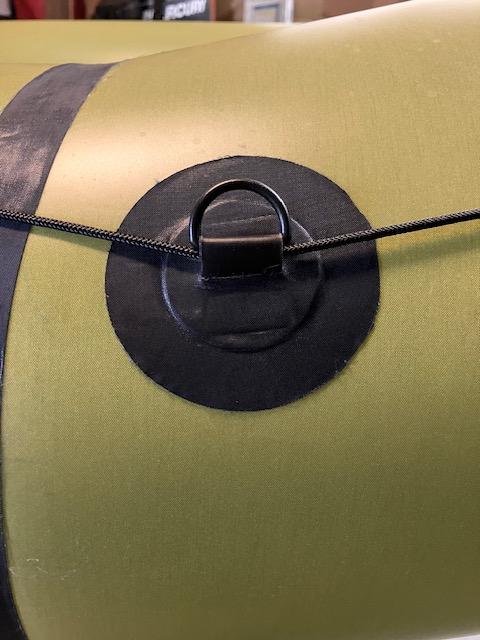
I placed the tie downs outward about 45 degrees from the top of the tube.
I made a jig from a 2×4 to hold the d ring and tab straight while assembling the tie downs. I also made a video for that. https://youtu.be/yWElGk-94PY?si=atYpiCYKCukSl5Wm
I cut the d ring tabs 60mm long. It’s a personal preference but I think it came out well.
I will likely add 3 more tie downs per side on tube section 3 but I ran out of d rings. The 2p raft has a lot of surface area for a solo paddler to use and the weight penalty will be worth it.
The inside floor slit backing piece I cut 5cm wide.
I welded the reinforcement strips to the floor as wide as my iron. This means the reinforcement strip to tube material is narrower but it helped me. It’s not centered from point to point but it protected the floor from over ironing.
I would have installed the tie down tabs in the reinforcement strip if I had read about them before I got to the attachment point step. It was a missed opportunity for me.
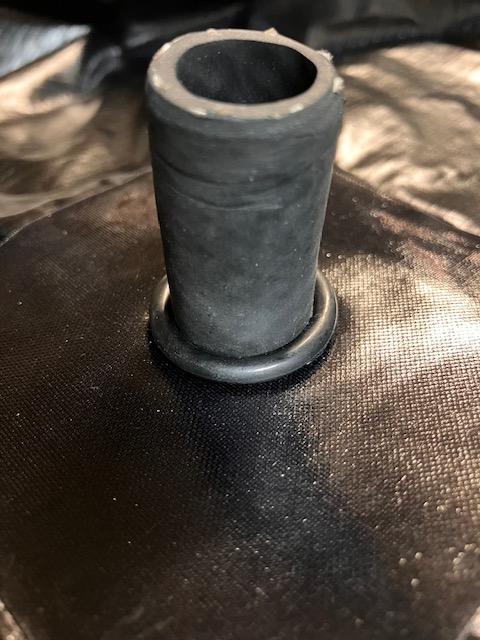
I used o-rings on the inflation bag hose to support the sealant better:
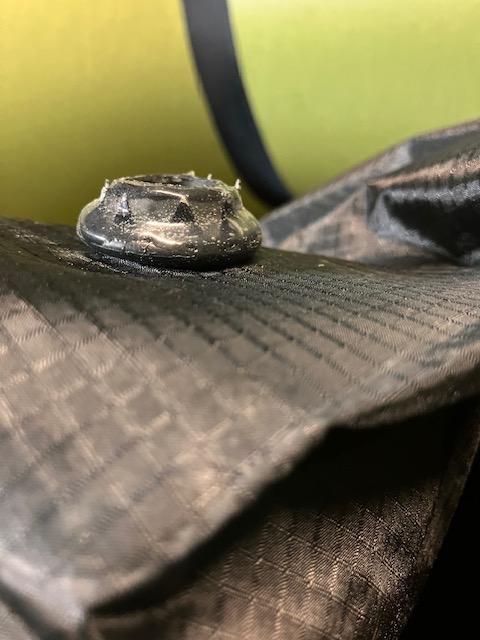
I made the inflation bag into a roll top bag as others have.
I used my silver sharpie to make very small dots. I noticed the welds don’t stick as good wherever the sharpie was placed.
The seat was my biggest problem surprisingly. I would not recommend that as a first step. Being all black it’s difficult to determine your weld especially without the hours of experience you get from the raft. Use a metal straight edge to weld against to get your seams perfectly straight and even. Use tailors chalk to mark your lines. Install a top flange over the Boston valve just like the raft. The biggest change I would do is to cut a 20cm slit in the seat to turn the seat inside out. Then weld a strip of fabric directly over the slit. I had to go this route after hours of battling the strip over the edge weld and needed to reweld the entire seat. My second seat will go much better however I am installing a TPU zipper in the seat for storage so the slit should not be necessary.
Let me know if anyone has any questions or would like measurements of zipper/valve/ tie down locations, or would like to see more detailed photos of the 2P in green. Thank you for making these kits Matt!
0 Comments