If you’re paddling an lightweight inflatable boat in less than ideal conditions, it’s possible your packraft will develop a leak at some point. Fortunately, that’s not a big problem, because small leaks and even large tears are easy to repair.
Contrary to common sense, a leaky packraft is nothing to be afraid of. The volume of air inside the tubes is large, and holes in the fabric are typically small, so it takes a long time to lose so much air you can’t stay afloat. With your Boston valve or top-up valve positioned correctly, you can even top up the air pressure with a few breaths while you are out on the water, and even with a 1 cm (~1/2 inch) puncture in your packraft, air escapes slowly enough that you’ll probably be able to paddle to shore long before losing buoyancy. I have paddled around a lake for an hour with a passenger in a packraft while it was leaking air from a small hole because I was too lazy to fix it before going out… my passenger didn’t even notice we were losing air.
Punctures are only likely to occur in moving-water situations where momentum shoves you and your packraft against a sharp object with a great deal of force. Aside from avoiding sharp objects, the best way to prevent this sort of puncture is to use an inflatable seat, add padding under your heels, and store hard gear on the deck instead of on the floor or inside the packraft’s tubes (or if you store hard things inside the tubes, wrap them in soft things). This allows the fabric to bounce, stretch, fold, and flow around obstacles instead of being pinched between a rock and a hard place.
When you are a long distance from shore, such as island-hopping or crossing a fjord or a large lake, there are no sharp objects nearby and you are moving relatively slowly, so there is no need to worry about puncturing your packraft there unless you stop to practise juggling knives or do something equally foolish.
With all of that said, it is a good idea to keep your packraft airtight, if for no other reason than it will feel more rigid and responsive on the water when fully inflated. So how do you fix a leak?
Finding Leaks
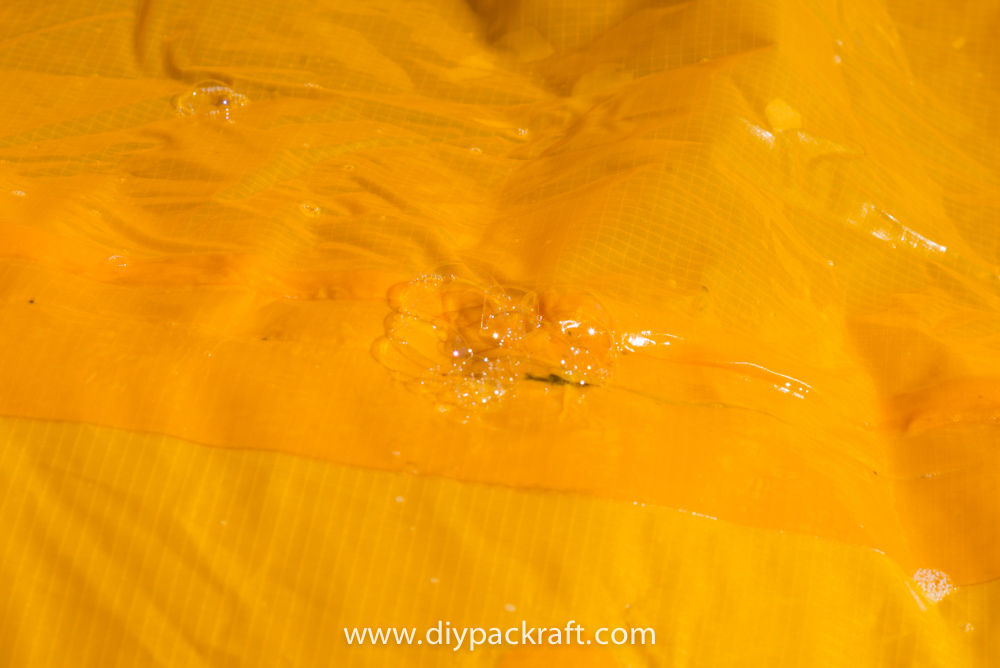
The first step is to figure out where the leak is. Large punctures will be easy to find, but most leaks are small and can take more effort to locate. Much like fixing a punctured bicycle tube, the easiest way to find the hole is to inflate the packraft and squeeze it with your hands while rotating it around your head as you listen for the hiss of escaping air. If the environment is too loud or the leak is so small that you can’t hear it, spread some soapy water over the fabric and soap bubbles will form wherever air is escaping. In the field, if you don’t have any camp soap, you can use plain water – soap just makes the bubbles more obvious.
Once you have located the leak, rinse off the soap and wipe the fabric dry.
Tip: If you have a leak that is too slow to detect with a regular mix of soap and water, use a soap-to-water ratio of 1:1 and paint it on with a brush. This thicker solution will stay in place longer. (Tip submitted by Ken S.)
Fixing Leaks in the Field
For field repairs, the best patch material I’ve found is adhesive tape designed for permanently sealing insulation vapour barrier plastic sheeting in building construction.
The outdoor outdoor repair tape available in the DIY Packraft shop is the same thing, except it’s clear and colorless.
These tapes are made of strong plastic film with a very sticky waterproof acrylic-based adhesive on one side. They bonds very well to TPU coated fabric, but can be peeled off without leaving much (or any) residue.
I keep a few meters of Outdoor Repair Tape wrapped around my bear spray bottle. It’s been there for four years, and I just recently peeled off a bit to fix something and aside from being a bit worn at the edges, it worked like new.
In the field, simply clean and dry the fabric and then slap a piece of tape over the hole in your packraft, rub it to ensure it’s well-adhered, reinflate the packraft, and carry on. These tapes works so well you can probably keep paddling for months without a more “permanent” fix.
These tapes are available in building supply stores, but are made by different brands in different countries:
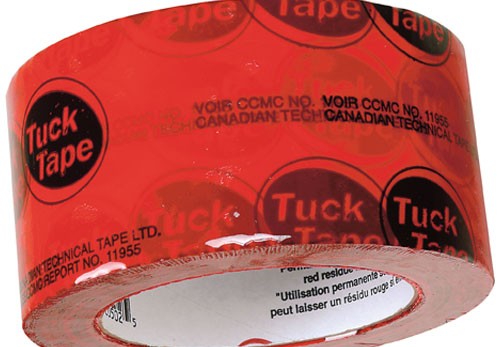
- In Canada, Tuck Tape can be found at Canadian Tire and any hardware store
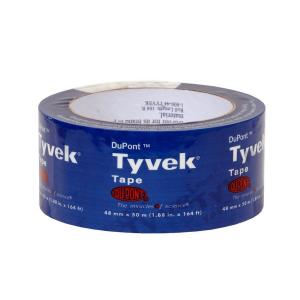
- In the USA, you will find Tyvek Tape at Lowes, Home Depot, etc.
- In Finland, Kerabit Air/Vapour Barrier Tape is available
- (If you know what repair tapes are available in other countries, please leave a comment below.)
Note: avoid using duct tape to repair packrafts – the adhesive is not waterproof.
When Tape Won’t Work
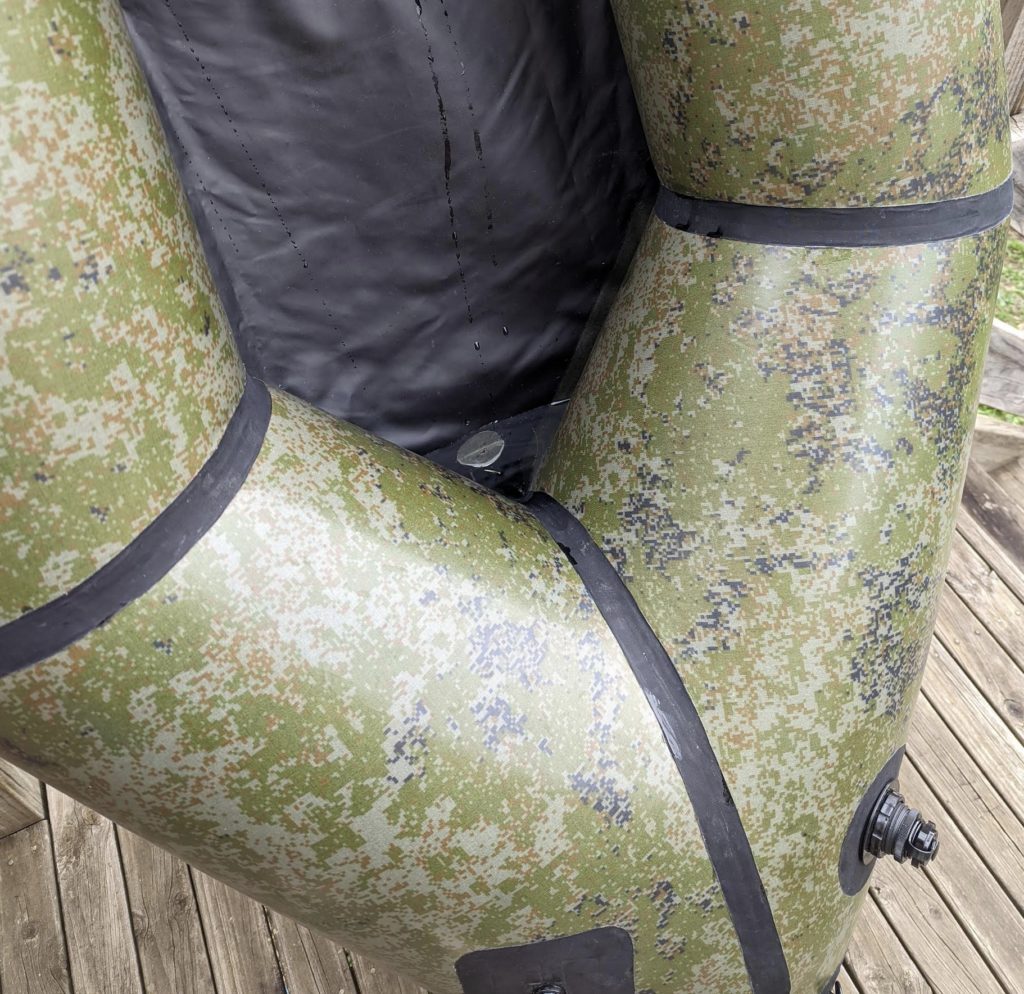
There are some spots on a packraft where it isn’t possible to place a piece of tape flat (such as in the corners where the tubes attach to the floor fabric inside the cockpit). If you find a leak in a place like that, then Aquaseal+UV can come to the rescue. Aquaseal+UV isn’t as good a sealant as regular Aquaseal, but the great thing about it is that it cures almost instantly when it’s exposed to sunlight!
Make sure the fabric is as clean and dry as possible before applying Aquaseal+UV.
If you’re camping somewhere overnight, regular Aquaseal or Aquasure or Seam Grip+WP can be used in the evening and it will be ready to go in the morning.
Permanently Fixing Leaks
Back at home, peel off the tape, make sure the fabric is clean and dry, and plug in your heat-sealing iron. Cut a piece of your heat sealable fabric large enough to cover the hole with at least 1 cm (~1/2 inch) overlap, and round off the corners with scissors. Simply place the patch over the hole, place a piece of parchment paper over the patch, and seal it in place with your iron.
If you have a leak where multiple pieces of fabric join together and there is no way to form a TPU-to-TPU bond around the hole, you may have to affix a patch with glue such as Aquaseal.
Note: do not use “Seam Grip+SIL” silicone tent sealant on your packraft. You must use a polyurethane based sealant. I recommend Seam Grip (now called Seam Grip+WP), Aquaseal, or Aquasure (all made by Gear Aid, formerly McNett).
Fixing Leaks in Seats and Backrests
Start by locating the leak by ear or by using soap and water (spread it around and watch for bubbles). It’s possible that there’s a leak where the baffle is attached, or in some other spot where the iron accidentally touched the TPU inside the seat or backrest, in which case ironing around the perimeter again won’t help.
Check the valve, too. I find that if the valves are overtightened then they will leak, but if you back off the screw-top a bit then they will almost always hold air.
If the air is coming through the fabric and/or out from the perimeter somewhere, the repair tapes mentioned above can provide a temporary fix (at least slowing the leak).
At home, spread some Seam Grip+WP or Aquaseal or Aquasure on the leaky spots and then let it cure. Test to see if it holds air. Repeat that soapy water and Seam Grip process, if necessary.
If there are leaks where a baffle is attached, I would be tempted to coat the whole baffle attachment area with sealant because if it’s leaking in one spot, there’s a good chance it’ll start leaking in another spot in the future as the baffle continues to pull against the TPU, and you may as well fix it before it becomes a problem.
After the leak is fixed, avoid over-inflating the seat and backrest by leaving them in the sun when they’re not in use.
37 Comments