- This topic has 2 replies, 2 voices, and was last updated 5 years, 8 months ago by
 .
.
-
Topic
-
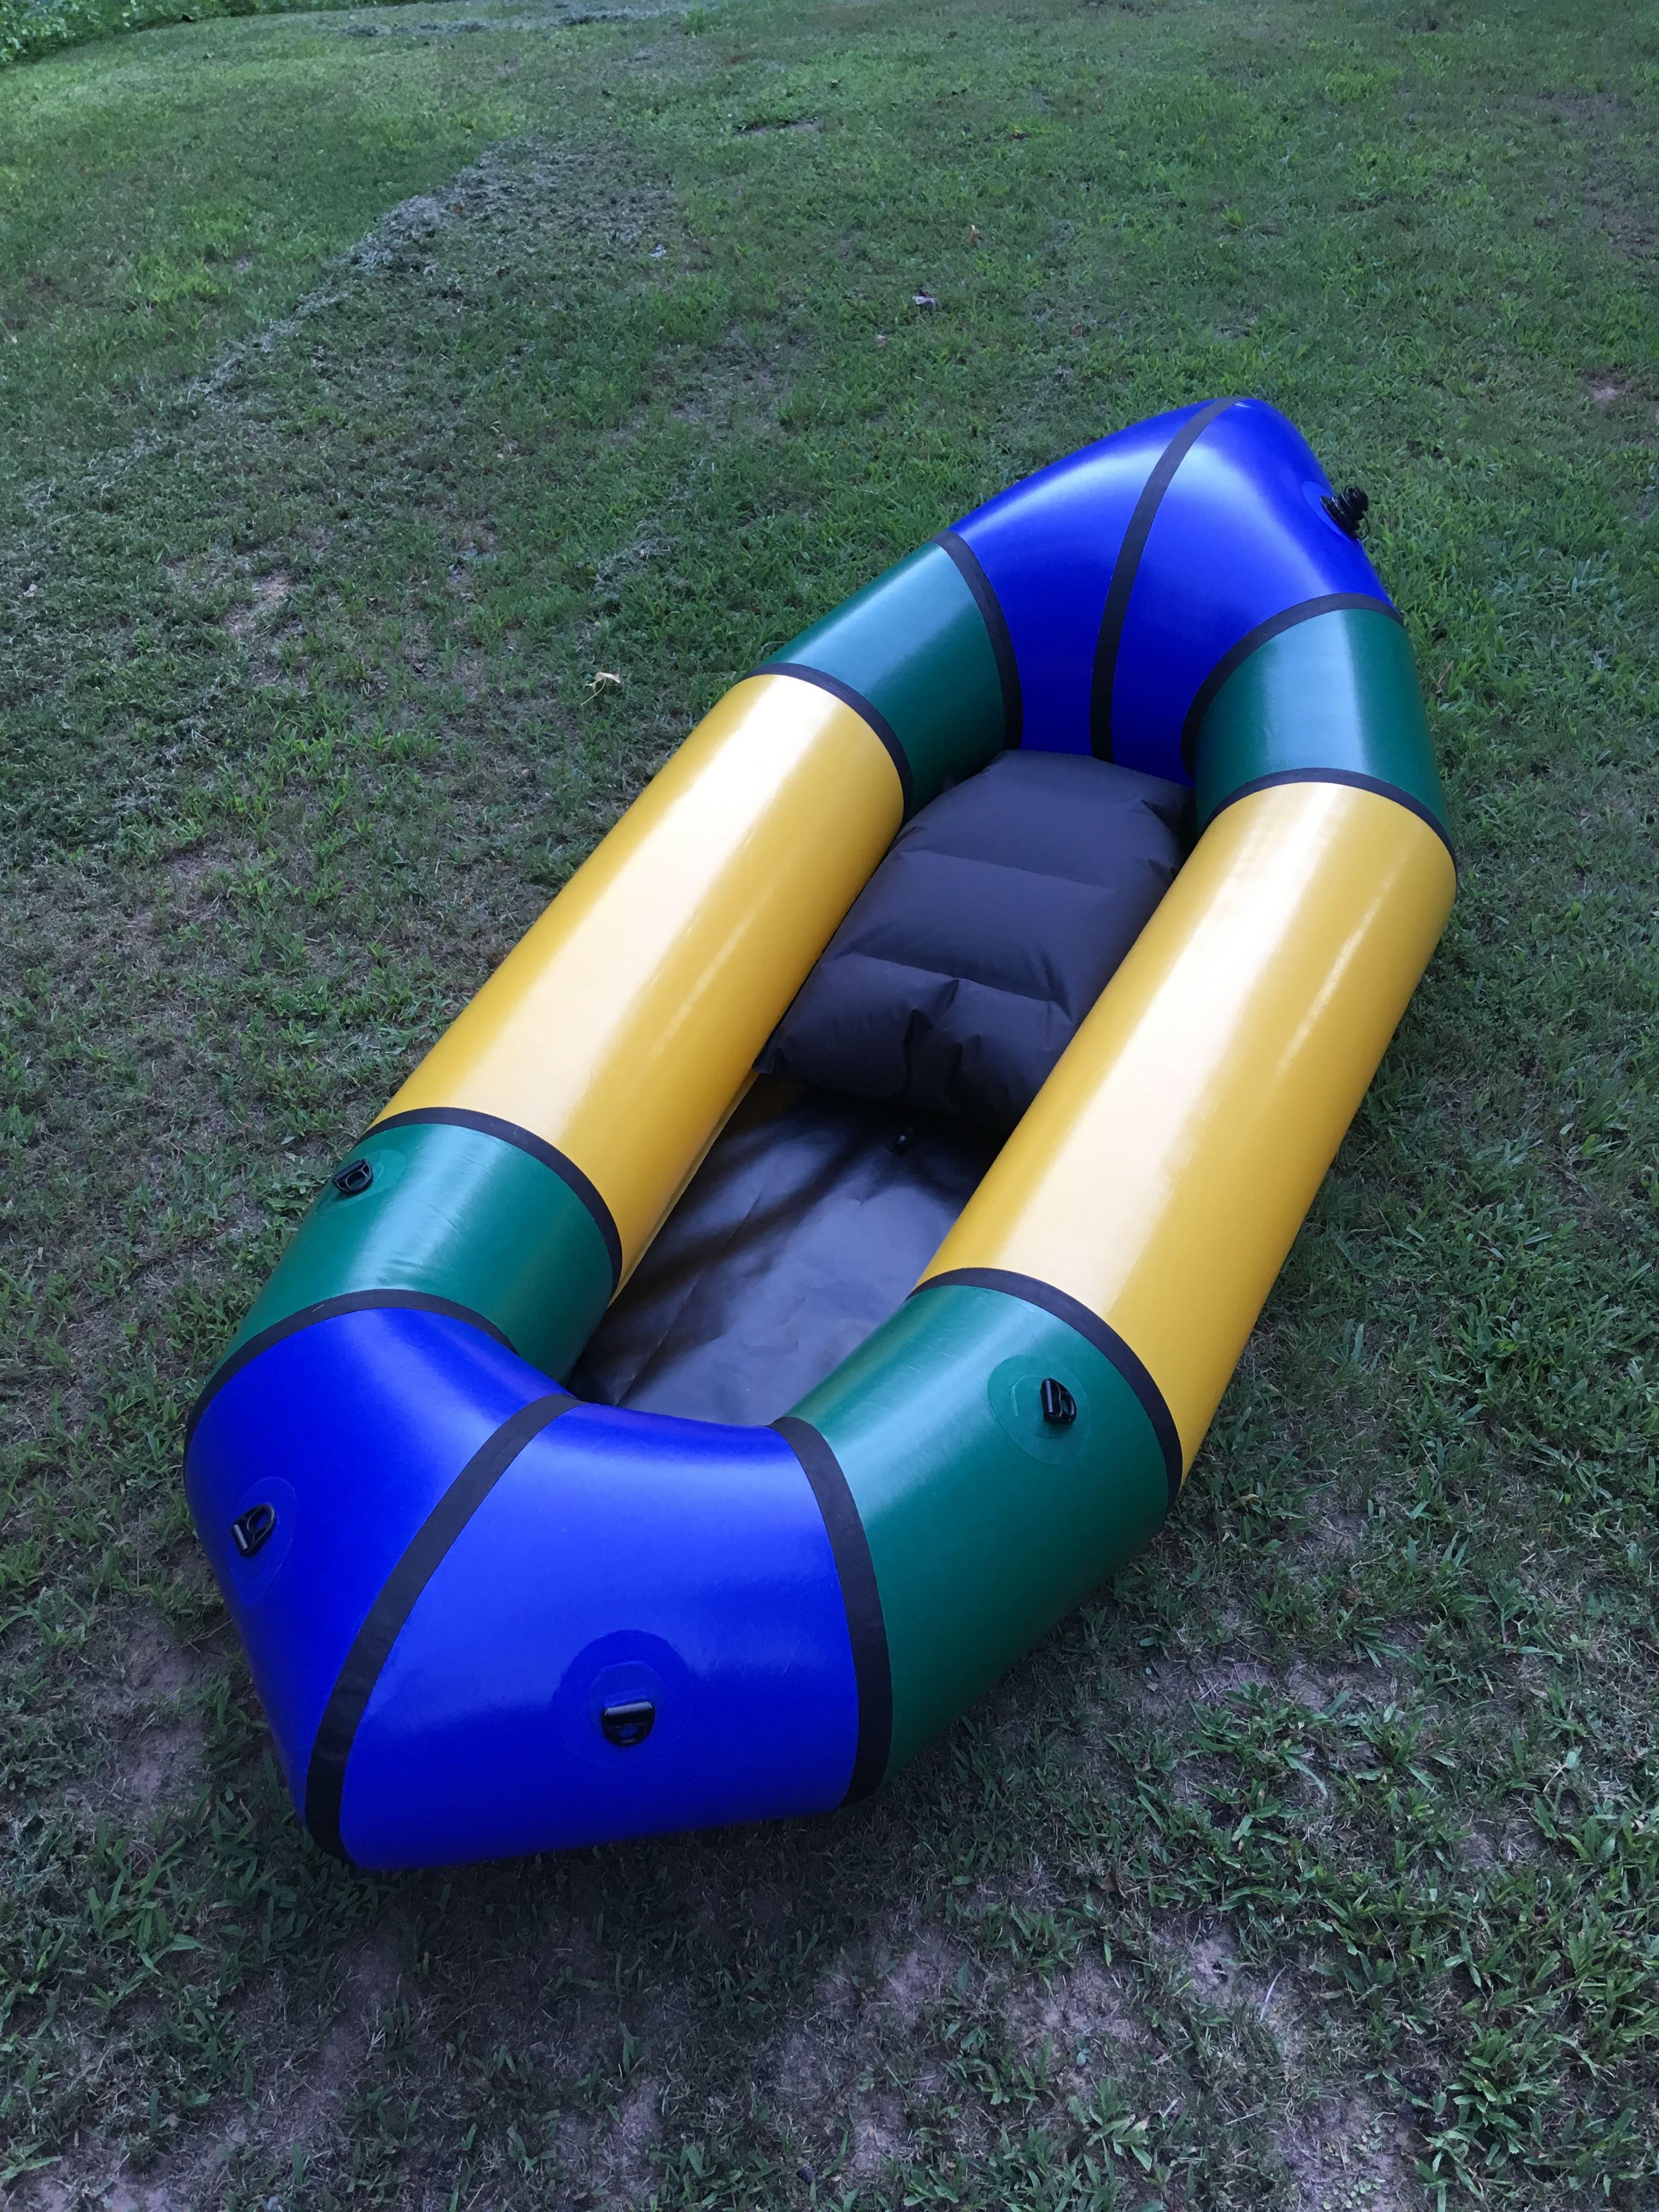
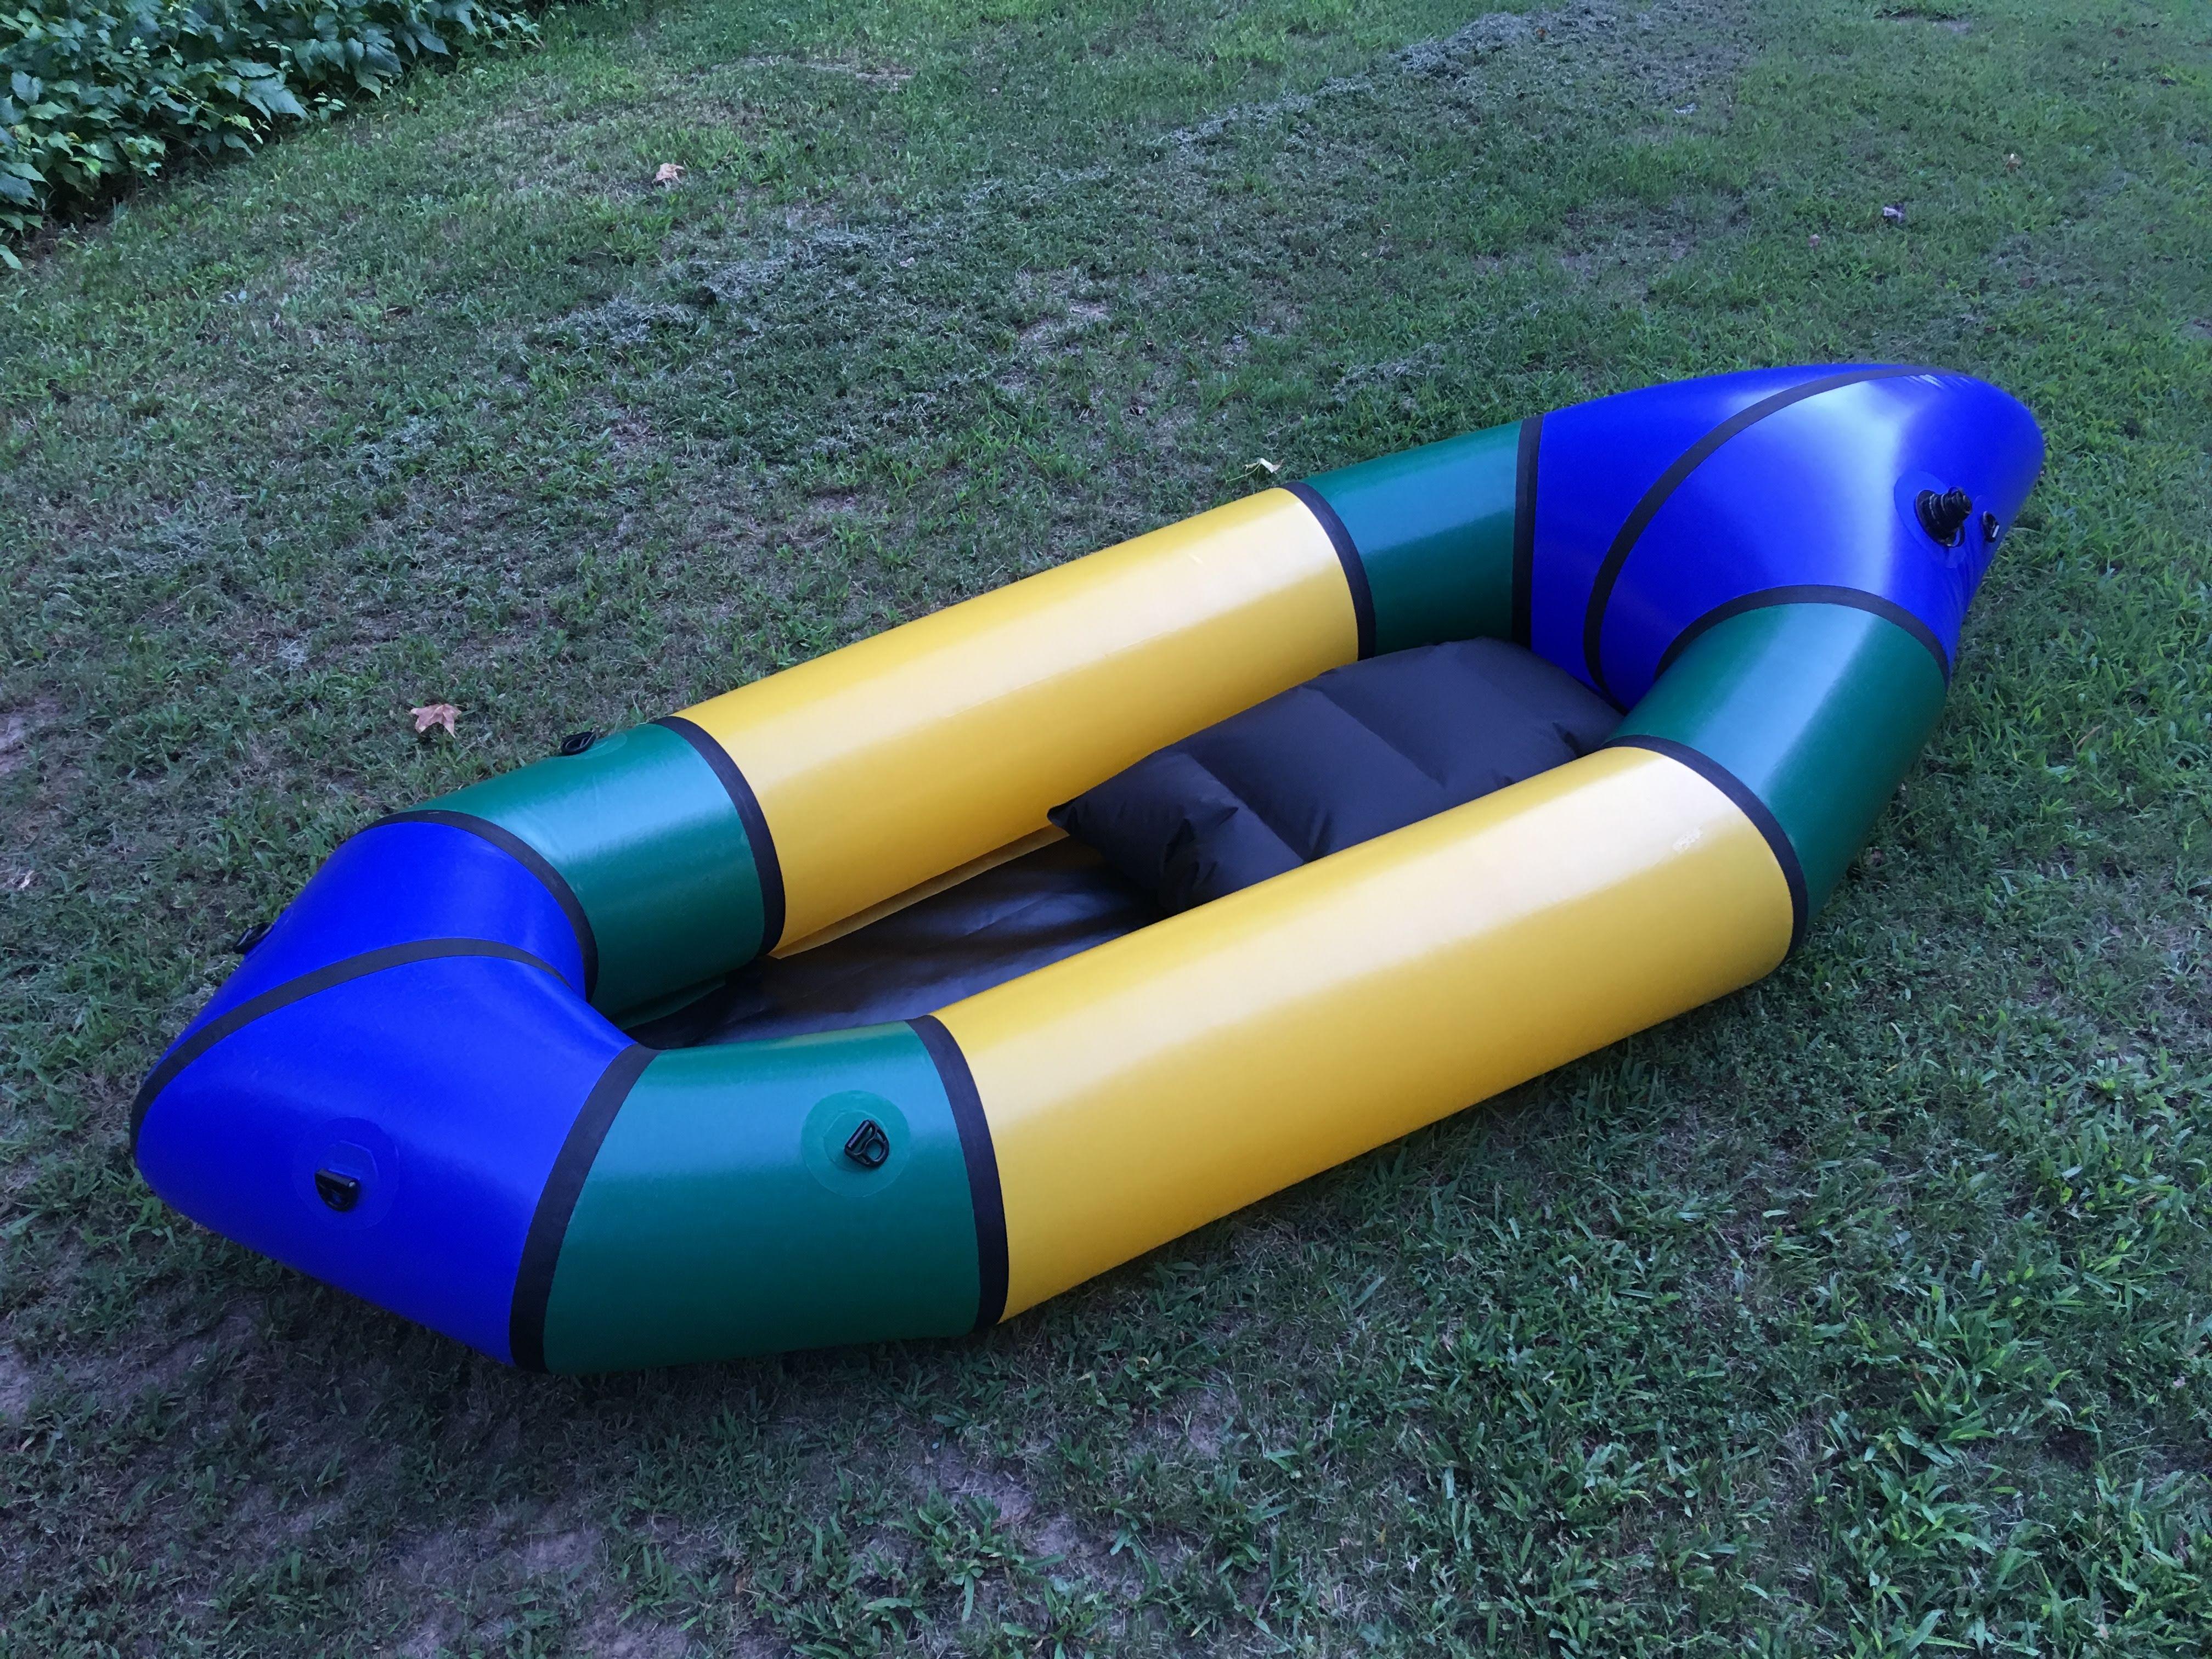
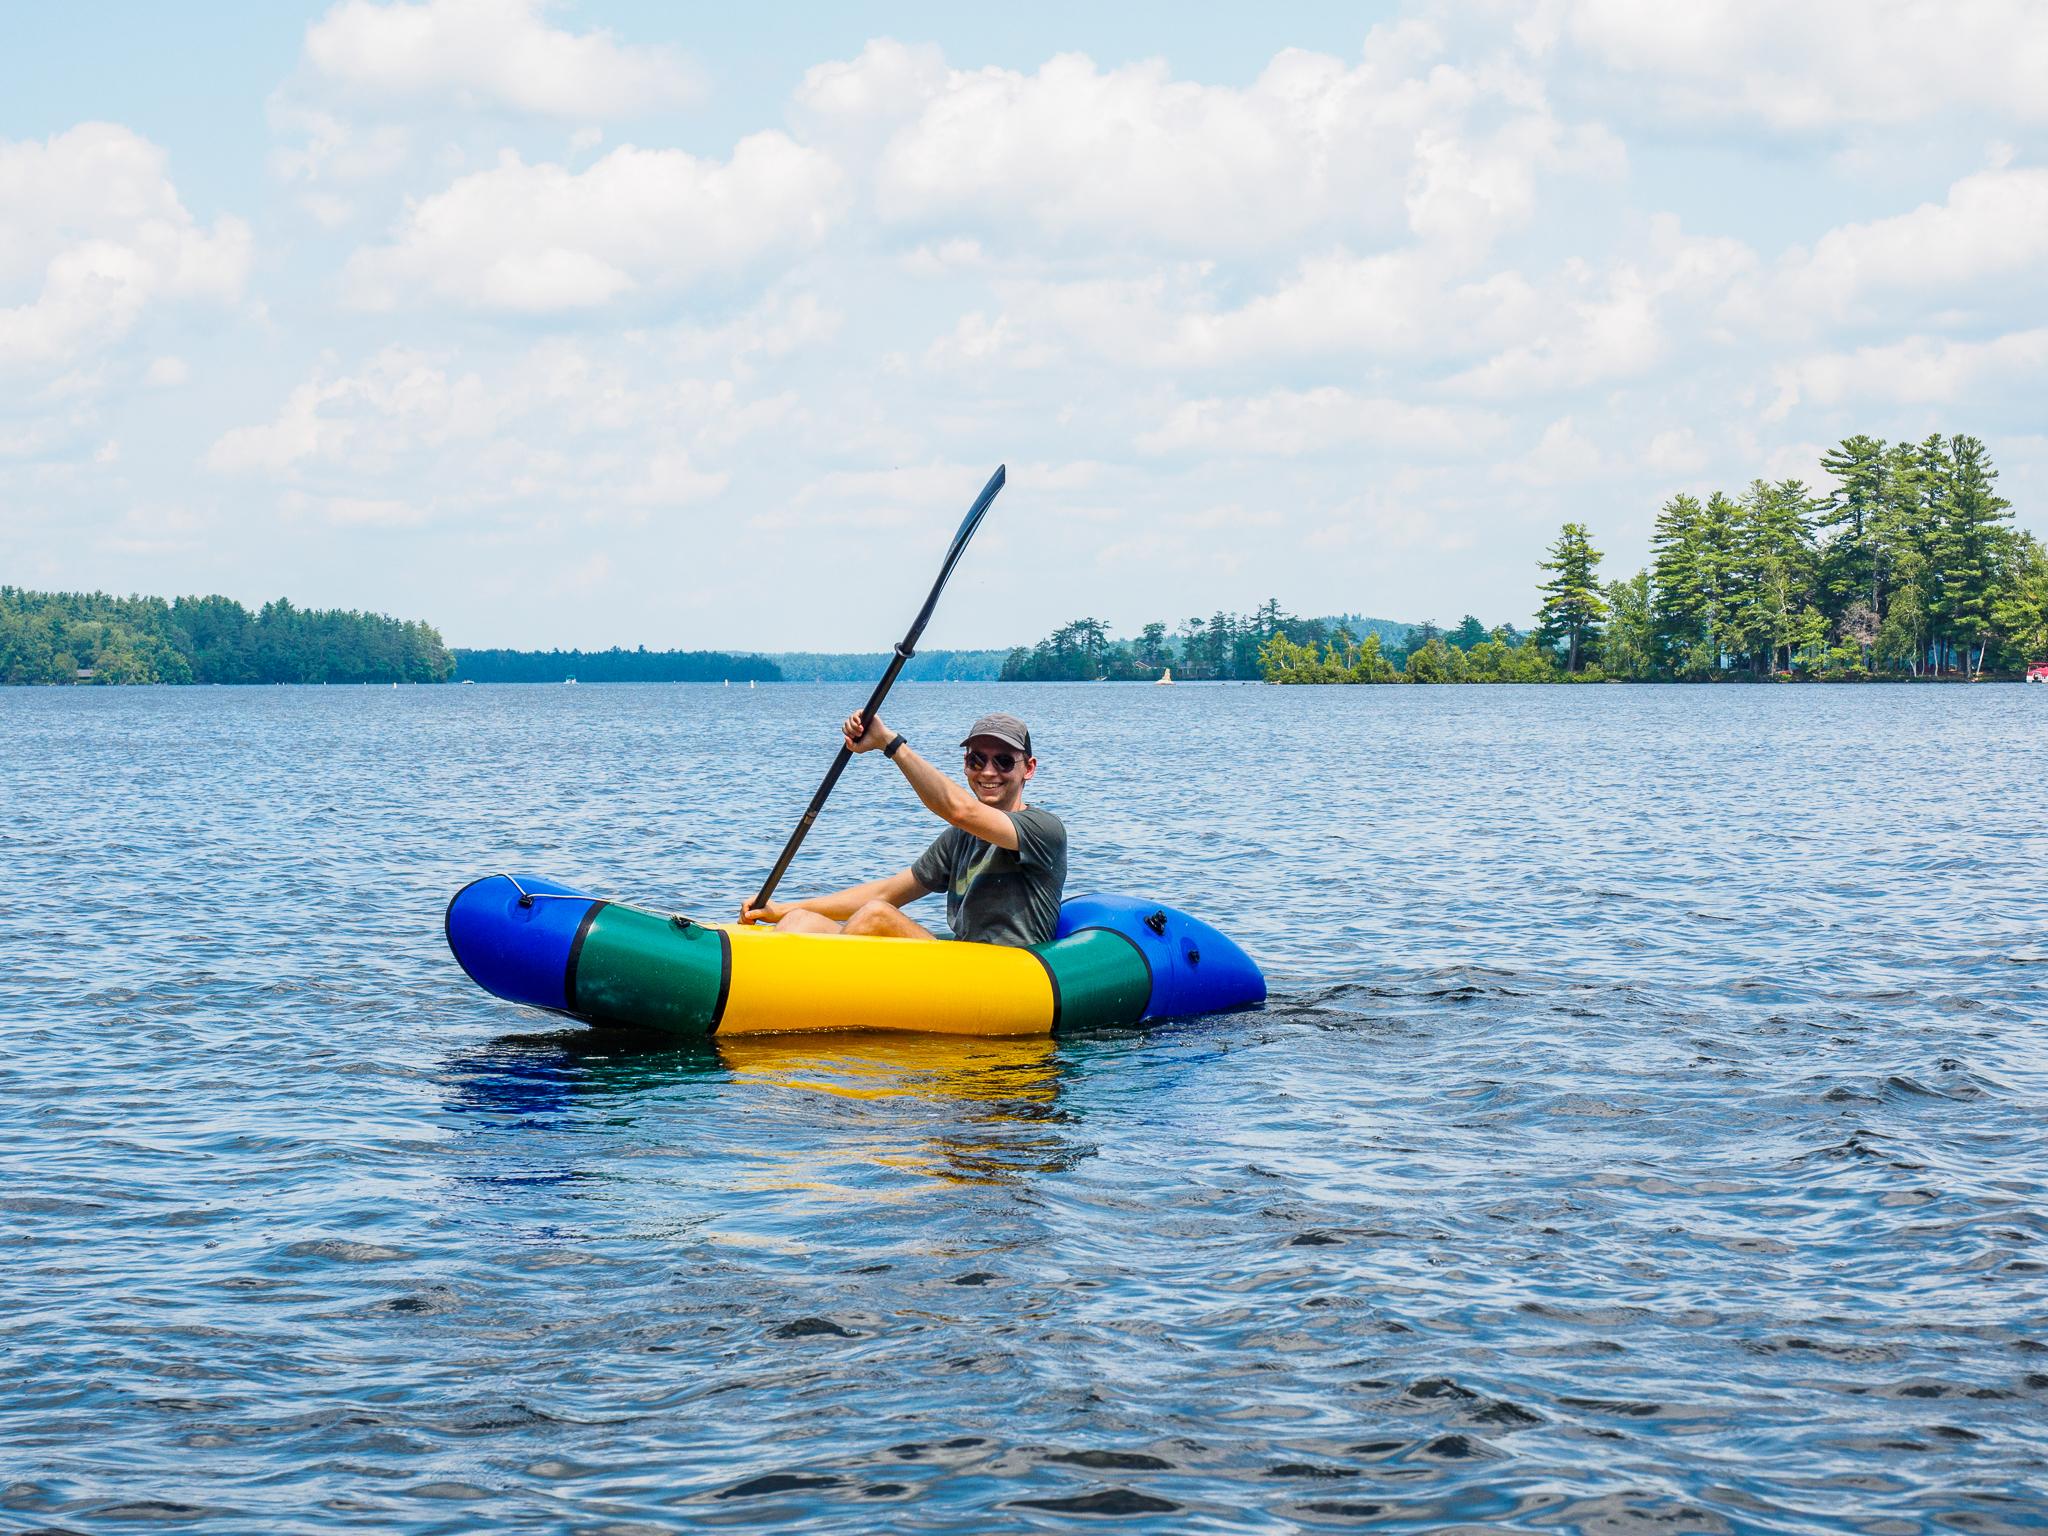
Proud and excited to say I finally finished my DIY packraft. It’s been an awesome project to take on this summer, as I’ve been working an internship in a different city and had time in the afternoons to make progress. I’ll share a couple of first pictures I took and give a bit of a review of the process/share some things I found helpful.
The project took me a lot longer to complete than expected. The instructions mention 15-30 hours, maybe 45 for your first raft. While it’s a hard thing to estimate over the course of 3 months, I feel comfortable saying I put at least 100 hours into this. I definitely worked very slow and methodical in an effort to ensure I did a good job, and I take pride in that fact. It was definitely worth it to me. And I don’t think most people would have this issue. I just sweat the details on projects like this. I’m also starting to suspect that my iron wasn’t quite hot enough. I used a Coverite Black Baron with a modified shoe for most of the project, and I recently read a comment saying they only get up to around 375F, and you need 400F. Might have to look into those modifications to increase the heat for the next one.
But as I said, the time I spent on it paid off. It held air well overnight after its first inflation, losing only 2-3 breaths worth of air. I’ll get to finding the small leaks this week.
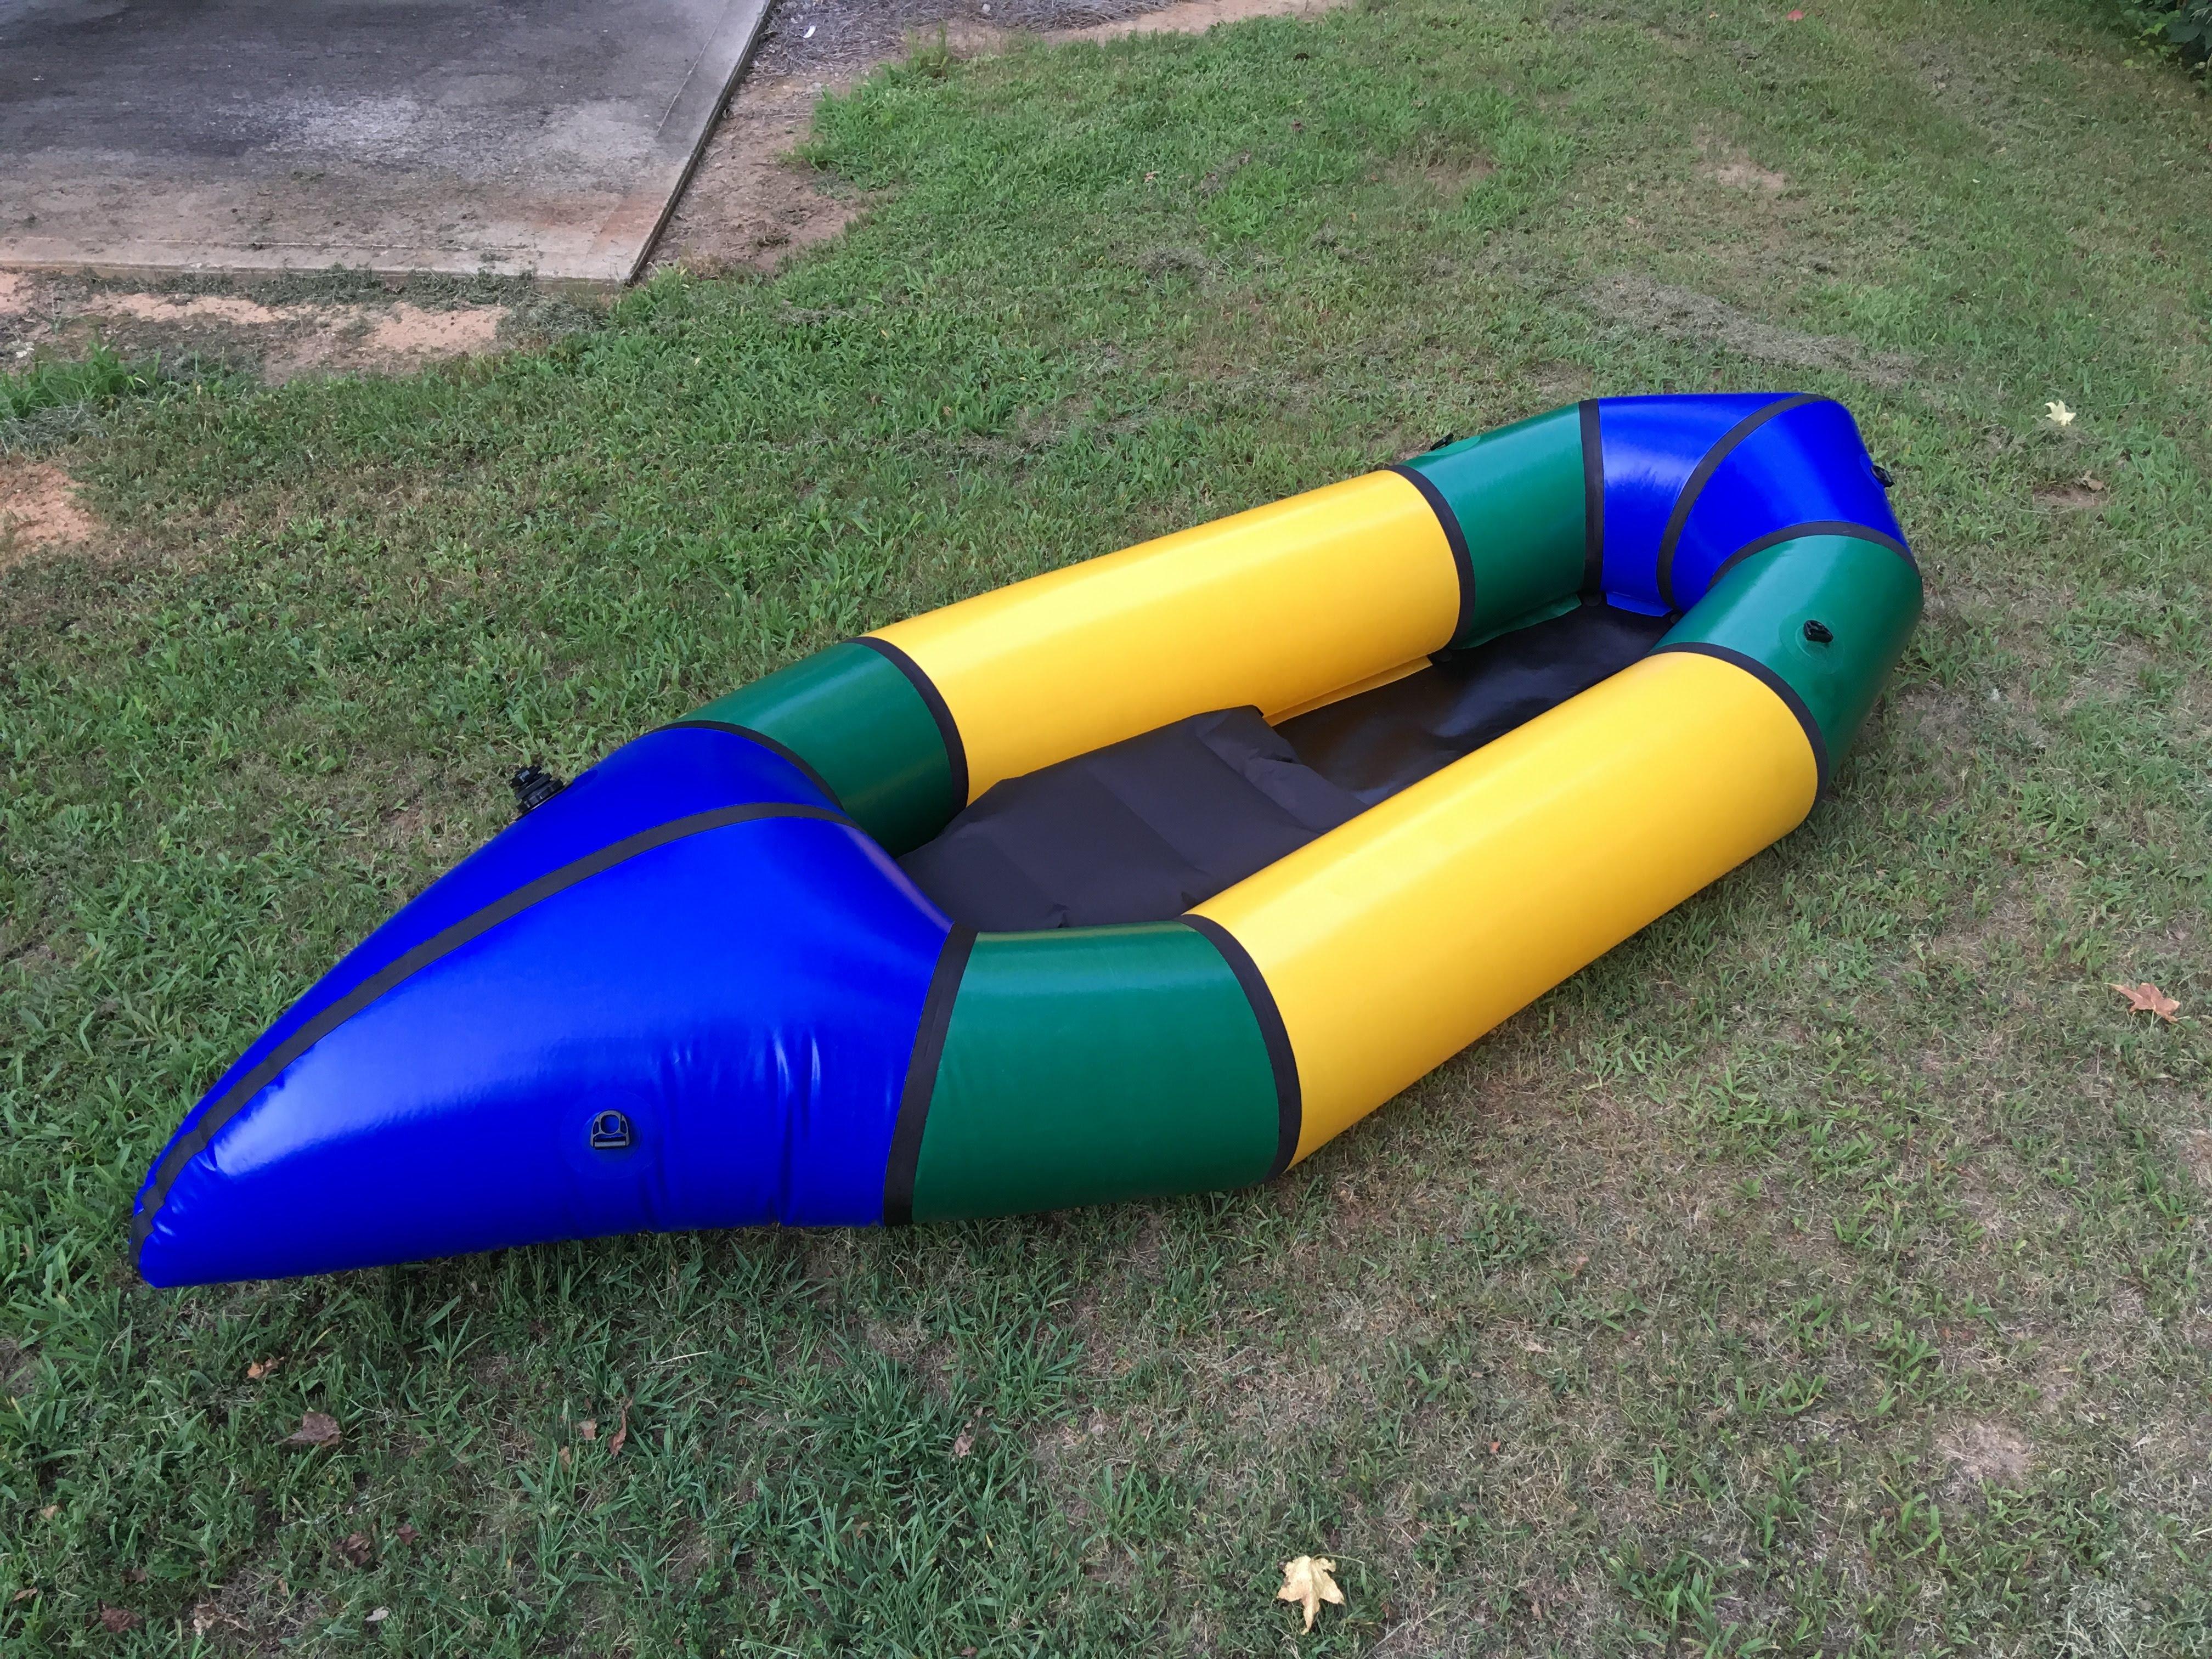
A trick I read somewhere that I found super helpful for the rear center (last) seam was to leave a hole about halfway along the seam where you only seal the seam strip to one side, then continue along to the end. This allows you to keep your forms in the raft while completing the difficult stern tip (used a lacrosse ball for that). It’s obviously very important that both sides of the tube stay even while you’re only sealing one side of the strip. I got it very close, but did end up with some slight wrinkles on one side after closing up the raft entirely. Thankfully I was able to spread them out enough that it didn’t create any folds.
I would recommend putting some Type 4 attachment points in the tube-to-floor reinforcing strip at that point. I didn’t come across that tip until it was too late, so now I’ll probably end up gluing/sealing some tabs to the floor. Would’ve been more elegant the other way.
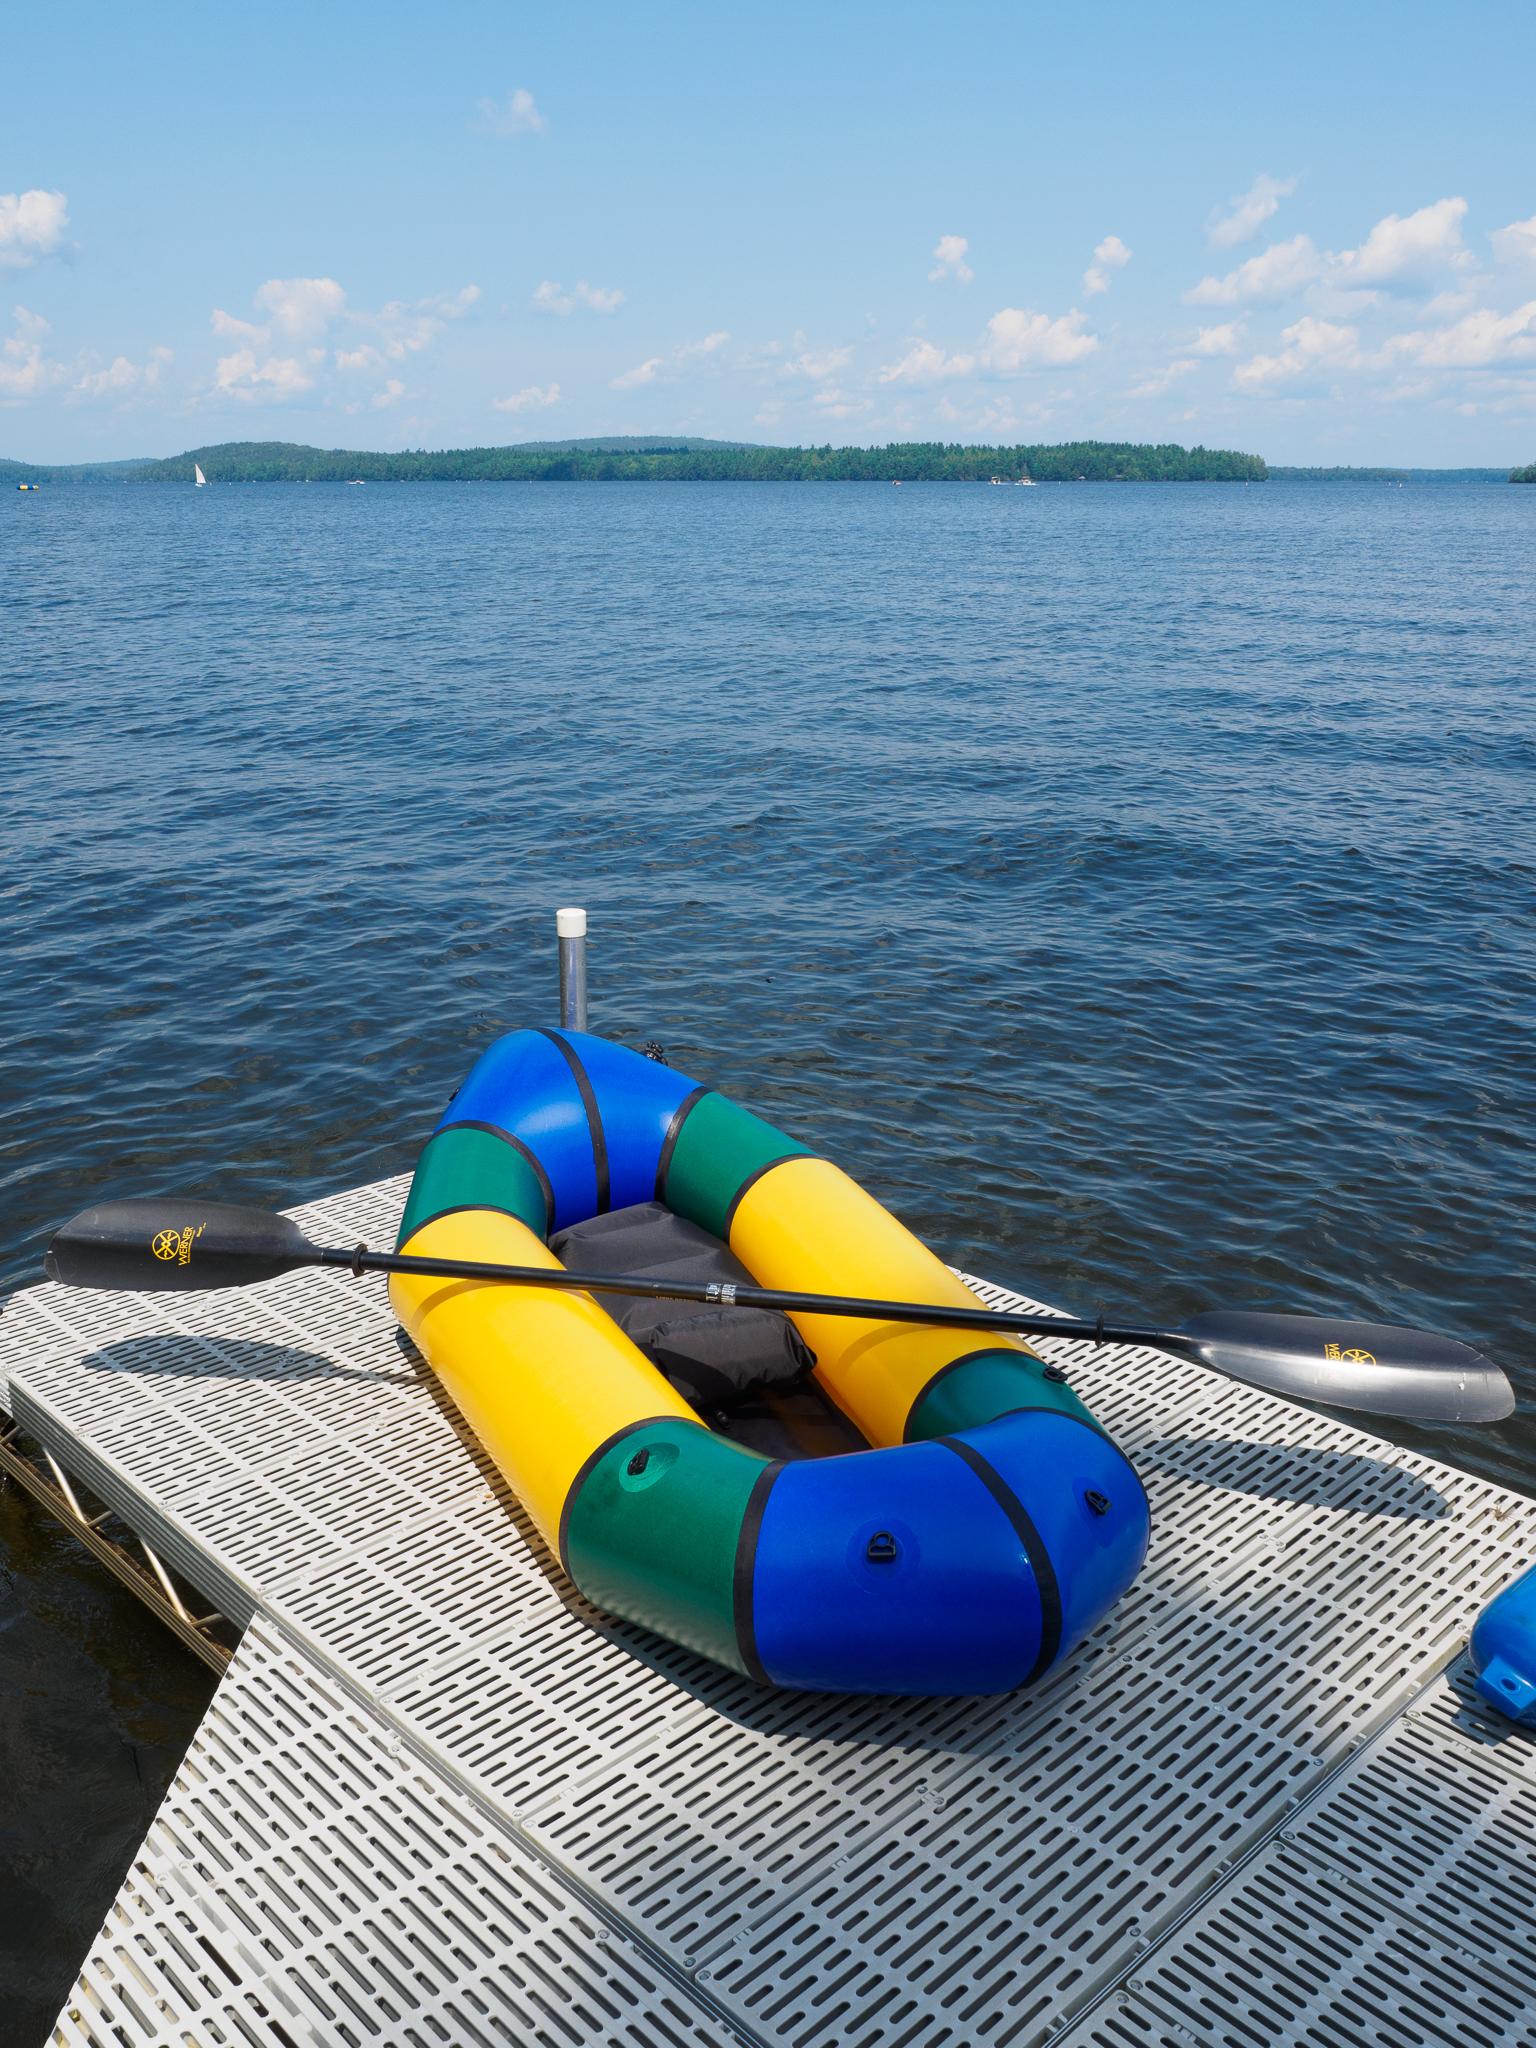
I’m up in Maine for the week and brought the raft up for its first time out on the water. I’ll most some pictures later.
- You must be logged in to reply to this topic.