- This topic has 4 replies, 4 voices, and was last updated 4 years, 3 months ago by .
-
Topic
-
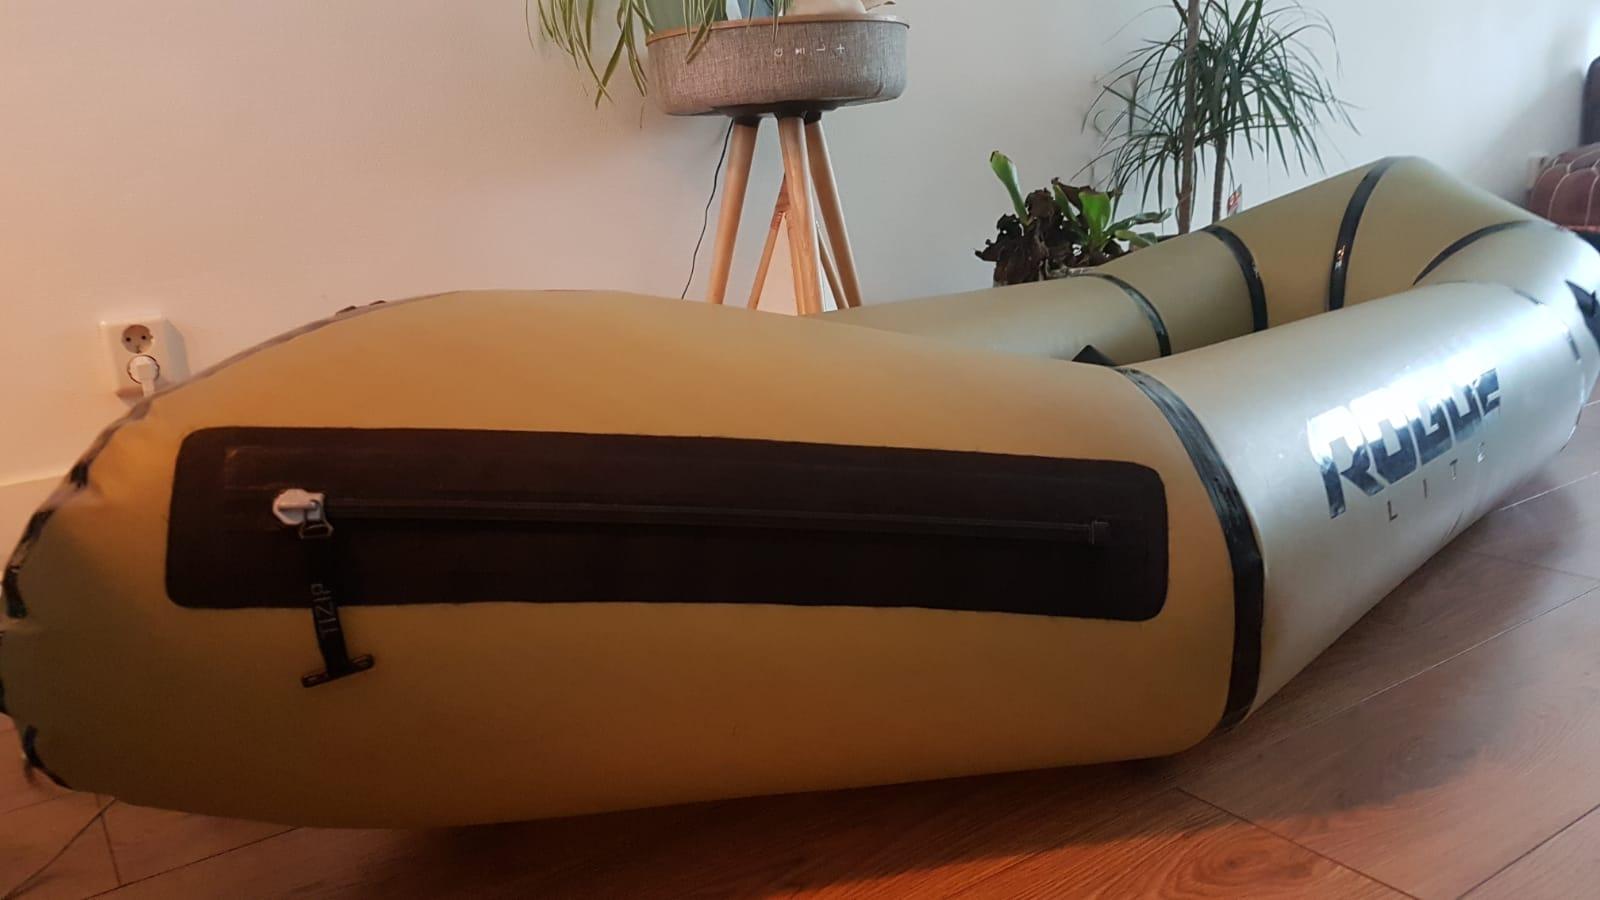
For anyone wanting to install in a Tizip in a Kokopelli packraft, it’s possible thanks to the help of Matt and DIYpackraft. After contacting Kokopelli if they retrofit Tizips they said it was only possible during the fabrication process and suggested I bought a whole new one…. After talking to Matt it definitely seemed possible however so I decided to take the plunge.
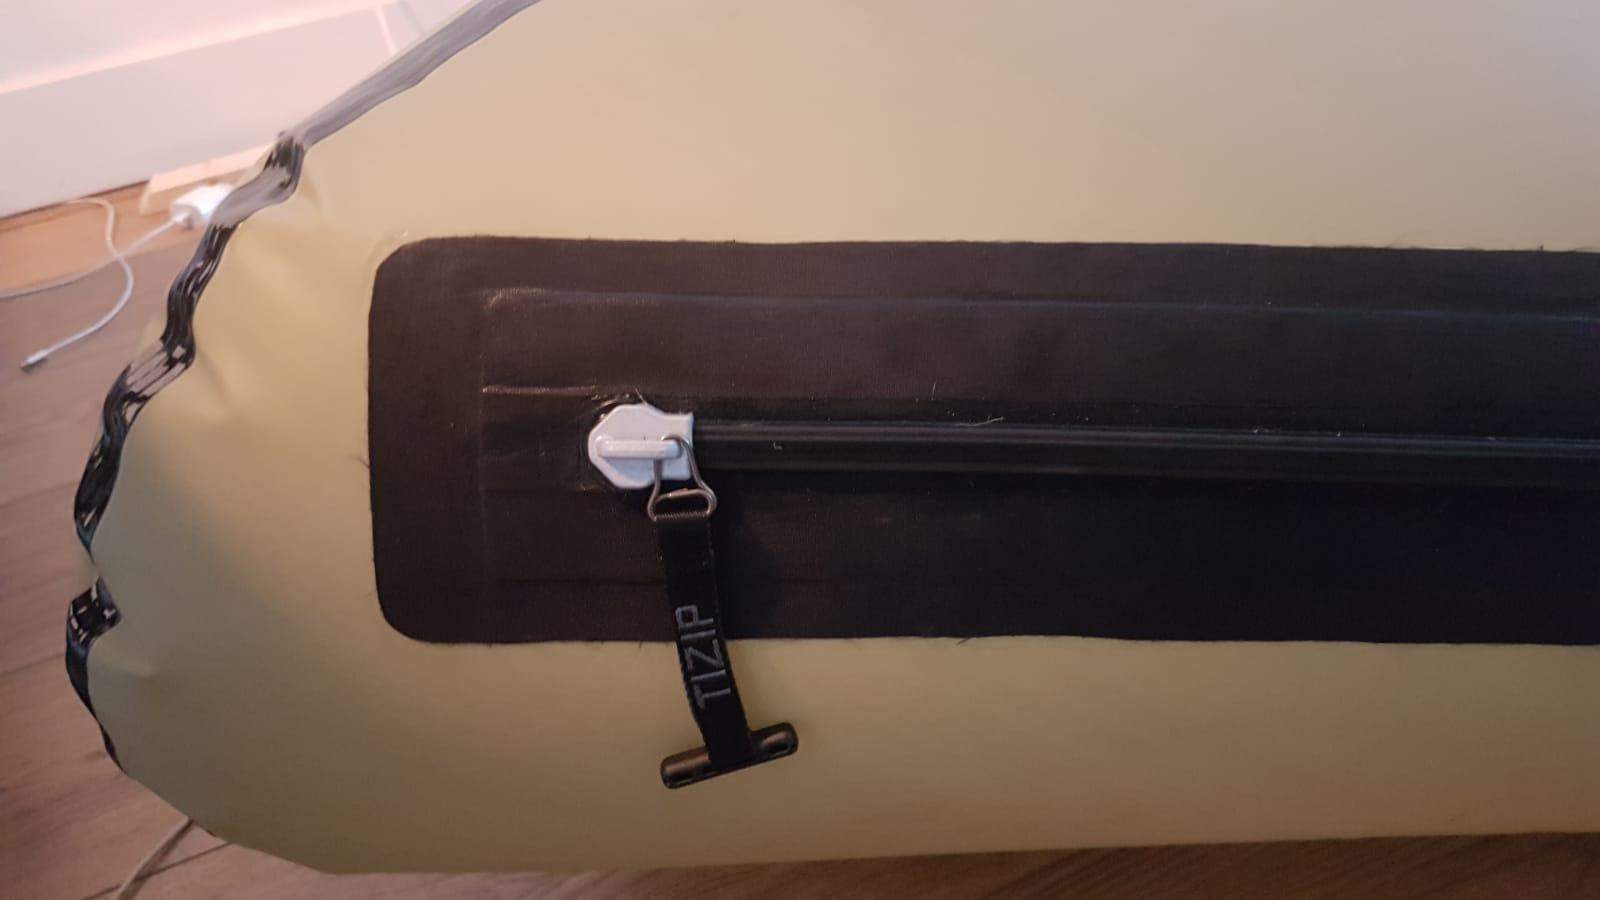
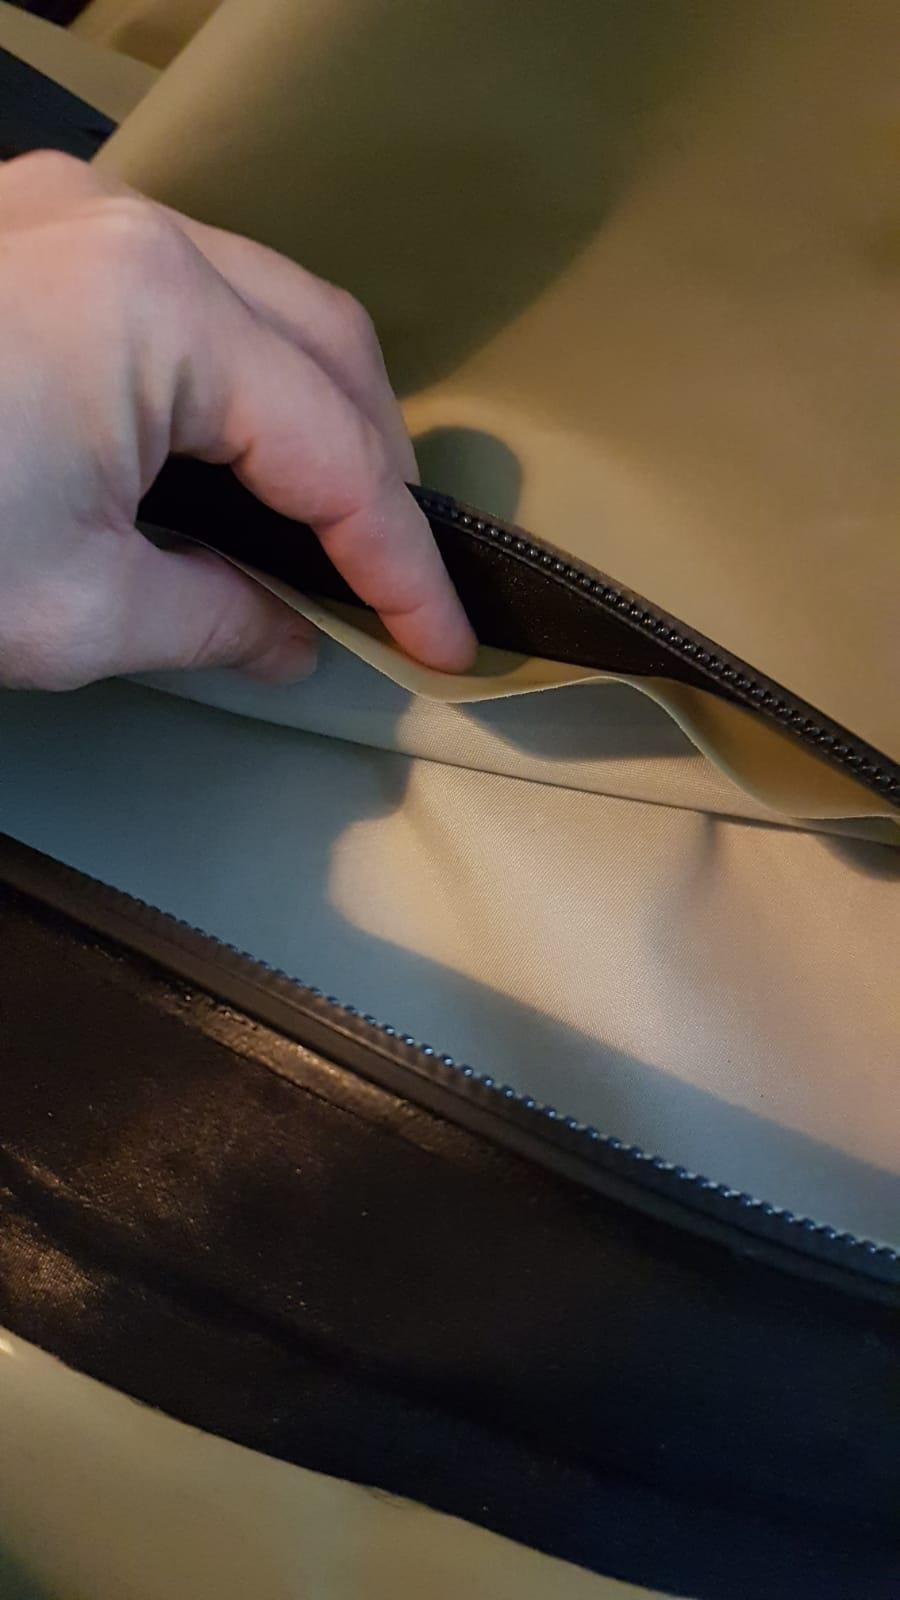
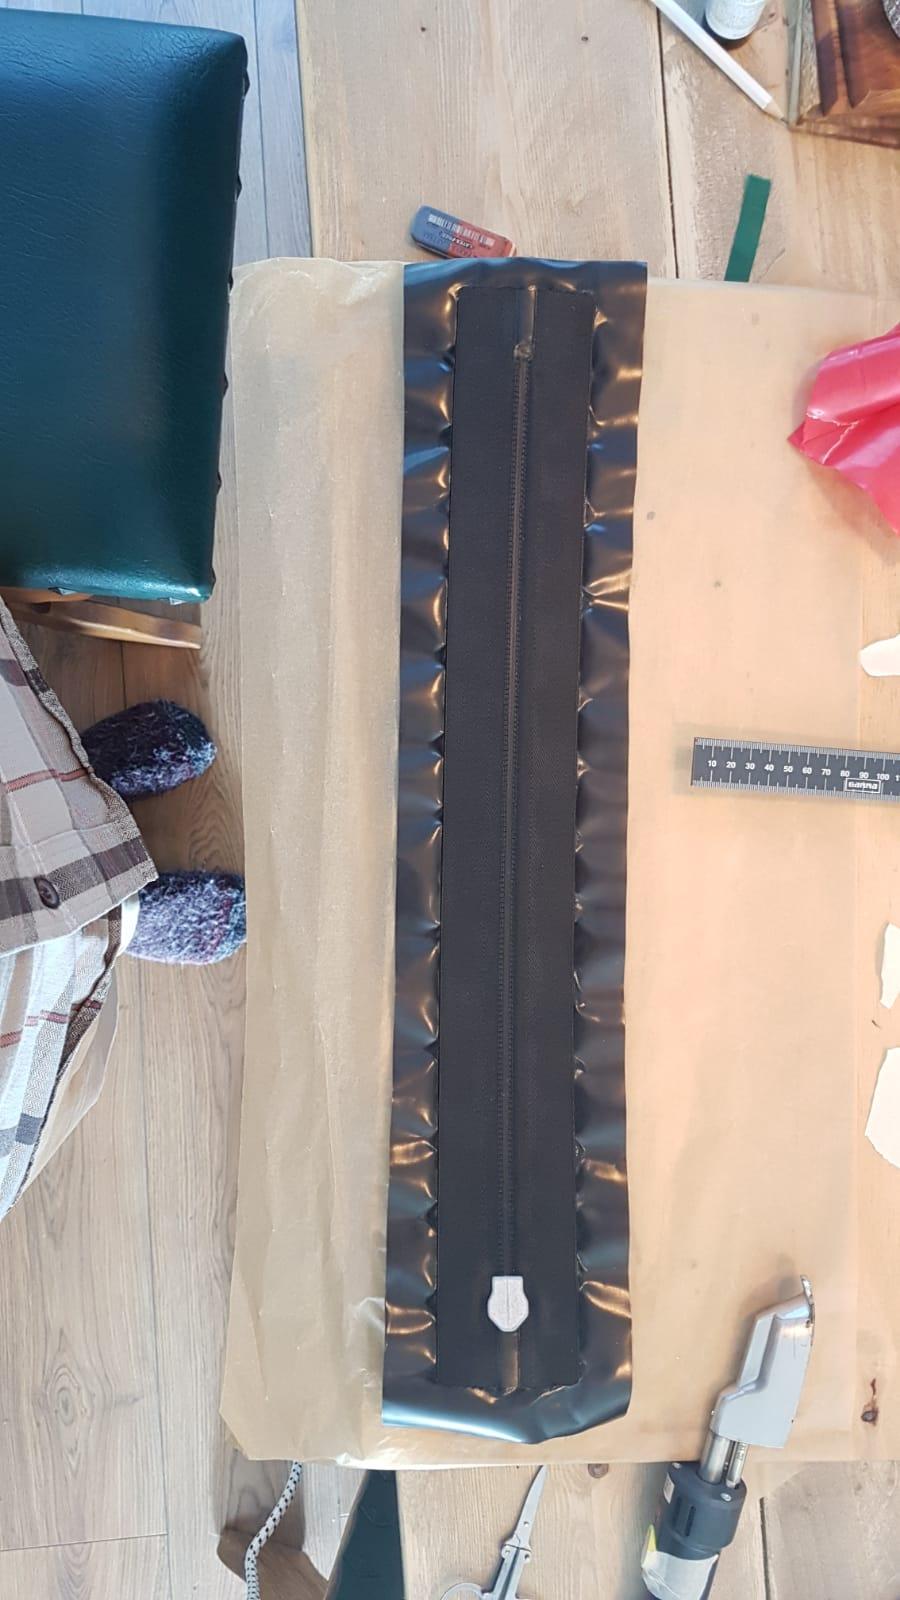
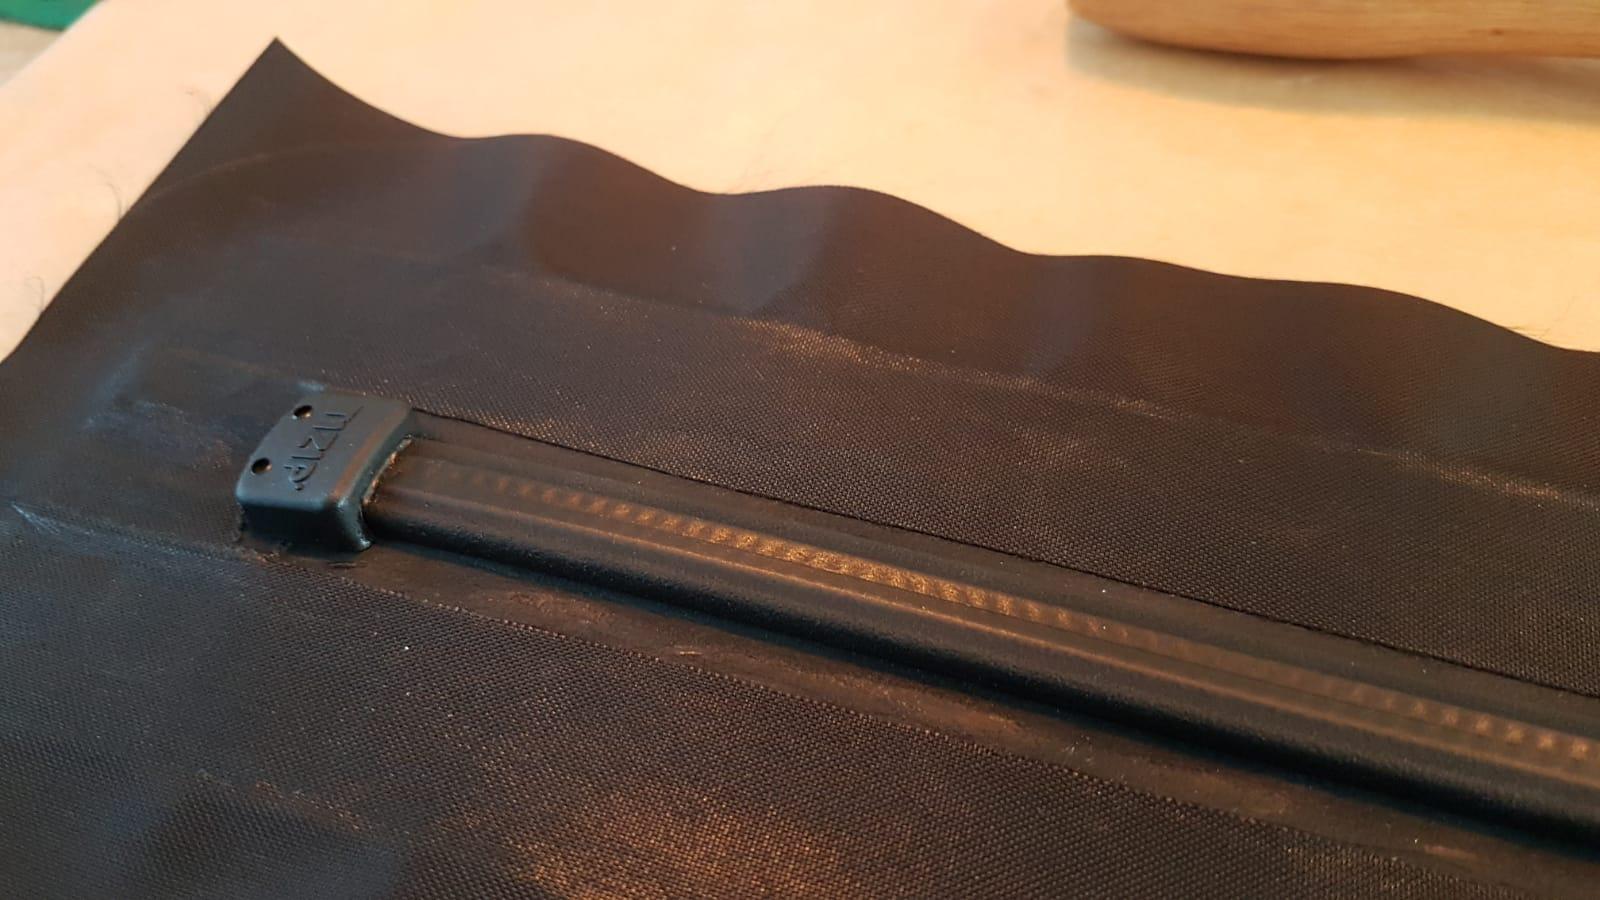
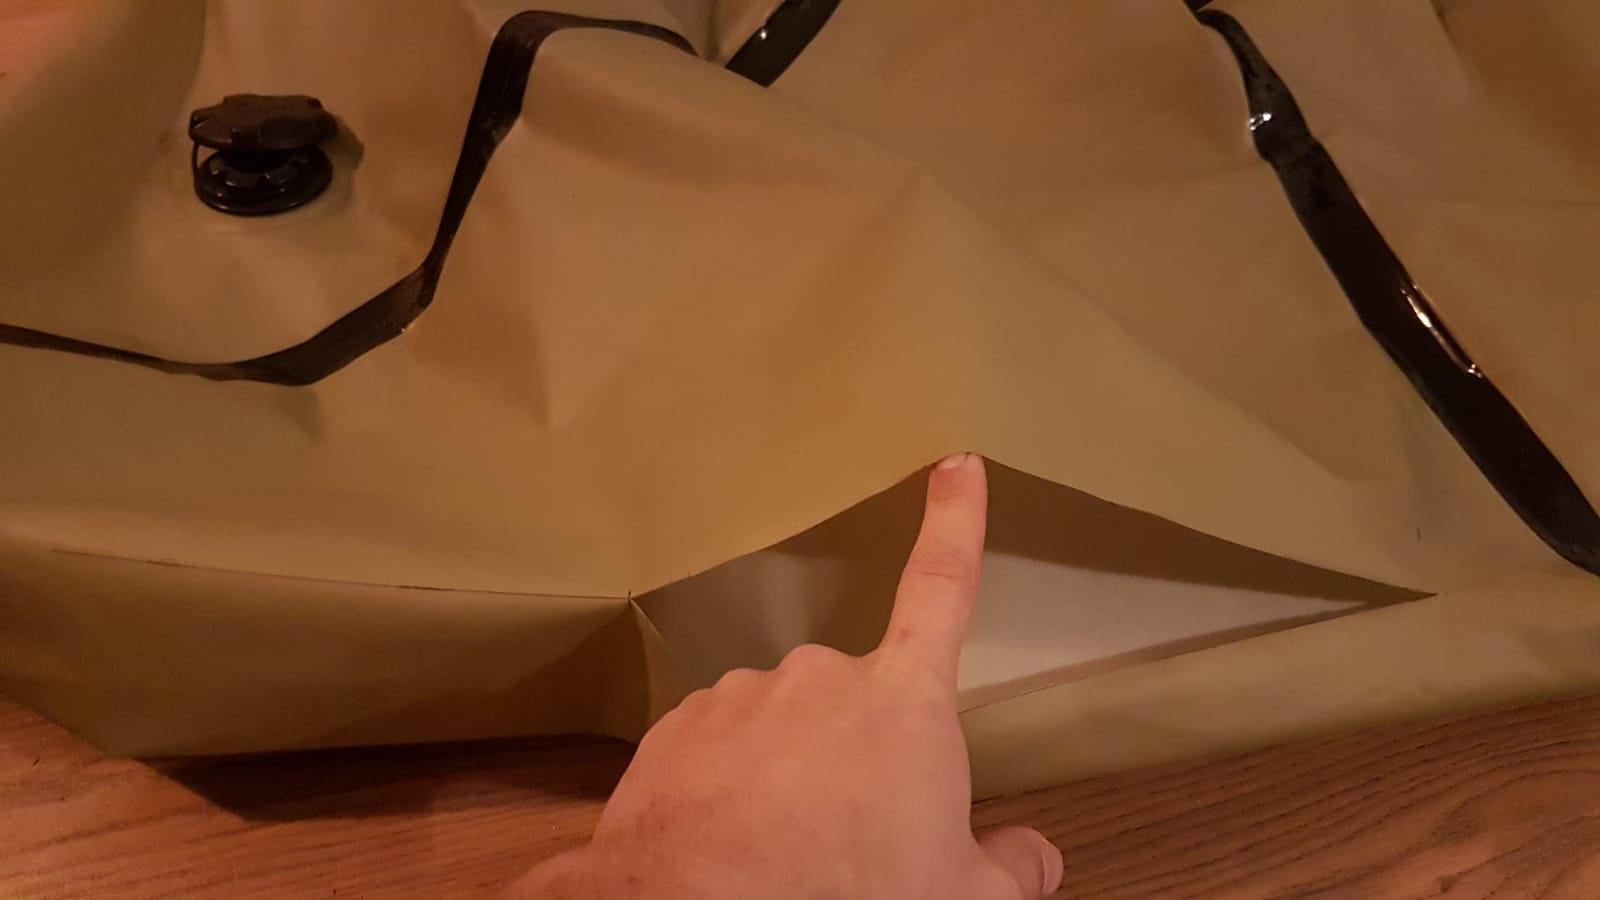
I basically followed the instructions for installing the Tizip in an existing packraft. I did slim down the piece of fabric that goes over the tizip to about a 15mm edge around the tizip. I left some more room on the closing end of the zipper, as I figured that will take a lot of force when pulling the zipper open. I haven’t put in a loop, but I basically deflate the raft for about 5 seconds through the valve, which allows me to crab a large portion of the stern (including the material of the tizip) to pull it open. I also didn’t cut out something the size of the zip out of the packraft as Matt did in the video. I just made a slit across the length of it. This way I could, in case it went completely wrong, patch things up relatively easy again. I will likely leave it like this for a while to see how it holds up.
The process of heatsealing the fabric on top of the tizip went quite easy. I did it over 3 or 4 separate sessions. The first did 90%, the last passes were just to get all the wrinkles and air bubbles out and to make sure all the edges are properly heat sealed (on the bottom and on the top). I did end up with about a 5mm ‘shortage’ and had to cut the slit in the fabric a bit longer. I think this was due to me not exactly lining up the edges completely. Fortunately it wasn’t a big deal in the end, I just cut the hole for the zip a bit bigger.
It seemed a bit harder to heatseal the tizip to the Kokopelli fabric than it was to seal it DIYpackraft fabric to the tizip but after a couple of passes it seems to not be leaking at all and held up fine overnight. I haven’t used aquaseal on the edges (yet), I will see how it holds up first.
I wish I had cut some of the edges a bit neater/straighter, but otherwise I am really happy with it! Thanks Matt for your terrific website and all the info/materials you provide and for all the quick email responses!
Here are some photos of the process
- You must be logged in to reply to this topic.