- This topic has 2 replies, 2 voices, and was last updated 5 years ago by .
-
Topic
-
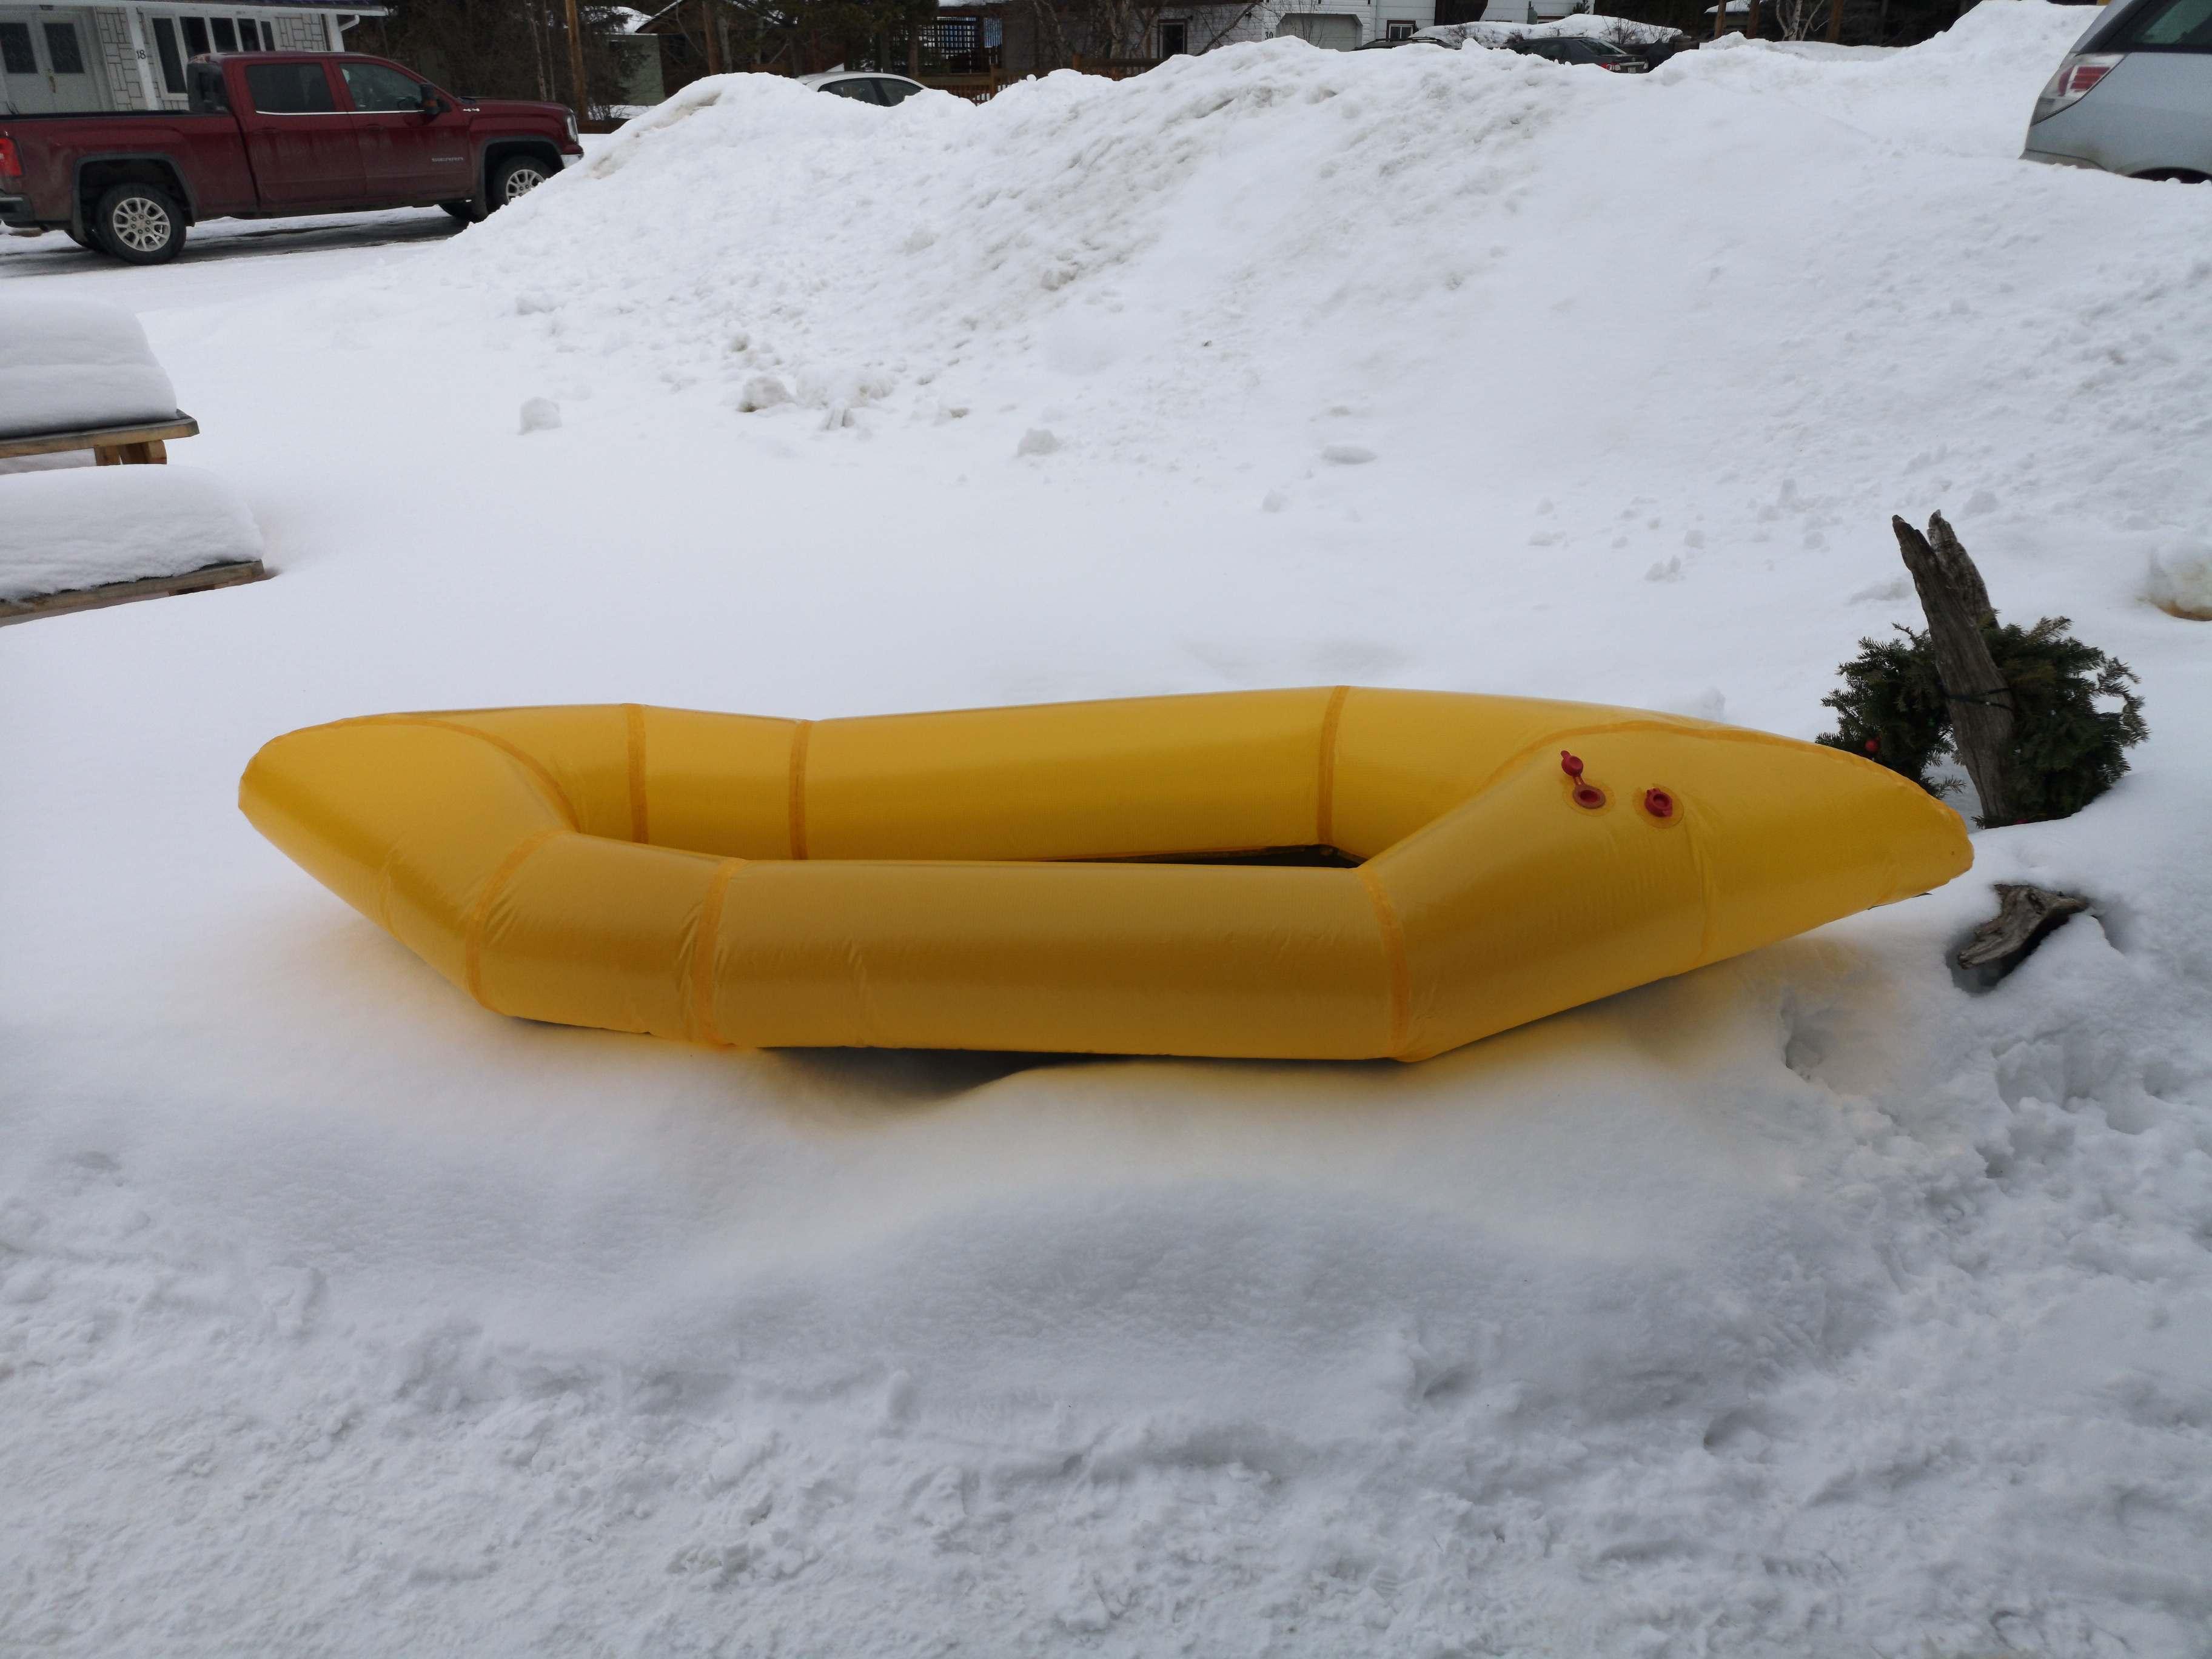
I finished my ultralight kit build last week and thought I’d share some of my comments and thoughts on the process here for Matt and anyone else. Sorry this isn’t super organized just kind of a brain dump of thoughts and ideas.
- Overall, it went together pretty well. I made a bunch of mistakes but basically anything can be fixed and if I built another one I am confident I would do a much better job.
- This kit in incredible. Matt you must have some serious 3-D design skills to figure out those tube shapes. The build process is so well thought out and the directions are detailed, accurate and easy to follow.
- If you have kids this is a perfect project as you can do little short snippets of work like seal one seam.
- Seeing the score lines for cutting is super hard. The best thing I found was to put a piece of the black floor fabric underneath to make them more visible and then trace them with a soft pencil.
- I wish I had been more careful cutting out the pattern. My scissor skills are lacking so I got some jagged cuts that affected my curved seams.
- If I did this again I would definitely get a hot knife to cut the pieces out more accurately and easily.
- Cutting out the sealing strips was a real pain! I ended up cutting them a bit short and had to splice my rear seam with two pieces. In a perfect world you could get this stuff on a roll like tape or something.
- I used a wider iron which made things a bit more tricky with the narrow tube strips. I did get an aliexpress iron but it showed up just as I was finishing the build so I decided to stick with what I was familiar with.
- Watch where you put down your iron! I only put it down on my boat floor once. 😉
- The floor welds were super easy.
- Definitely take your time to make a proper form for the tube strips. I found it easier to have the form wider than the strips otherwise they hang off the edges and it makes it tough to seal the edges down.
- The side seams weren’t too bad but front/rear seams especially the floor joints of those were the trickiest.
- Sealing the seams really adds a lot of time to your build as you wait for things to dry.
- Easiest way to seal the seams I’ve figured out is to do an entire side of the boat, turn inside out and seal all seams at once. Repeat for the other side. Then the front. Finally the rear. So that is minimum 4 days just letting seam grip dry plus your build time.
- I had a couple of larger leaks that I’ve sealed up and it is mostly holding air. Now I just have to get working on finding any tiny ones but I’ll wait for the snow to melt.
- Aqua seal/seam grip will literally fix anything.
- I really like the low profile red PVC valves for an ultralight boat like this. Would definitely use the full boston valve on a heavier boat though.
- Note to Matt: When I ordered the PVC valves with my kit I kind of expected that my inflation bag kit would come with an extra one to make the attachment instead of the piece of tubing. Maybe try to make it clear that people need to order an extra one.
- This was a super fun project. I am seriously thinking about building one of the heavier boats just for fun, even though I don’t need it at all.
Sorry can’t seem to get pics to upload properly….
Viewing 1 reply thread
Viewing 1 reply thread
- You must be logged in to reply to this topic.
