Assembly time: 30 minutes, excluding glue curing time.
First, why an inflation bag?
I tried to inflate a packraft by mouth once, but after half an hour it was only partially inflated and I was dizzy – packrafts are just too large to be inflated that way. Luckily, there are lightweight solutions to this problem: an inflation bag, or an electric pump.
An inflation bag allows you to scoop a large volume of air into the bag, close the top, and then squeeze the bag to force the air through a nozzle into the packraft (see how in the video below). Alternatively, you can purchase a small electric pump (also shown in the video below).
Note: Inflating your packraft entirely through the one-way (“check”) valve is possible, but airflow is quite restricted by the valve so it takes longer than the above method, even though some air is lost to back-flow when using the above method. Portable electric pumps are typically not strong enough to inflate through the check valve.
Assembling Your Inflation Bag
Note: The lightweight fabric is coated with TPU on one side, but the heavy floor fabric is coated with TPU on both sides (the finish may be glossy on one side and matte on the other). If you iron for too long in one place you will melt through to the TPU on the far side of the heavier fabric – be sure to watch the Heat Sealing video and practice on scraps before you begin.)
Packraft inflation bag kit parts (included with your packraft kit):
- Small piece of black silicone rubber tubing (roughly 5 cm or 2″ long and 2 cm or 7/8″ in diameter)
- Small piece of packraft floor fabric fabric, approximately 10 cm (4″) square (cut this from the excess fabric attached to your floor piece)
- Approximately 1 x 1.45 m (57 x 39″) of lightweight ripstop fabric (unlabelled, and color depends on availability)
- Caution: If you ordered a spray skirt kit with your packraft kit, the skirt fabric may be the same type of lightweight ripstop fabric as the inflation bag fabric (depending on when you ordered). Check for scored lines on the fabric before proceeding – scored lines indicate that it is the spray skirt fabric; the inflation bag fabric has no scored lines.
Tools required:
- Heat sealing iron
- Scissors
- Parchment paper (silicone coated baking paper)
- Polyurethane glue, such as Aquaseal+WP or Seam Grip+WP
- Ruler
- Small wood block or thick book
- Heat-resistant work surface
- Knife
- Thread (optional)
- Plastic coat hanger (optional)
Optional (shown briefly in the video above): Cut two ~15-20 cm (6-8″) lengths of plastic rod from a plastic coat hanger or other cheap plastic object. These will make convenient handles for your inflation bag, but are not necessary if you want to save a few grams and make your inflation bag more packable.
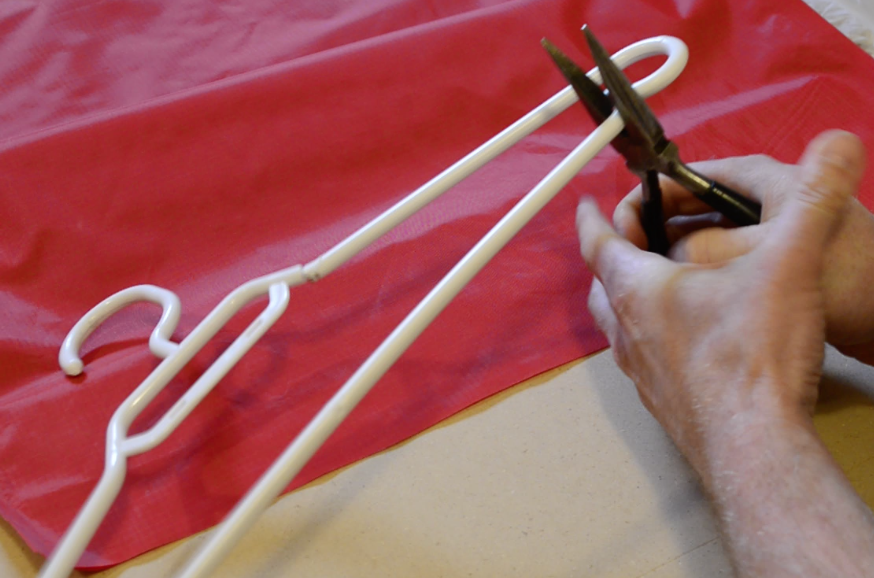
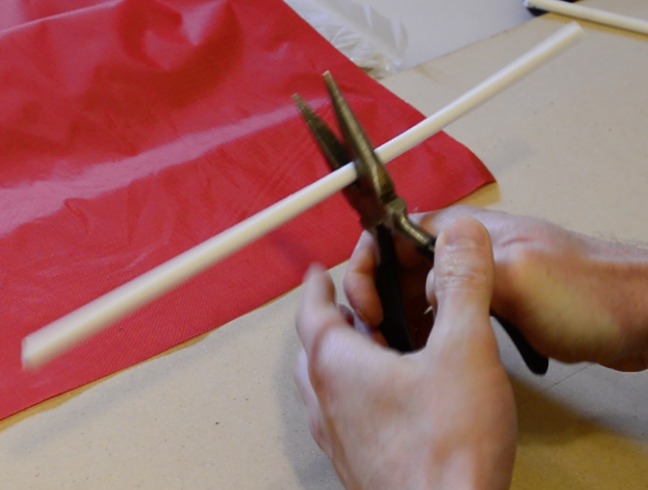
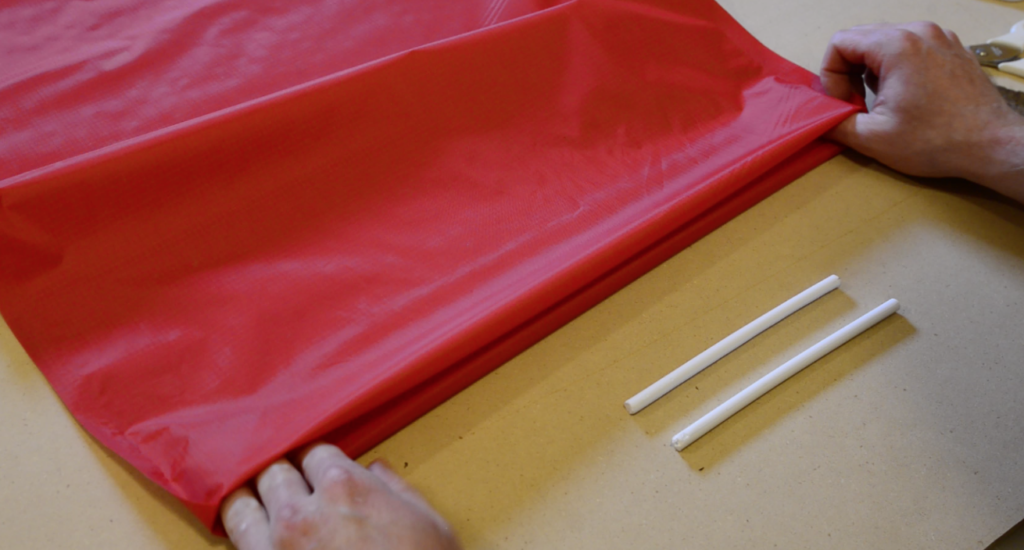
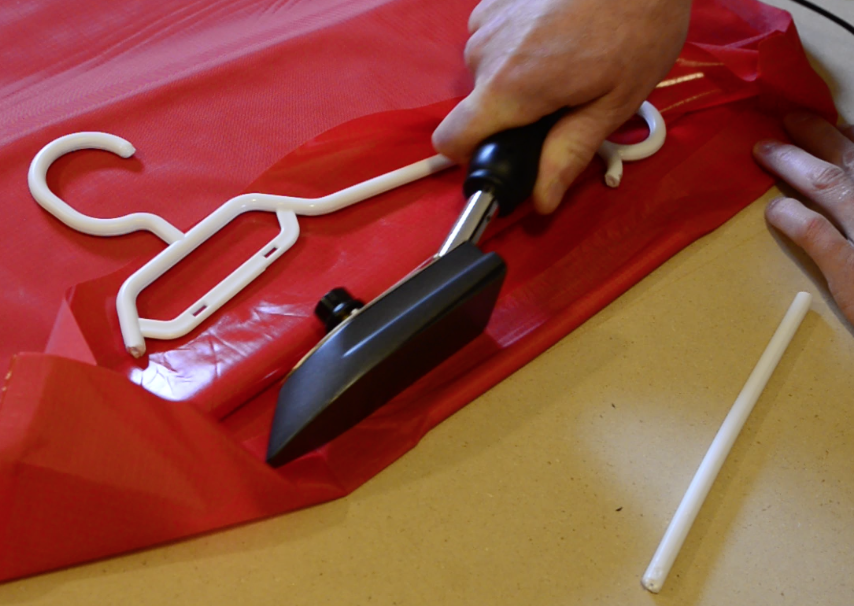
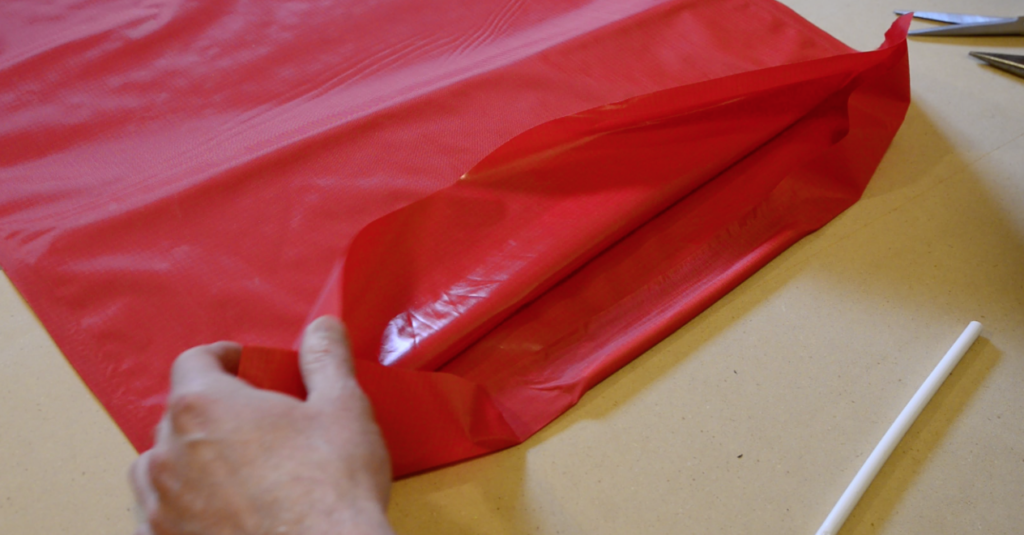
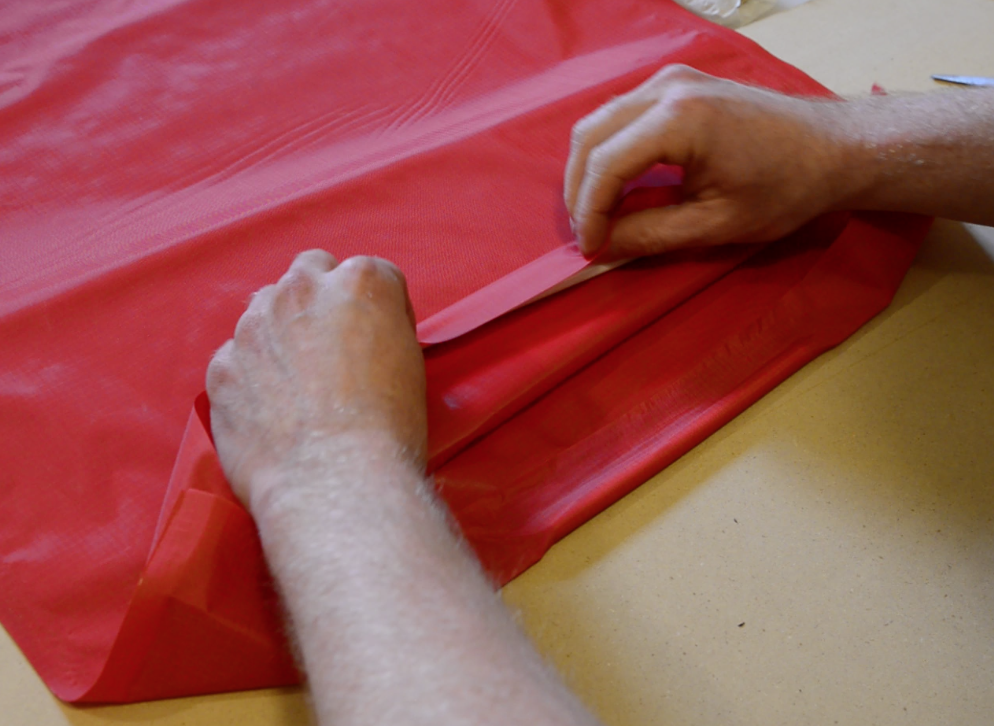
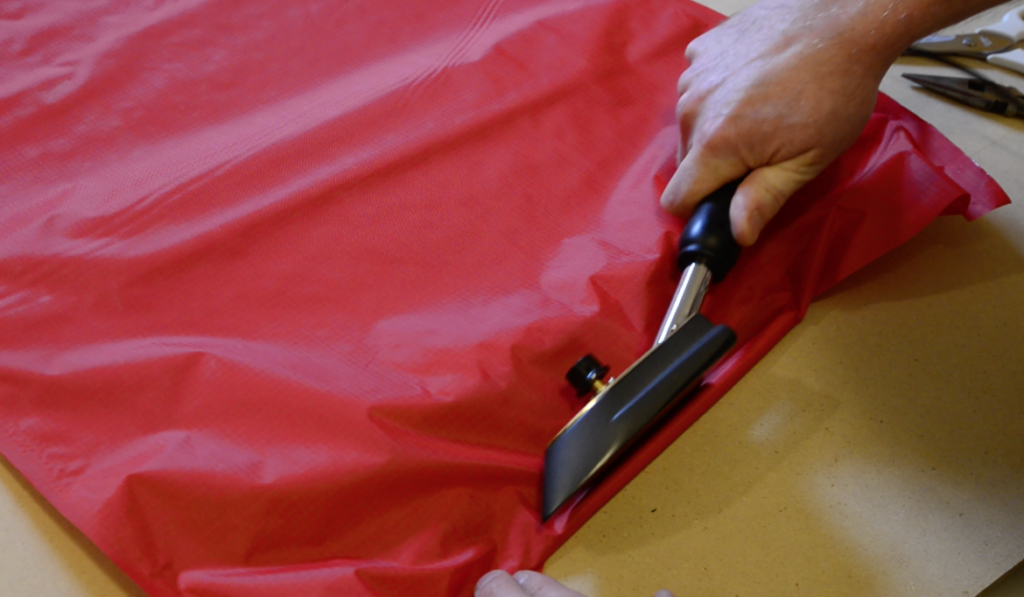
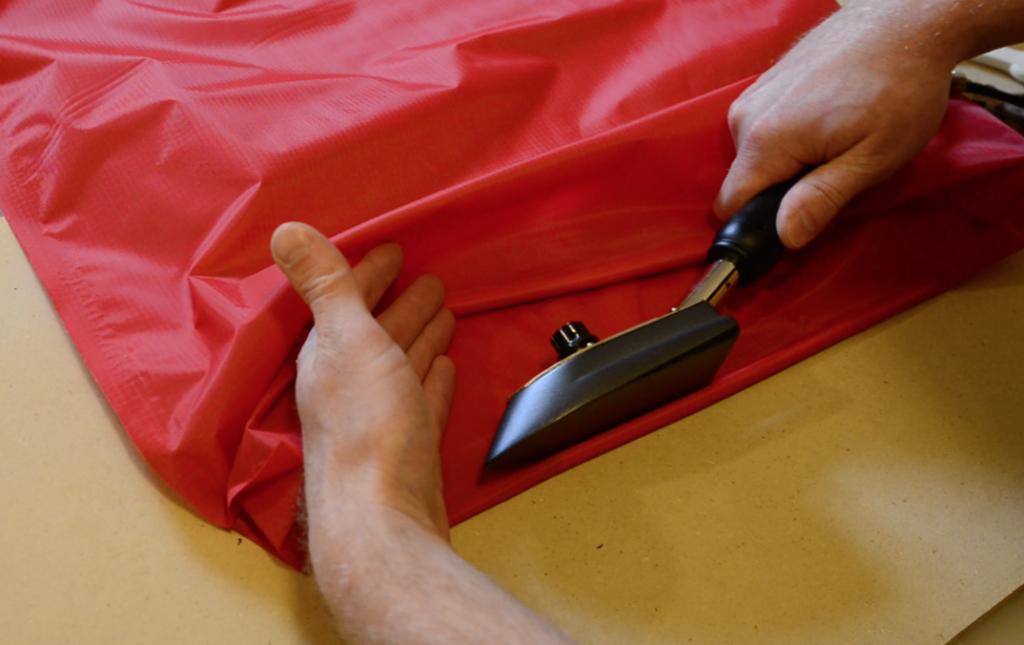
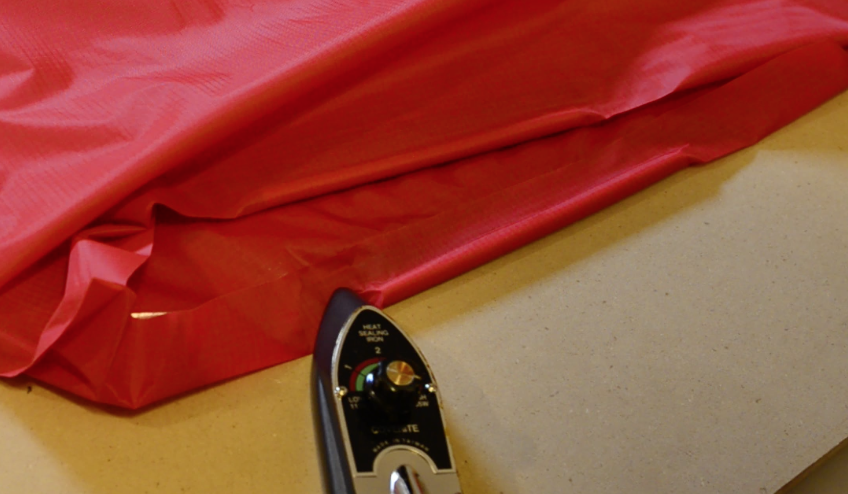
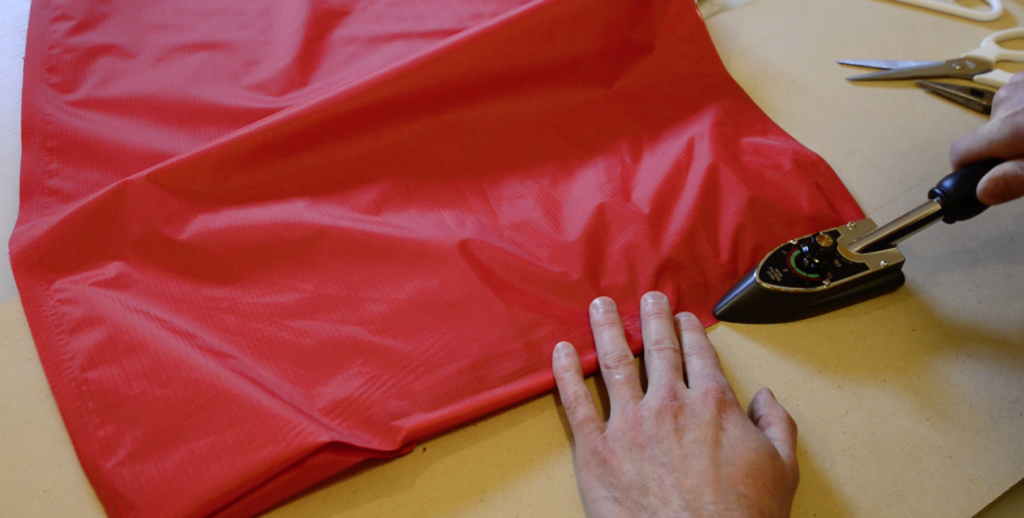
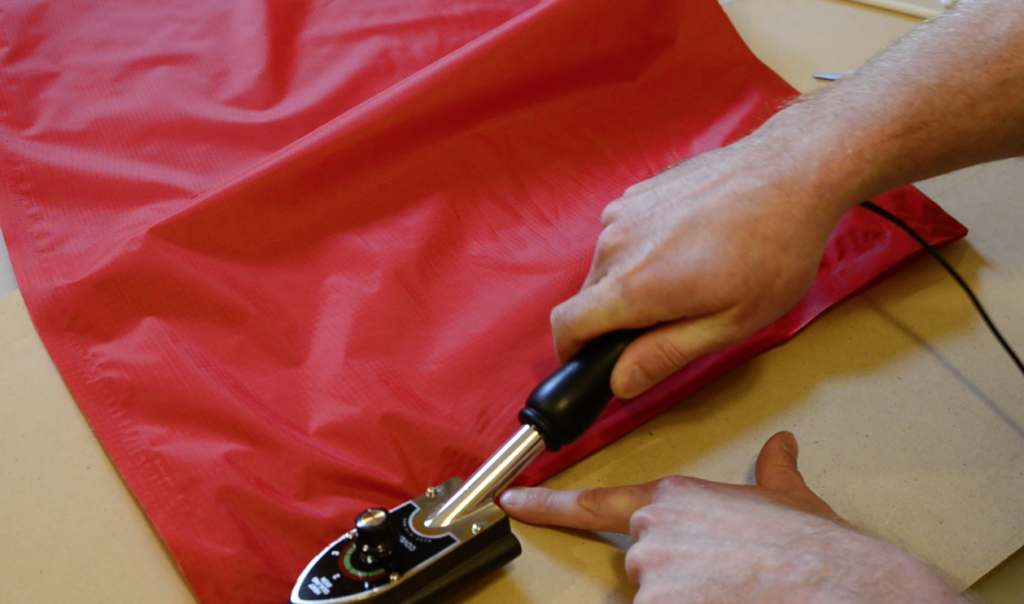
Fold approximately 3-5 cm (1-2″) of the unfinished end of the sack around the optional plastic rod and center the plastic rod between the two edges of the sack. Heat seal the fold around the plastic rod or, if you are not adding plastic rods, simply heat seal the fold to provide a finished edge to your inflation bag. Flip the bag over and do the same on the other side.
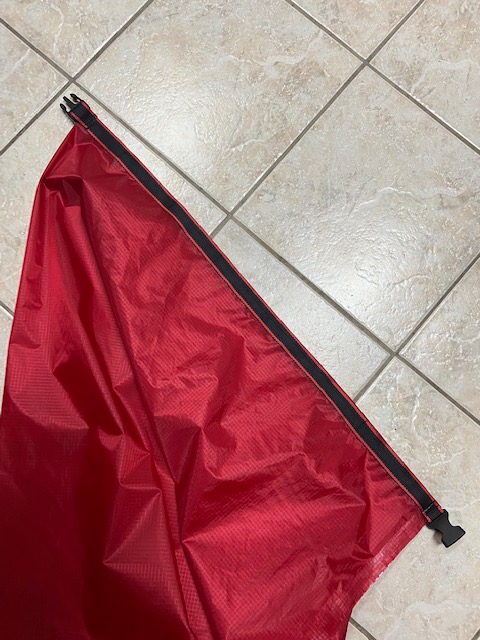
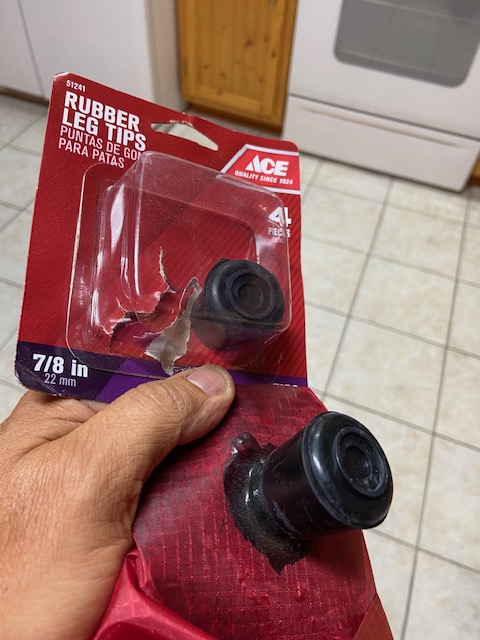
Tip: Your inflation bag can do double duty as a drybag! Ron S. found that a rubber chair leg tip with an inner diameter of 7/8″ (22 mm) makes a great cap for the inflation tube, and he added a buckle to his inflation bag so the top can be rolled and then clipped closed:
Questions? Leave a comment below!
30 Comments