-
Matt (Admin) replied to the topic Reply To: Help & Questions re: DIY Packraft Construction in the forum Help & Questions re: DIY Packraft Construction 7 years ago
Ah, yeah, I should have asked where the temperature sensor was, as there’s always a temperature gradient between the heating element and the surface of an iron. In theory, you could calibrate it to display the surface temperature, but it wouldn’t really be worth your time – once you find the correct temperature by trial and error, you can just…[Read more]
-
Matt (Admin) wrote a new post 7 years ago
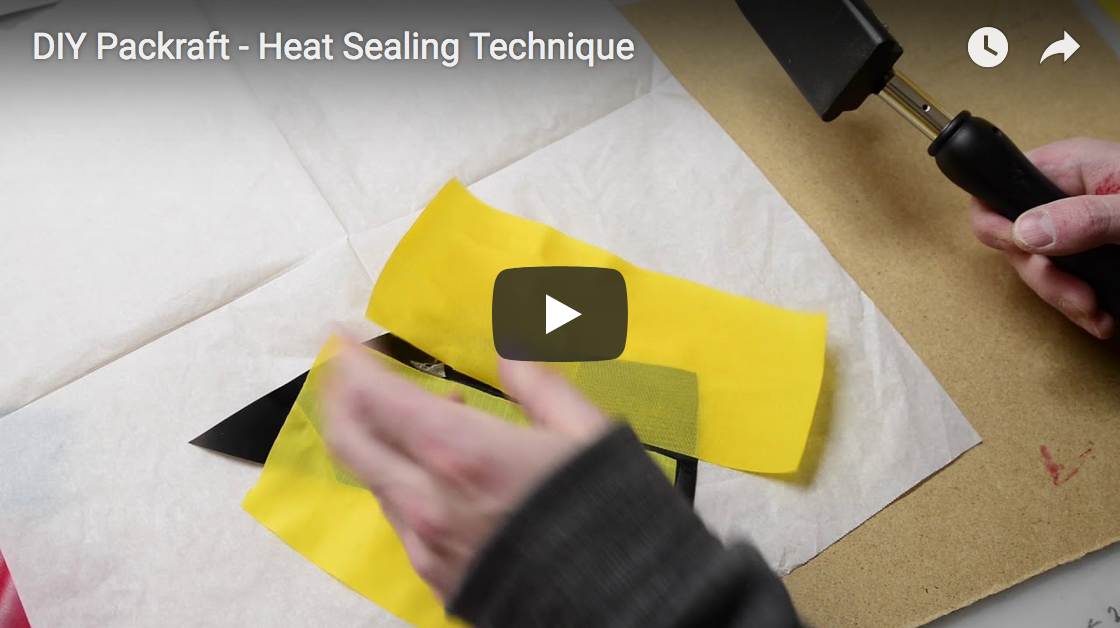
I’ve made a couple new videos to answer common questions about the DIY Packraft fabrics and my heat sealing technique, and also one showing the different valves and how they work.
These videos are longer than […]

-
Matt (Admin) replied to the topic Reply To: Help & Questions re: DIY Packraft Construction in the forum Help & Questions re: DIY Packraft Construction 7 years ago
Oh, and the fabric melts at around 240 C, but you shouldn’t need to get anywhere close to that hot. Your DIY iron sounds cool! If you’re finding it takes too long to seal the wider welds, it might be worth adding an inexpensive model airplane sealing iron to your quiver – the large foot makes quick work of the tube-to-floor welds.
-
Matt (Admin) replied to the topic Help & Questions re: DIY Packraft Construction in the forum DIY Packrafts 7 years ago
Hi Aaron – is that 215 degrees C or F? Assuming it’s Celsius, that should be plenty hot – maybe too hot, by the sounds of it. Maybe try around 200 C. You should be able to heat a small area, remove the iron, press on it with a rag for a few seconds to allow the weld to set, and then it should stay like that. You may see an occasional small bubble,…[Read more]
-
Matt (Admin) wrote a new post 7 years ago
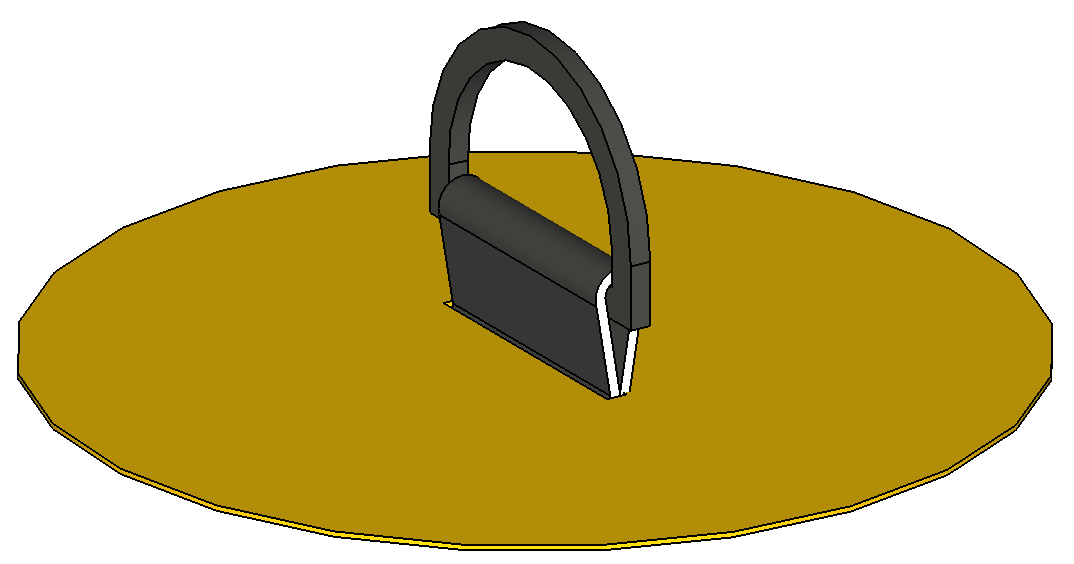
A couple people have posted some great tie-down designs in the forum since I made my original tie-down video, and after several attempts at combining their ideas with my no-sewing policy, the following tie-down […]

-
Matt (Admin) replied to the topic New seat design in the forum DIY Packrafts 7 years ago
Hi Lyn,
The manufacturer doesn’t indicate a pressure rating so I can’t guarantee anything, but I’ve tested them up to about 5 psi (350 hPa) myself and they showed no signs of stress.
For reference, a 170 lb (77 kg) weight distributed over an area of 12 x 18″ (30 x 45 cm) on an inflatable seat exerts about 0.8 psi (55 hPa) – quite a large safety factor.
-
Matt (Admin) replied to the topic An Inflatable Drybag that fits through your zipper. in the forum DIY Packrafts 7 years ago
Great idea, Bruce! It looks durable and very easy to pack. Using a wooden form to seal the circular ends is a great idea, too – it’s a useful tip for anyone who wants to create round drybags of any type. Thanks for posting!
-
Matt (Admin) commented on the post, Colour Choosing 7 years ago
Sí, he enviado a Chile! Puede encontrar los precios en la página Shop e ingresar su dirección en la página Cart para calcular el costo de envío. Gracias 🙂
-
Matt (Admin) commented on the post, Bruce's Voyageur 2-Person DIY Packraft – First Float! 7 years ago
That’s correct – I believe they’re made out of the 1000D and 210D fabric with holes punched through, and they were heat sealed to the tube from the inside, before putting the packraft together. Cheers!
-
Matt (Admin) commented on the post, Overseas? Save money by using a "freight forwarder" 7 years ago
Thanks for the feedback, Aaron. I’ve been refining the estimated weights used to calculate the shipping costs of the different kit variations so they’re closer to the actual weights, and that’s probably why the shipping price has changed. Smaller kits with lighter floor material and/or no extras can weigh under 3 kg, which is one of those…[Read more]
-
Matt (Admin) wrote a new post 7 years ago
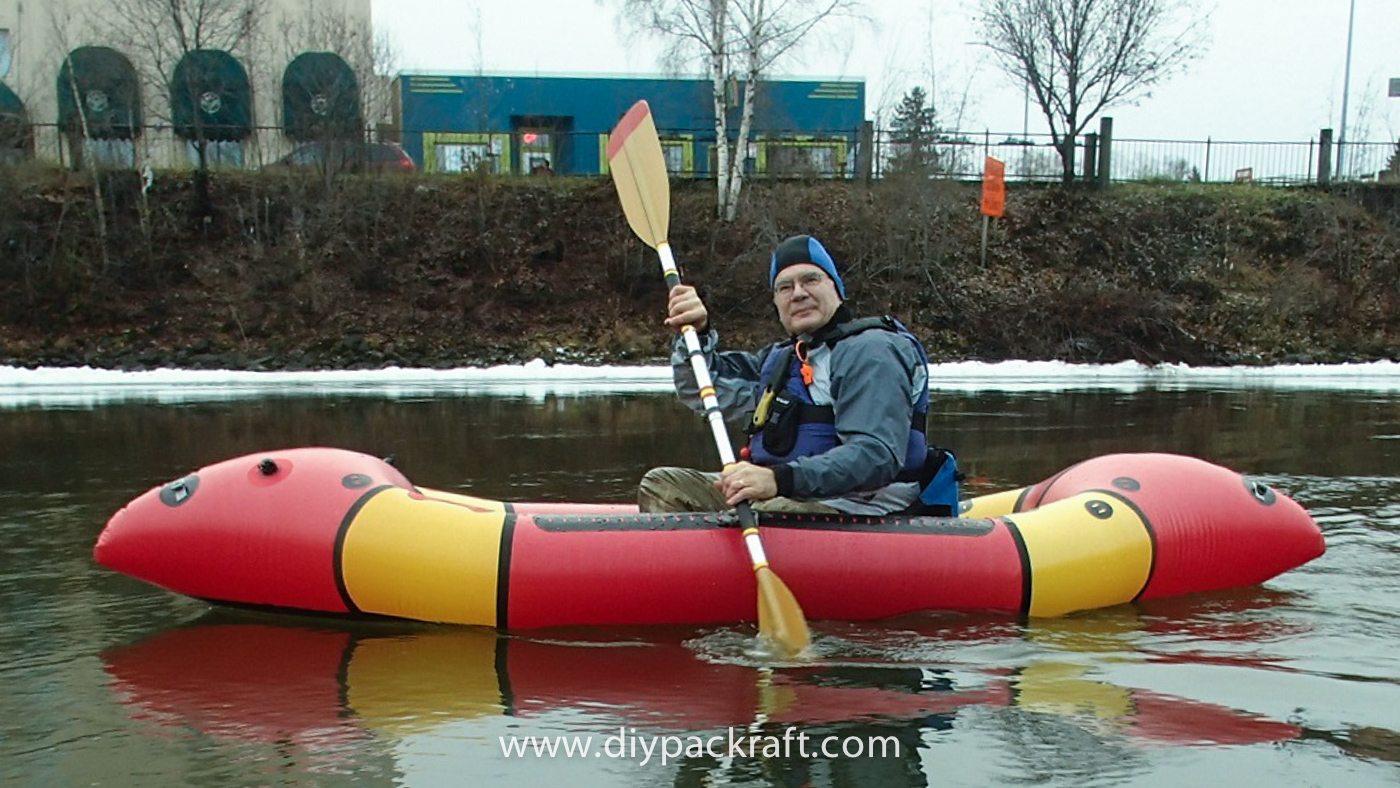
Bruce C., a frequent contributor to the DIY Packraft forum and host of the popular DIY Packraft-making classes at the Folk School in Fairbanks, Alaska, has just finished this beautiful Voyageur 2-person DIY […]

-
The thing along the side of the packraft looks like adjustable points for tie downs? Is that correct and if so any idea how they were done?
-
That’s correct – I believe they’re made out of the 1000D and 210D fabric with holes punched through, and they were heat sealed to the tube from the inside, before putting the packraft together. Cheers!
-
-
Hi Kent, the construction method is the same as for the single V3 kits, so there’s not really any difference in difficulty – the seams are longer though so it might take a bit more time. Cheers!
-
Excellent!
-
-
Matt (Admin) wrote a new post 7 years ago
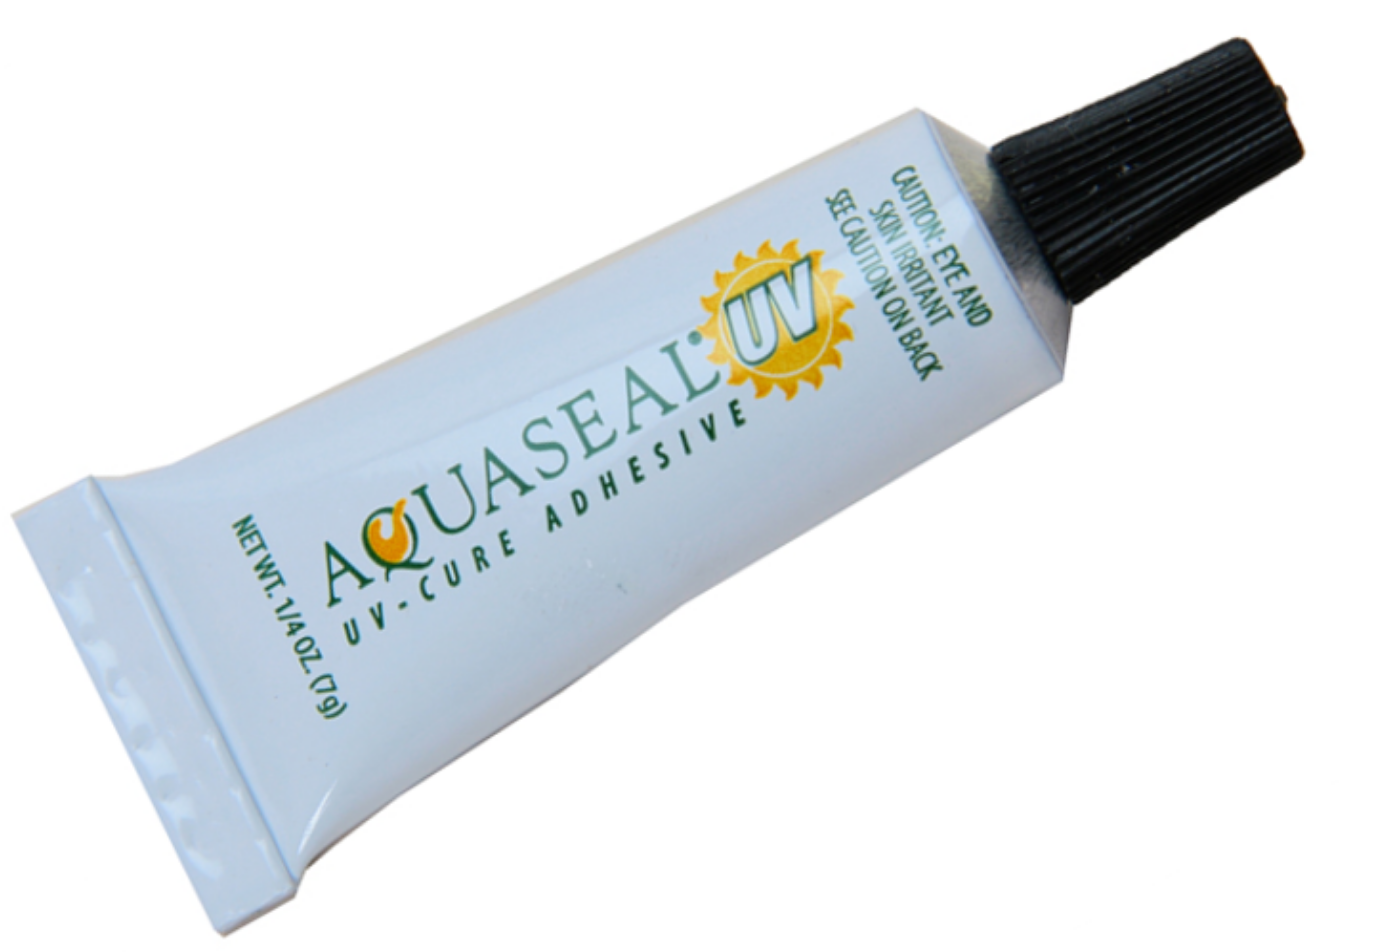
Recently I realized that a fast-curing adhesive was missing from my field repair kit, and that if something goes wrong on a packrafting trip and field repair tape won’t do the job, I might have to sit around for […]

-
As this seems to be an older posts and Aquaseal UV doesn’t appear in the shop anymore, are you able to confirm whether this is still the quickest curing glue you’d recommend for a field repair kit?
-
Yep, I still recommend it. I’ve stopped selling adhesives because they’re not supposed to go through the mail and they’re not allowed into some countries.
-
-
-
Matt (Admin) replied to the topic DIY Packraft Photos in the forum DIY Packrafts 7 years ago
It looks fantastic! Thanks for posting, Bruce!
-
Matt (Admin) commented on the post, Review: Model Airplane Heat Sealing Irons 7 years ago
Excellent points, Patrick. I made an aluminum foot for my soldering iron so it had more thermal mass and it worked pretty well, but the tools required and the amount of work involved in shaping the aluminum makes that approach impractical for most people – it’s so much easier to buy something that works out of the box!
Please let us know how you…[Read more]
-
Matt (Admin) commented on the post, Review: Model Airplane Heat Sealing Irons 7 years ago
Hi Michael – I use the side and the bottom and the tip of the iron when working on the seams, depending on the situation. You can iron a strip narrower than the bottom of the iron by ironing over a convex bowl or narrower form (details in the V3 instructions), and you can also try putting masking tape on parts of the iron to insulate areas you…[Read more]
-
Matt (Admin) wrote a new post 7 years ago
A couple of people in Australia and New Zealand have used freight forwarders to reduce shipping costs when ordering DIY Packraft kits, and I thought I should tell the rest of you about this potential cost-saving […]
-
It cost me about $80USD total to get it to Tasmania via a US freight forwarder.
When I first ordered the site was quoting me $140 AUD postage which is a bit of a deal breaker.
I notice now its only quoting about $100AUD.
So I probably wouldn’t have bothered with the forwarder now.However the postage times from the forwarder are generally fast.
They often have special rates for DHL, FedEx, UPS etc. So it ends up taking 2-4 Days from Los Angeles to Tasmania.-
Thanks for the feedback, Aaron. I’ve been refining the estimated weights used to calculate the shipping costs of the different kit variations so they’re closer to the actual weights, and that’s probably why the shipping price has changed. Smaller kits with lighter floor material and/or no extras can weigh under 3 kg, which is one of those thresholds where the price jumps up on overseas shipments. Thanks!
-
-
Hi Eleonora, unfortunately I don’t have an answer for you and I doubt you will receive one here anytime soon because I have only a few customers in Italy and I don’t recall any of them having used a freight forwarder. You might be able to find more information elsewhere online – if so, please tell us here. Also, sometimes the direct route is the most cost-effective even if it isn’t cheap. Thanks!
-
-
Matt (Admin) replied to the topic bikerafting advice in the forum DIY Packrafts 7 years, 1 month ago
Hi Matteo – welcome to the forum!
All of the DIY Packrafts are capable of carrying over 100 kg. I probably wouldn’t use an Ultralight packraft for bikerafting though, as the ultralight fabric is more fragile, but you could do so if you were more careful.
Each DIY Packraft kit comes will scrap fabric to make attachment points and grab loops, and…[Read more]
-
Matt (Admin) replied to the topic DIY Packraft Photos in the forum DIY Packrafts 7 years, 1 month ago
Beauty!!
-
Matt (Admin) replied to the topic Alternative sources for fabric and other materials in the forum DIY Packrafts 7 years, 1 month ago
Hi Mike,
Most of the fabrics available are only coated on one side, except for the heavier fabrics in the DIY Packraft shop, and possibly some sold elsewhere. I used to have fabrics with PU coating on the other side from the TPU, but PU is not as good as TPU. You will find that most PU coatings are not airtight or waterproof and can rub off with…[Read more]
-
Matt (Admin) wrote a new post 7 years, 1 month ago
This is just a quick post to let you know that the V3 DIY Packraft Deluxe (single) kits are now shipping.
I’m currently fulfilling the pre-orders, some of which were placed as far back as August, so please be […]

- Load More


