-
Matt (Admin) replied to the topic Help & Questions re: DIY Packraft Construction in the forum DIY Packrafts 7 years, 5 months ago
I’m sorry, I’m not sure what you mean. Can you maybe draw a picture to help explain?
-
Matt (Admin) wrote a new post 7 years, 5 months ago
I’ve been working on a new packraft design for some time now, incorporating several improvements over the current V2 kits, including tougher floor material, easier construction, more sizes, and better […]

-
Hey Matt
Sorry to hear you have had people stealing your designs for their own profit, that sucks! I can only imagine how much time and effort it must take to plan and test your designs – the V2 packraft I’ve made from your kit has handled beautifully without any leaks since I first made it. I was hoping to purchase plans or a kit for the 2-person voyager in order to make it in time for training for and competing in Godzone, an adventure race I am doing next year in NZ. When do you think kits for the 2-person will be online?
Thanks for your hard work
-
Thanks, Joe – the 2-person kits will be available at the same time as the regular V3 kits. Cheers!
-
-
Hi Todd, I would start by reading the Fabrics, Tools, and Valves sections of the FAQ, above, and maybe check out the Forum as well, as there are some pictures of rafts people have made. Also check out the inflatable catamaran raft at http://www.cubenmaker.com. For seam sealing technique, check out the videos in the How-To sections above. Cheers!
-
Great! I hope to have it ready in the next week or two, but I can’t guarantee it.
-
Hi Tim – it will be approximately 4 pounds. Cheers!
-
Thanks, Brian – that means a lot to me! Best regards
-
Hi Mark – I will be designing a V3 version of the Ultralight packraft, but it will be slightly different because it will not use double-sided TPU fabric, so it will take a bit longer.
-
-
Matt (Admin) wrote a new post 7 years, 5 months ago
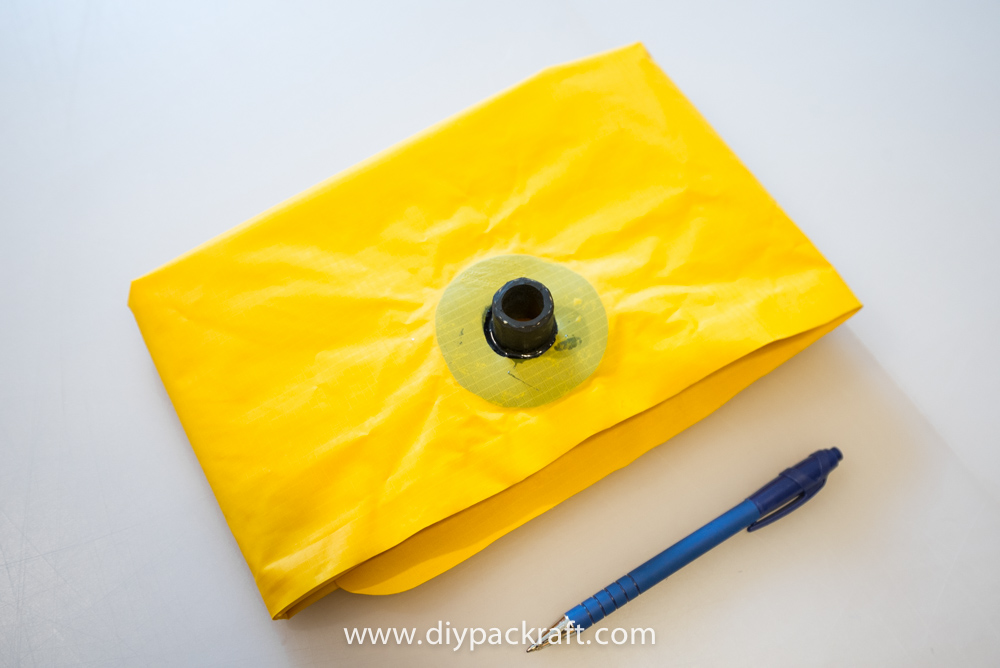
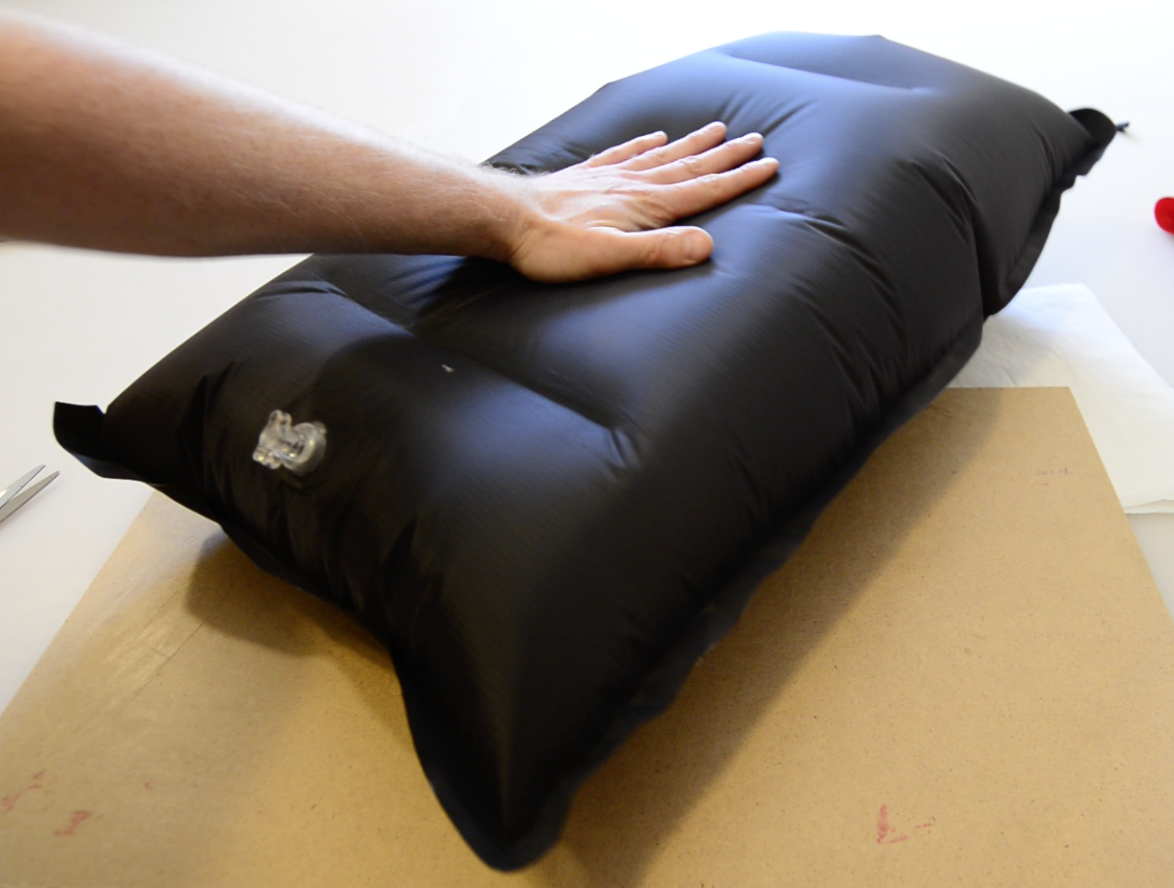
Some time ago I posted a page about making your own inflation bag*, and since then several people have asked me to supply parts so they won’t have to spend time and money sourcing them elsewhere.
In response, […]

-
Yess Matt thank you so much! Deffinately excited about this and the next update, I have already begun imagining a way to add clips to the bag so it could double function as a drybag! Such amazing work your doing, I for one appreciate it!
-
I am especially interested in your connector that fits the fine Boston Valves. They are great valves, but an odd thread I have not been able to successfully fashion on my lathe. Worth the price of a kit, though I made my bag out of silnyl not TPU.
-
Hi Bruce – the connector is unthreaded silicone hose, which is soft enough to screw into the Boston valve’s unusual threads without damaging them, and there’s no risk of cross-threading. The size fits the larger (drain) part of the valve, which makes inflation muchfaster than forcing air through the check valve part of the Boston valve. Once the packraft is full, I pop off the inflation bag, screw in the check valve, and top off the air pressure through the check valve by mouth. The whole process takes under three minutes.
I’m a fan of silnylon too, but keeping with my no-sewing promise I’m sticking with TPU (though Cuben fiber/Dyneema would also work well).
-
Great, I can find silicone tubing online. Did you use 20mm ID x 25mm OD size tubing? (The next size smaller is 16mm ID x 20mm OD, while other suppliers offer fractional inch measurements up to 7/8 inch but I think that’s too small.
Bruce-
I used 7/8″ and it seems to work well!
-
-
Great, I can find silicone tubing online. Did you use 20mm ID x 25mm OD size tubing? (The next size smaller is 16mm ID x 20mm OD, while other suppliers offer fractional inch measurements up to 7/8 inch but I think that’s too small.
Bruce
-
-
-
-
Matt (Admin) wrote a new post 7 years, 5 months ago
I’ve just finished writing up instructions for the new seat kits, and they’re posted here!

-
Matt (Admin) replied to the topic DIY Packraft Photos in the forum DIY Packrafts 7 years, 5 months ago
Awesome! Thanks for posting, Dave! It looks great 😀
-
Matt (Admin) replied to the topic Valve hack in the forum DIY Packrafts 7 years, 5 months ago
Nice work – I like it!
-
Matt (Admin) replied to the topic What paddles? in the forum DIY Packrafts 7 years, 5 months ago
I’m currently using a very light two piece carbon kayak paddle made by Werner, which was a very generous gift; if you’re making or purchasing a paddle, I recommend choosing a four piece design because it’s easier to pack.
When it comes to paddles, spending more money generally gets you a lighter, stiffer paddle. Depending on the type of paddling…[Read more]
-
Matt (Admin) replied to the topic tpu side in the forum DIY Packrafts 7 years, 5 months ago
This is a common mistake that I’ve made myself, as it only requires a moment of inattention to damage the TPU coating with a hot iron. In most cases it only leaves a small mark on the fabric that doesn’t affect it’s performance, but if the iron is left in contact with the TPU long enough, it can make a hole.
The best way to patch a hole of any…[Read more]
-
Matt (Admin) wrote a new post 7 years, 5 months ago
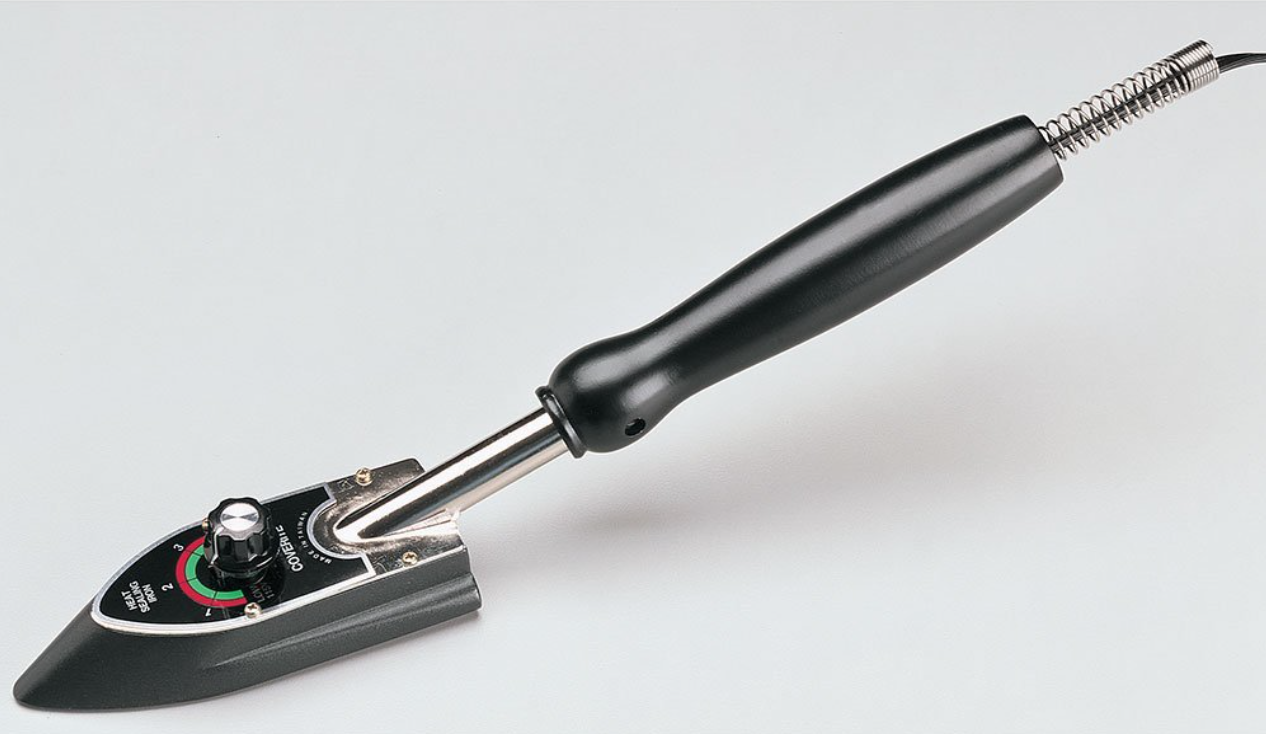
A number of people have experienced temperature problems with mini irons like the Clover Mini Iron II and the Dritz Petite Press, so I am designing future DIY Packrafts to be easier to make using larger hobby […]

-
Hi Greg,
I think this is a better product in general, but its size makes it a bit awkward to use sometimes, so it’s a trade-off. Future DIY Packrafts will be designed to be easier to construct with irons this size.
Cheers!
-
Matt,
Before you wrote this blog, I decided to try one of the model aircraft heat sealing irons. I chose the Top Flight because it has a narrower bottom, and I thought it might be useful sealing across double width seams, where tubes join the floor, for example.
Using my inexpensive infrared thermometer (an instant read oven meat thermometer works just fine too) I found it heated to 198 degrees C. On removing the plastic thermostat knob, I could reach into the brass stem with a fine jewelers slotted screwdriver and adjust the thermostat. Turning the inner screw counter-clockwise increases the temperature. It doesn’t take much. 1/8 of a turn may be all you need. Double check it on a piece of TPU fabric, of course. I’ll post a picture on the forum.
I have also ordered one of the 220 volt leather irons from Aliexpress. I’ll let you know its dimensions and how it works when it arrives. -
hello,
how much power you need for welding the tpu?
are 20W enough?
in germany i can get an iron which will make 240 till 280 grad celsius.-
I have used a 20W soldering iron and it worked fine – it sounds like that iron will work if the advertised temperature is accurate.
-
-
hello,
how much power you need for welding the tpu?
are 20W enough?
in germany i can get an iron which will make 240 till 280 grad celsius. -
Hi Michael – I use the side and the bottom and the tip of the iron when working on the seams, depending on the situation. You can iron a strip narrower than the bottom of the iron by ironing over a convex bowl or narrower form (details in the V3 instructions), and you can also try putting masking tape on parts of the iron to insulate areas you don’t want to use. Cheers!
-
How much power you want depends on how much area you want to weld at once. A soldering iron may melt the material together, but when a complete boat consists of maybe a square meter of welding, the tip of a soldering iron makes maddeningly slow progress.
I have experimented with various soldering irons attached to a rheostat, an antique one with a big chunky copper tip worked the best. I also tried the clover iron, it gets the job done but is still slow at 40W. The whole thing of having a heating element far from the iron surface is maddening, as you are relying on all the heat you need for bringing fabric and underlayment up to temperature to travel down a skinny shaft. In addition, having this “lag” between your heat source and sealing surface makes for an iron that when laying about overheats, but when used cannot produce enough heat to weld efficiently. For example, the clover must be left sitting idle on it’s medium setting as to not get the tip hot enough to melt the nylon at initial touch. however, once in use it must be turned up to it’s highest setting to keep up with heat lost through the tip.
Matt’s suggestion of using the black baron heat sealing iron makes sense, as the heating coil is in the iron itself, and it appears to have at least a little thermal mass to it. I.e, the heat you make is the heat you get at the tip. I am waiting for the “21st century” cover rite iron to come in the mail, supposedly it keeps a temperature within 3 deg f.
I would rather use a clothing iron before I used a soldering iron!
-
Excellent points, Patrick. I made an aluminum foot for my soldering iron so it had more thermal mass and it worked pretty well, but the tools required and the amount of work involved in shaping the aluminum makes that approach impractical for most people – it’s so much easier to buy something that works out of the box!
Please let us know how you like the 21st Century iron. Cheers!
-
-
In the last 12 months, I have built 4 cat-a-rafts and experimented with a few small pillows as well. I had 2 failed attempts, one reasonably functional raft and finally arrived at a design I am happy with. The point of that is that I have sealed a bunch of linear feet of fabric.
I started with the Mini Clover and graduated to the “improved” mini clover. (aluminum foil wrapped shaft) The out of the box version is painfully slow on 210 D fabric. The improved version is significantly better but it still requires waiting. It heats up to where it melts on contact (not good) then cools to where it’s not sealing requiring one to wait for it to heat up. Wait too long and it melts on contact. Not long enough and you don’t get much sealing done. The mini Clover does work much better with the lighter fabrics but they melt much easier when the iron is too hot so greater care is required.
Recently, I have been struggling with getting a pillow to hold air overnight with weight on it. If I can do that then I can build a raft that stays hard for long periods… I considered that the problem might be the new batch of fabric – especially the new 3 oz 40D. I mostly suspected my technique. I thought that I might be weakening the fabric at the seam edge when I hit it with a too hot iron. I suspected I was causing just enough damage to allow a very small amount of air seepage. As soon as I saw the video of Matt with the Black Baron I ordered it on Amazon. It was $26. As soon as it arrived I cut off the edges and resealed my last two pillow experiments. I achieved a good seal and no leakage. I put a 10″ x 10″ x 3/8″ steel plate on top of my most recent 40D experiment and it held air overnight. Mystery solved. I am now waiting for another batch of fabric and looking forward to working with the Black Baron iron. It is much more robust than the Mini. I broke my first Mini Clover after a decent amount of use and my current one is loosening up and likely to break in the near future. I don’t see how one could break the Baron. The adjustable temperature really helps and the larger mass holds the heat. As noted above, the Baron’s size helps solve some issues but at times can be a hindrance but overall, I think we are on to something here. Ron Samber -
Yikes, that sounds scary! I’ve never used a sock, so maybe that’s the issue – wrapping an iron in an insulating blanket will certainly keep a lot more heat in. I’d avoid using a sock in the future.
-
I recommend against the 21st Century Iron altogether. Mine actually didn’t get hot enough and it lost its heat too quickly due to the shoe having less mass than the Black Baron iron. The 21st Century Iron looks good on paper and I’m sure it’s great for the thin fabrics that airplane modelers use, but for this application I don’t think it’s the right tool.
-
Thanks, Mark – I’ve updated the post to include this tip because you’re not the first person to have issues with the 21st Century iron. Cheers
-
-
-
Matt (Admin) wrote a new post 7 years, 5 months ago
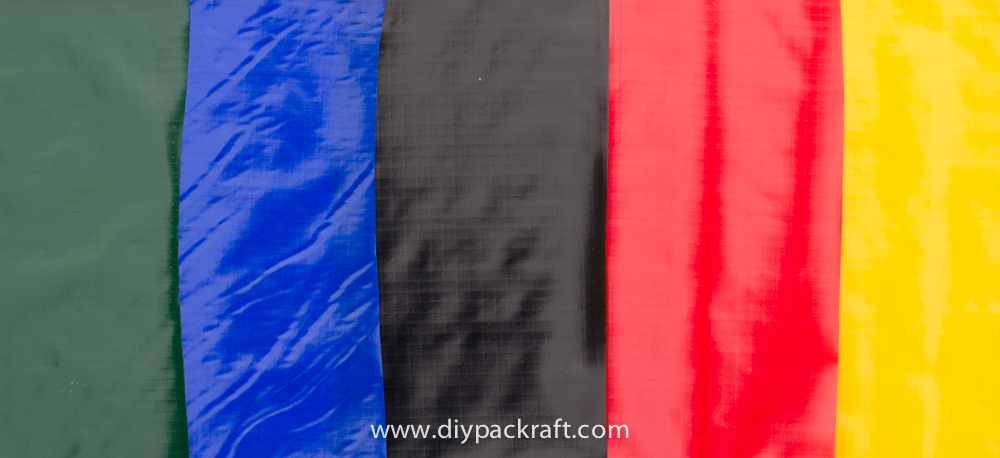
Several people have asked for details about the new ultralight 40D ripstop heat sealable fabric available in the shop. At 100 grams per square meter (3 ounces per square yard), it’s very lightweight and packs down […]

-
Matt: Thank you! I am one of those awaiting your input on this. I look forward to the video.
How does it compare to the red 40D taffeta? I will know soon enough as I ordered some a week ago but I would like your take on it as well. As always, I appreciate your efforts. Ron Samber-
Hi Ron – the older high threadcount 40D taffeta was about twice as heavy as this new stuff, but it wasn’t twice as strong, so as far as weight vs. strength goes, I think this is a better option for ultralight applications.
-
-
Yes, that’s right 🙂
-
Interesting… Yeah, I know of a couple of people who have tried using Cuben fiber and tape for inflatables, and the problem with the tape is that it migrates over time under pressure and eventually the seams pull apart (in a packraft, anyway – it seems to work fine for other applications where there’s less tension on the seams). It’s also prone to punctures, as you mentioned. The Porcher fabric sounds interesting, but I guess it would have to be sewn and taped.
-
I’m not sure, but regardless, I always recommend purchasing a fabric sample pack so you can compare fabrics directly.
-
-
Matt (Admin) replied to the topic Heat-sealing tools in the forum DIY Packrafts 7 years, 5 months ago
Thanks to Steven S. for sending a link to this inexpensive rheostat. It might be helpful for those using a regular (non-adjustable) soldering iron as their heat-sealing iron because it would allow them to dial in the perfect temperature.
Due to the solid state electronics in mini irons like the Clover, I’m not sure if it would work with them, but…[Read more]
-
Matt (Admin) wrote a new post 7 years, 6 months ago
I have just added two new fabrics to the DIY Packraft Shop – 420D with TPU coatings on both sides, and 1000D with extra thick TPU coatings on both sides.
These are relatively expensive, heavier fabrics, and […]

-
It will be combined with single-sided fabrics.
-
There will be two different versions – one with a 1000D floor, and another with partial 1000D tubes as well. The price for the former will likely be similar to the current kits with double layer floors or a bit more, and the latter will be a bit more than that. The exact amounts will depend on how efficiently I can utilize the fabric. As I’ve said from the beginning, the point of the DIY Packraft project is to make packrafting more affordable.
-
What do you think about adding a layer of the new thick fabric on the inside floor of an existing packraft? Would it bond ok?
-
As long as it’s a TPU-to-TPU bond, it will work fine. Cheers
-
-
-
Matt (Admin) replied to the topic Self-bailing floor? in the forum DIY Packrafts 7 years, 6 months ago
Hi Jim,
My recommendation is to install a couple of these valves in the floor, at the sides near the rear, where they won’t be covered by your seat. When the valves are open, the packraft is self-bailing, and when they’re closed (on flat water) it’s dryer and lighter (because you’re not hauling water in the boat).
You could also model a…[Read more]
-
Matt (Admin) replied to the topic Inflation bag in the forum DIY Packrafts 7 years, 6 months ago
This is a great idea!
I’ll tinker with it a bit myself using 40D ripstop instead of Cuben.
Thanks, Jamie!
-
Matt (Admin) replied to the topic Alternative to airtight zipper in the forum DIY Packrafts 7 years, 6 months ago
Cool – please let us know how it goes!
-
Matt (Admin) replied to the topic Alternative to airtight zipper in the forum DIY Packrafts 7 years, 6 months ago
I was thinking of something along the same lines, but all the roll-top drybags I’ve owned aren’t airtight – they keep water out, but if you sit on them they slowly deflate – so I was thinking of a closure more like the slide-on clips found on hydration bags (Camelback, etc.). I don’t know how to make one of those though, and it would have to be…[Read more]
-
Matt (Admin) wrote a new post 7 years, 6 months ago
It is not just a dream. After experiencing delays at literally every possible step between order and delivery (totaling almost five months!) the fabric shipment has finally arrived. Yes, friends, I have touched it […]

-
i’m so happy for you…
… and for us!
If each of us have a tear, and if we share all our tears, maybe we should create a lake to paddle on? -
Hey Matt,
great news, nice to hear!
-
No, I’ll make an announcement on the blog whenever new products are available.
-
Yay! Im so glad its finally in your hands!! My order still says back ordered, will I receive my order soon now that you finally got the fabric? Is there any way to get an eta, it is a suprise gift for my husbands birthday…
-
Hi Katelyn – yep, I’m catching up on orders now, and yours should ship in the next day or so. Please watch for a shipping confirmation email. Thanks for your patience!
-
-
-
Matt (Admin) replied to the topic New seat design in the forum DIY Packrafts 7 years, 6 months ago
Done.
-
Matt (Admin) replied to the topic New seat design in the forum DIY Packrafts 7 years, 6 months ago
Hi Josh,
Sure, I’ll try to get that done today. You can see a couple pictures of it in a packraft here, but I’ll take some pictures of just the seat as well.
Cheers,
Matt
-
Matt (Admin) wrote a new post 7 years, 6 months ago
The fabric shipment was finally released from Customs this morning after weeks of radio silence. Randomly or otherwise, they took a special interest in this particular shipment and removed it to an off-site […]

-
Sorry to hear about you having to postpone your trip, but thanks for the update! I hope the news relieves some stress and maybe even a few good things start coming your way!
-
Thanks! I hope so too 😀
-
-
Oh what a bummer!! This must be why I haven’t received the order I placed on June 16th. I was really hoping to have this by tomorrow as a suprise for my husbands birthday. He has wanted one for soo long! Will I get a notification when it does ship?
-
Hi Katelyn – yep, I’m catching up on orders now (in the order they were received) – yours should ship in the next day or so. Please watch for a shipping confirmation email. Thanks for your patience!
-
Thanks for the heads up! I appreciate it!
-
-
-
- Load More
