-
Matt (Admin) wrote a new post 6 years, 8 months ago
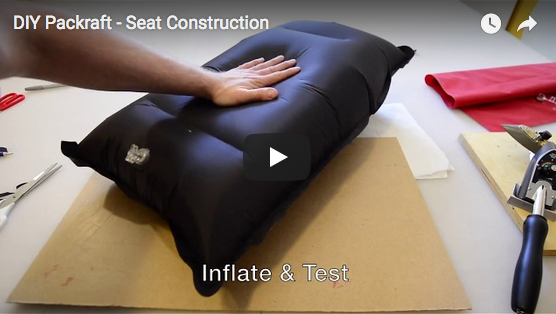
I made a quick video of me making an inflatable seat from a seat kit, to go along with the text+picture instructions. It’s not the current seat with dedicated tie-down points, but the shape and number of baffles […]

-
Matt (Admin) wrote a new post 6 years, 8 months ago
I noticed the FAQ menu was getting a bit long, so I’ve reorganized it to (hopefully) make it easier to navigate. I’m also adding some more content, such as this page I wrote about directional stability, or why […]

-
Matt (Admin) wrote a new post 6 years, 8 months ago
The airtight zippers and green fabric have arrived! Camouflage fabric should be here in about a week.
There’s a bit of a backlog of orders that were waiting for the zippers – I’ll do my best to get them shipped […]

-
Matt (Admin) replied to the topic Multi-person Voyageur Size in the forum DIY Packrafts 6 years, 8 months ago
Hi Thomas – you would need 2m (~6′) of tube fabric to make the two tubes 3′ longer, plus 1 m of floor material. Cheers
-
Matt (Admin) replied to the topic Multi-person Voyageur Size in the forum DIY Packrafts 6 years, 8 months ago
Hi Joe, I’m sorry to say I don’t have much useful experience when it comes to taking on smaller passengers, so I can’t really say how much room they’ll need. My experience has been that you can cram a lot of people or gear into a small area fairly easily, but the amount of time it remains comfortable depends on how much room everyone has to shift…[Read more]
-
Matt (Admin) replied to the topic DIY Packraft Photos in the forum DIY Packrafts 6 years, 8 months ago
Nice! I’m glad to see you looking so happy!!
-
Matt (Admin) replied to the topic Inaugural V3 trip in the forum DIY Packrafts 6 years, 8 months ago
Nice! Thanks for posting!
-
Matt (Admin) replied to the topic Finished my V3! in the forum DIY Packrafts 6 years, 8 months ago
Thanks! I’ve added some of your pictures to the How-To page for tie-downs and attachment points 🙂
-
Matt (Admin) replied to the topic Necessity of the Top-Up-Valve? in the forum DIY Packrafts 6 years, 8 months ago
I second Mark’s opinion. It’s safe to open the top cover of the Boston valve on the water because of the one-way valve inside, and you can top up through that. Bruce from Fairbanks carries a ~1 meter length of 7/8″ OD silicone tubing to plug into the Boston valve so he doesn’t have to twist around to get his mouth on it, which is a good idea. I…[Read more]
-
Matt (Admin) replied to the topic Help & Questions re: DIY Packraft Construction in the forum DIY Packrafts 6 years, 8 months ago
Excellent! Thanks for the update 🙂
-
Matt (Admin) replied to the topic Finished my V3! in the forum DIY Packrafts 6 years, 8 months ago
Beauty!! Thanks for the pictures and the tips! Do you mind if I use them elsewhere on the site?
-
Matt (Admin) wrote a new post 6 years, 9 months ago
I’ve uploaded a new video showing the V3 DIY Packraft construction process for those who have purchased a kit. The video password is the same as the password for the rest of the instructions. Have a look!
-
Matt (Admin) replied to the topic Seamgrip vs Aquaseal in the forum DIY Packrafts 6 years, 9 months ago
Hi @stevoggo – I checked the MSDS for Aquaseal and it looks like the main ingredient is 4,4′-methylenediphenyl diisocyanate, with toluene as a solvent. Shoe Goo is tetrachloroethylene and styrene, 1,3-butadiene polymer. So, not the same thing, but that doesn’t necessarily mean it won’t work just as well – the only way to know for sure would be to…[Read more]
-
Matt (Admin) wrote a new post 6 years, 9 months ago
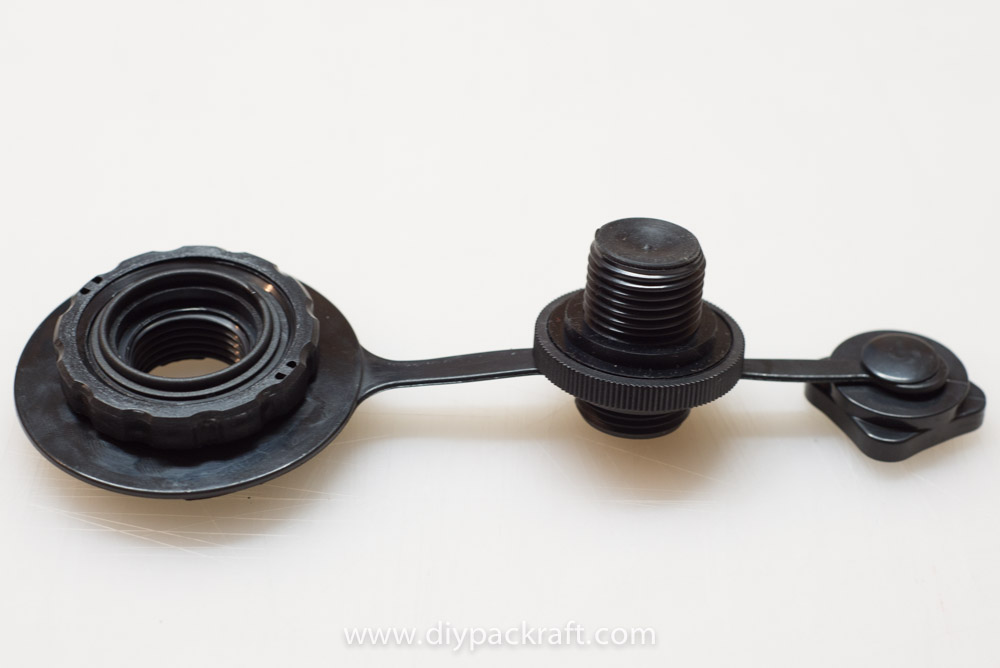
New Boston valves are now in stock! This is a slightly improved design over the previous Boston valves, with stronger plastic loops for keeping the parts together when they’re unscrewed. Best of all, the flange on […]

-
Hello – if you want to purchase fabric you can do so on the Shop webpage. Thanks!
-
-
Matt (Admin) replied to the topic Hot air gun full report in the forum DIY Packrafts 6 years, 9 months ago
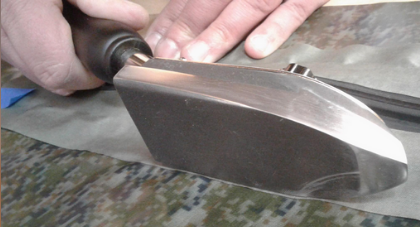
Hi Lyn, thanks for posting this report and especially the video – it’s very helpful seeing your technique in action! I imagine it must have taken quite a bit of trial and error to arrive at such a slick method – thanks for persevering and sharing what you learned. I tried using a larger pistol-style hot air gun, myself, and quickly gave up on it…[Read more]
-
Matt (Admin) wrote a new post 6 years, 9 months ago
Updated March 12
Because DIY Packraft is a very small business with limited funds for purchasing stock, I can’t keep a lot of supplies on hand, so when one person makes an unexpectedly large purchase of […]

-
Matt (Admin) replied to the topic Help & Questions re: DIY Packraft Construction in the forum DIY Packrafts 6 years, 9 months ago
Hi Lewis, thanks for your interest in the packrafts!
I’m not aware of anyone making a traditional multi-chamber inflatable from one of my designs yet, but it shouldn’t be too difficult. It’s a bit more work to seal off different sections of the tubes, but it can be done. If you cut the side tube in half and add an extra-wide seam there, you’ll…[Read more]
-
Matt (Admin) wrote a new post 6 years, 9 months ago
When I started the DIY Packraft forum, I figured it would help DIY Packrafters to meet new paddling partners and share tips, but I wasn’t prepared for the number of great ideas that would be posted there.
In my […]

-
Hi Sabien, please click the Register link under the Forum menu above to create an account, then you can make a post under the Heat Sealing Tools topic here: https://www.diypackraft.com/forums/topic/heat-sealing-tools/
Thanks! -
I can’t see a problem from my end – please send me a message through the contact page and we’ll get it sorted. Thanks!
-
-
Matt (Admin) replied to the topic Valve hack in the forum DIY Packrafts 6 years, 9 months ago
I haven’t tried it myself, but can’t think of any reason it wouldn’t work for a small volume inflatable.
-
Matt (Admin) replied to the topic Other Inflatable Projects in the forum DIY Packrafts 6 years, 9 months ago
Hi Veets, I’m not sure of the failure pressure of the materials, but it would probably depend on how you design the seams and would take some experimentation to get right. They can be made rigid, but I’ve never made anything as small as 1″ thick.
Note that cargo holds on most airliners are pressurized, but some smaller regional aircraft have rear…[Read more]
- Load More


I haven’t experienced this, but I’m curious if you added reinforcing strips to the TPU side of the baffle-to-seat welds – I’ve always done that, but I can see how it might peel over time if you didn’t. I’m also curious if it’s happening at the ends of the baffles (close to the side of the seat) or somewhere in the middle. When you make your inflatable floor, I recommend extending the baffles fairly close to the edge of the floor so there’s no tension on the edge of the baffles when the floor is inflated… if that doesn’t make sense, send me an email and I’ll draw a picture. One other tip is to avoid over-inflating the seat… it’s more comfortable and there’s much less tension on the welds when it’s a bit soft. Cheers!
Thanks, Reed. Please let me know if it gets worse.
The 190 GSM fabric might be okay, but its tear strength is a lot lower than that of the 250 GSM fabric, so it probably depends on how you’ll use it. I haven’t tried it myself, so I can’t really advise you on that.