Note: These are instructions for an old version of the DIY Packraft seat (V3). If you have a kit that is newer than a V3 (e.g. Skeena, Telkwa, 2-Person, Ultralight, etc.) then this is not the right page for you! Please access the correct seat instructions through the instructions page for your packraft model.
To avoid mistakes, be sure to read and understand these instructions fully before you begin.
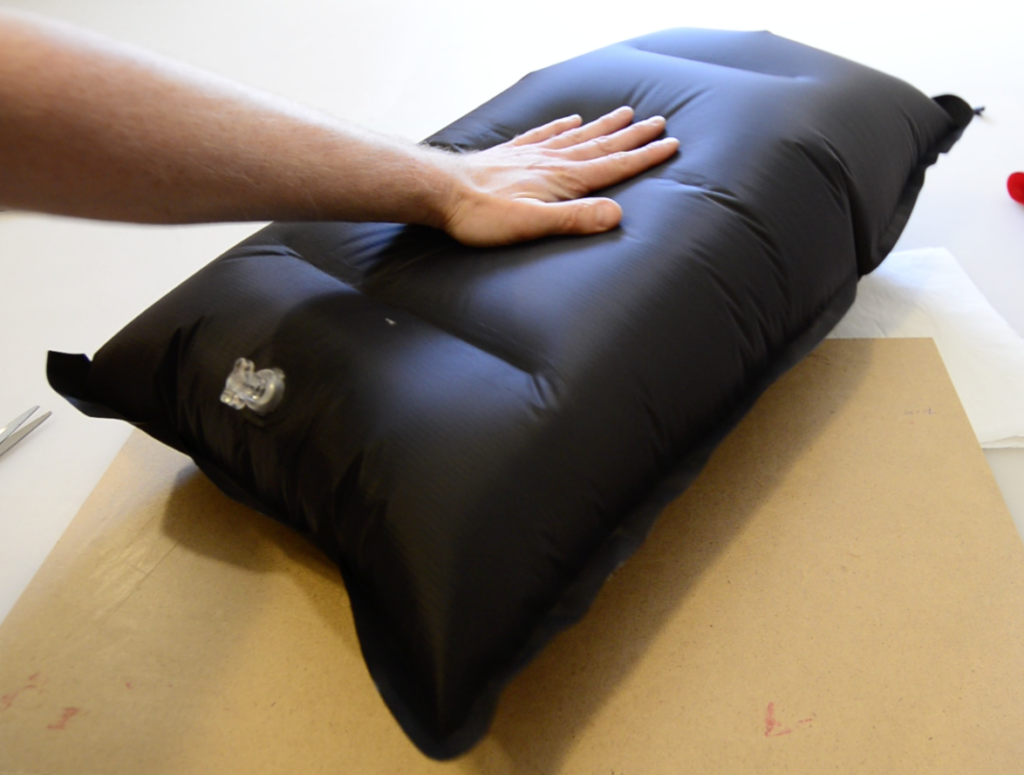
Note: the ultralight (40D) seat is made in this demo video and in the pictures below. The standard (210D) seat kit is the same, but the fabric is thicker and somewhat less pliable. Video and pictures show an early version of the seat, without tie-down points.
Step 1 – Identify Kit Parts
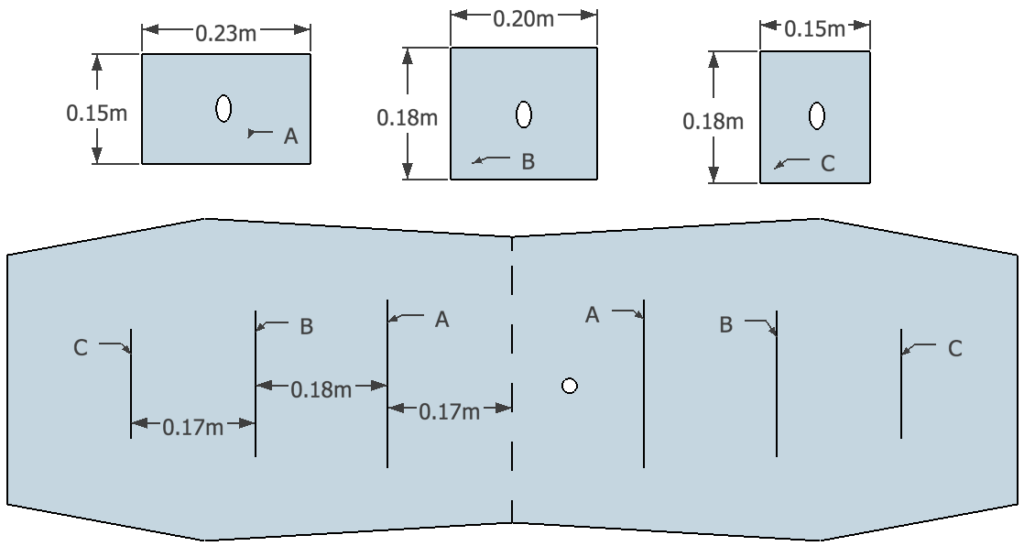
Each 210D (standard) seat kit includes:
- One small valve or top-up valve. (The small valves are being phased out.)
- Three pre-cut rectangles of 210D fabric for making baffles. These will bridge between the top and bottom of the seat to make a flat shape when inflated, as in a camping mattress. We will call these rectangles baffles A, B, and C.
- Pre-cut top and bottom piece(s) of 210D fabric – early versions of the seat kit had separate top and bottom pieces; newer versions have a single piece that will be folded over along the dashed line shown above to make the top and bottom. A 2 cm (~3/4″) wide hole is cut in the top piece to fit the included valve. If your kit is one of the newer ones including a top-up valve instead of a small valve, you will need to enlarge this hole slightly (see below).
- Fabric scraps for reinforcing the heat welds.
Each 40D (ultralight) seat kit includes:
- 40D fabric with the shapes marked in pen, ready to be cut out with scissors.
- One small valve or top-up valve (the small valves are being phased out).
Step 2 – Separate and Label Fabric Pieces
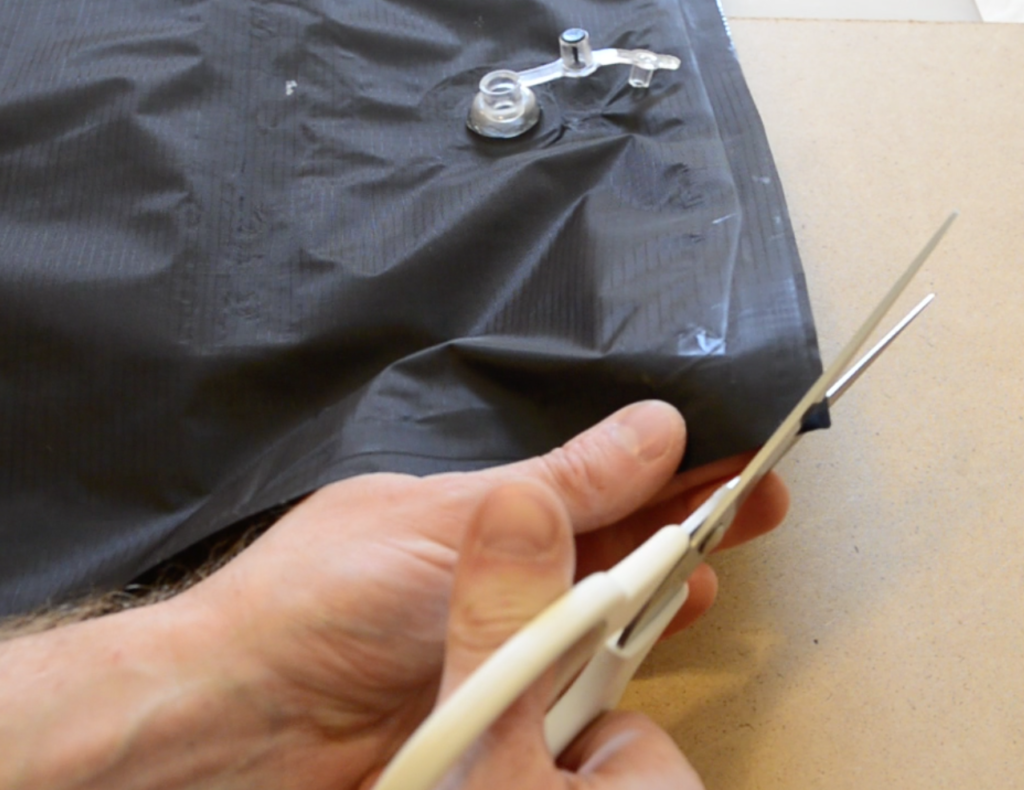
Use scissors to separate the seat pieces from the surrounding scrap material in any areas that aren’t fully cut.
You may wish to label baffles A, B, and C to differentiate them and indicate the top and bottom of each piece. (You can use a permanent marker, because these will be invisible from the outside of the seat.) Identify the baffles as follows:
- Baffle A measures approximately 23 x 15 cm (9 x 6″) and the long edges will be attached to the top and bottom
- Baffle B measures approximately 20 x 18 cm (8 x 7″) and the long edges will be attached to the top and bottom
- Baffles C measures approximately 15 x 18 cm (6 x 7″) and the short edges will be attached to the top and bottom
If you like, you can reduce the weight of the seat by a few grams if you cut holes in the baffles, but the more material you remove from the baffles, the less the seat will keep its shape.
Step 3 – Mark Baffle Locations on Top and Bottom

Lay out the seat top and bottom piece(s) on your work surface with the TPU coating side up.
Use a pen to mark the location of the baffles on the TPU sides of the top and bottom pieces, as in the diagram above. Note that the positions do not have to be exact, so do not spend a tremendous amount of time marking the locations – a single dot will do, if you feel comfortable “eyeballing” the position from that.
Step 4 – Install the Valve
Note: If your kit includes a top-up valve instead of the small valve shown, follow the installation procedure shown here instead. You will need to elongate the valve hole in the seat top slightly to fit the valve stem. The top-up valve should be oriented with its long axis parallel to the long axis of the seat so it will be between your legs when you sit on the seat.
Before sealing baffles in place, the inflation valve should be installed. (It’s possible to install the valve after the seat has been sealed up completely, or at any later stage, but it’s easiest to do while you still have access to the inside surface of the seat top.)
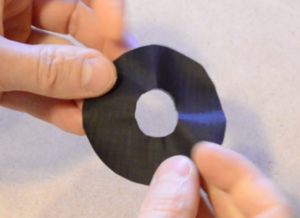
Cut a circle of scrap fabric roughly 7 cm or 3″ in diameter, and then make a hole in the center approximately 1.5 cm or 3/5″ in diameter, as below.
If your kit includes a small valve, apply glue such as Aquaseal to the top and bottom of the valve’s flange, taking care to make sure there are no gaps in the glue.
Note: If your kit includes a top-up valve instead of a small valve, no glue is required here because the valve stem is heat sealable.
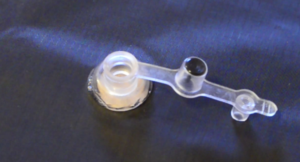
Being careful to avoid making a mess with the glue, press the bottom of the valve’s flange to the TPU side of the fabric ring, and then insert the top of the valve through the 2 cm hole in the seat top. Press the seat top down around the valve’s flange to ensure the glue will form an airtight bond around the valve, and then allow the glue cure (overnight is best).
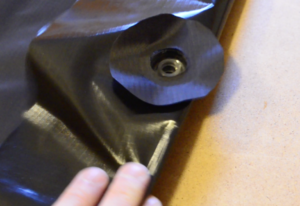
After the glue has cured, seal the fabric ring to the seat top with your iron (around the valve flange).
Step 5 – Bond Baffles to Top Piece
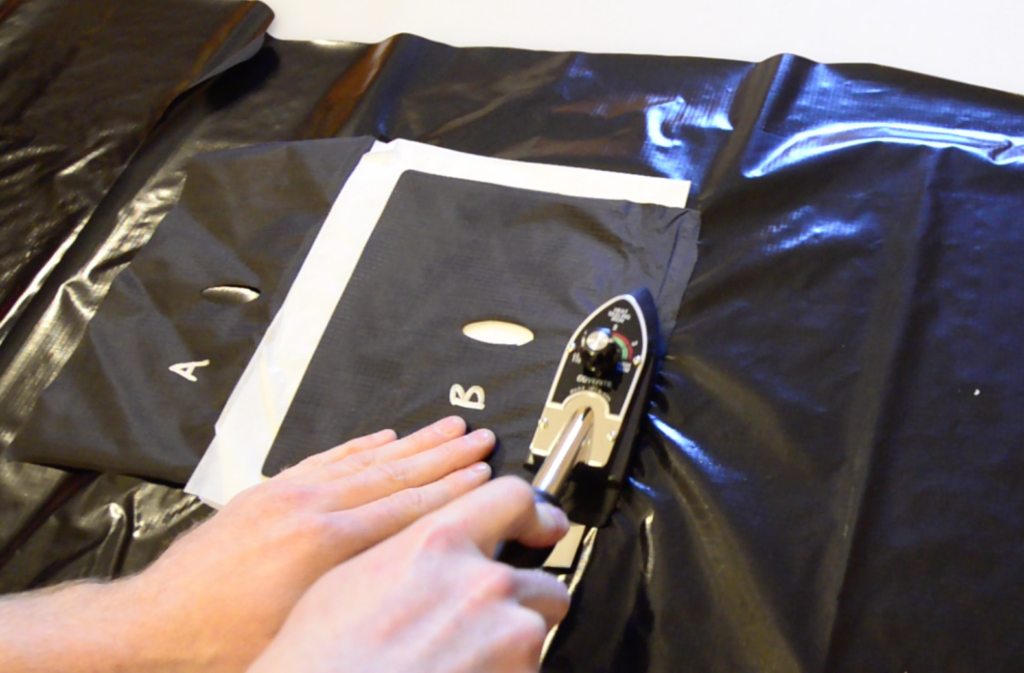
Align one long edge of rectangle A in the position you marked. Note that the baffle must be oriented so the unsealed free edge hangs towards the fold between the top/bottom piece (the fold line is indicated by a dashed line in the diagram near the top of this page).
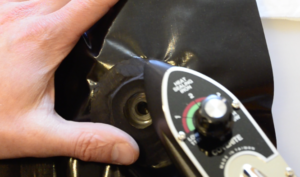
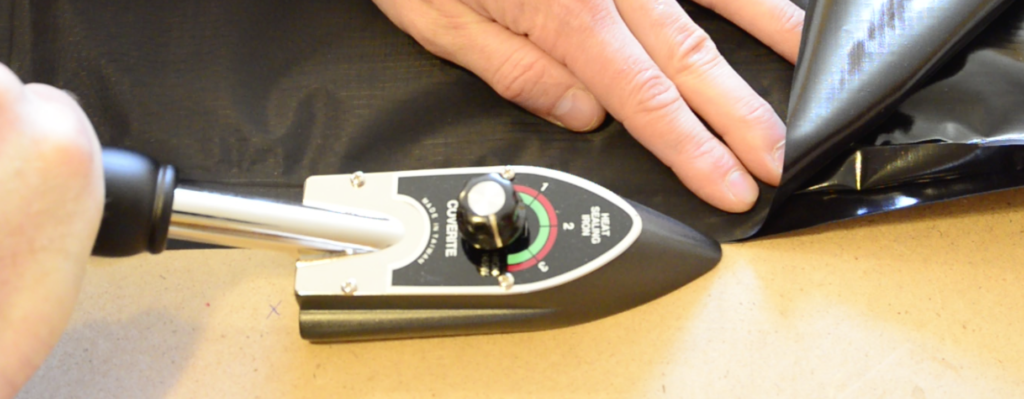
Use the edge of your iron to seal an area approximately 1 cm or 1/2″ wide near the edge of the baffle piece. Press firmly to make a strong bond. Don’t bother trying to seal it perfectly all the way to the edge of the fabric, because this joint will be on the inside of your seat so it won’t be visible, and you could compromise the airtightness of the fabric if you accidentally melt the TPU surface on the larger piece. (If you do happen to melt an area you didn’t intend to seal, simply patch it by heat sealing a small scrap of fabric over the hole.)
To avoid accidentally bonding more of the baffle to the seat top, place piece of parchment between the area you do not want sealed (fold the parchment paper in half a few times to increase its thickness to slow the heat transfer through it).
Seal rectangles B and C in the same way as you bonded rectangle A. It is very important to keep all three oriented in the same direction with the free-hanging part of the baffles pointing the same way – if you do not, it will be difficult to seal them to the bottom piece!
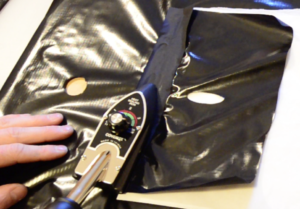
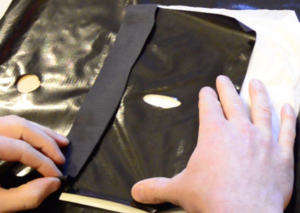
Fold back the baffles and cut some scraps of fabric to seal on the other side of the joints to increase their strength, as below.
Step 6 – Bond Baffles to Seat Bottom
Because it would be too difficult to add reinforcing strips to the joints after the baffles are sealed to both the top and bottom of the seat, first seal reinforcing strips to the bottom of the seat, taking care to orient them so the TPU side will face the TPU side of the corresponding baffle.
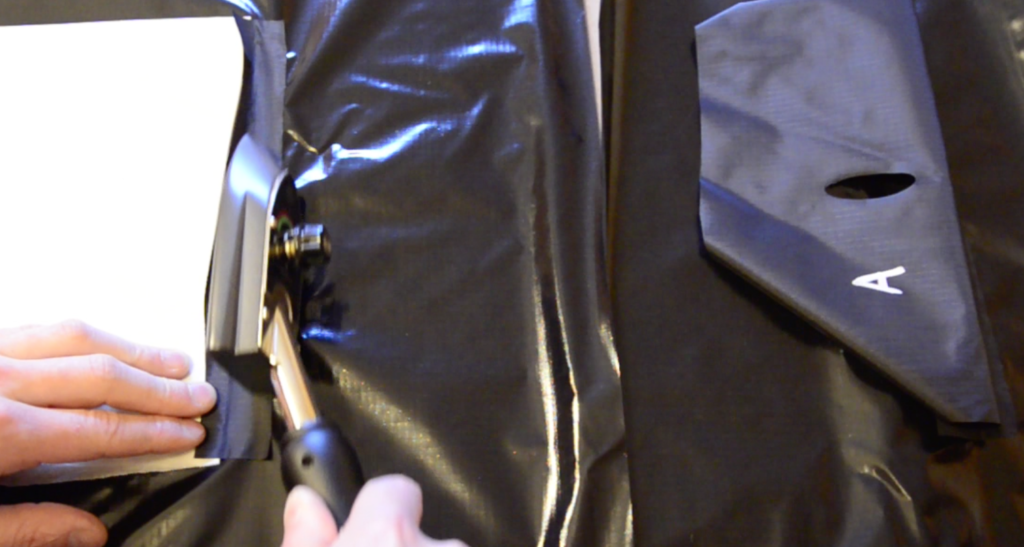
Add reinforcing strips for baffles B and C, making sure to orient them the same way.
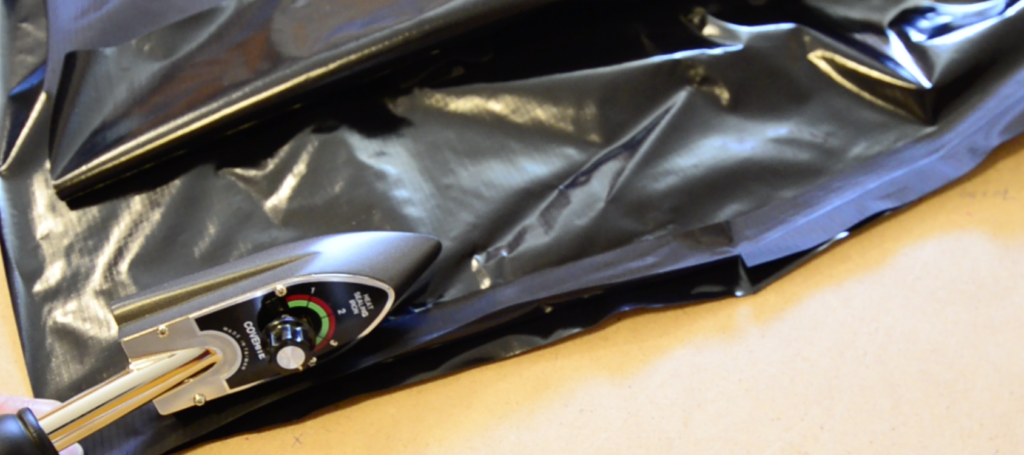
After the reinforcing strips have been added, fold back the reinforcing strip for baffle A and use the edge of your iron to bond the free edge of baffle A to the seat bottom piece and the reinforcing strip at the same time, as in the picture below.
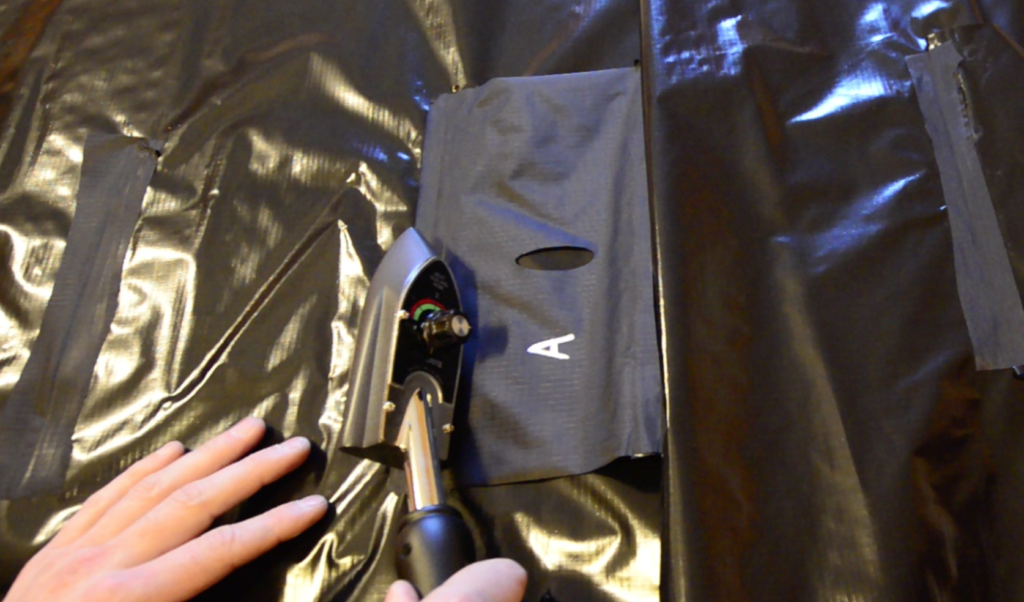
Do the same for baffles B and C; then the three baffles will be attached to both the top and bottom of the seat.
Step 7 – Seal the Seat’s Perimeter
Cut several fabric scrap strips 2-3 cm (1″) wide and bond them around the perimeter of the bottom of the seat, as shown below, so they can fold over to bond to the top piece later. The center of the strip (i.e. the fold) should be approximately 1.5 cm from the edge of the bottom piece, and only the inner part of the strip should be bonded to the bottom piece.
Note that you can use several short reinforcing strips to make up a side – it doesn’t have to be one long piece per side.
Joints between these strips need not be airtight, as the airtightness of the seat will come from sealing the top of the seat to the bottom – these reinforcing strips merely keep that airtight joint from peeling apart under pressure.
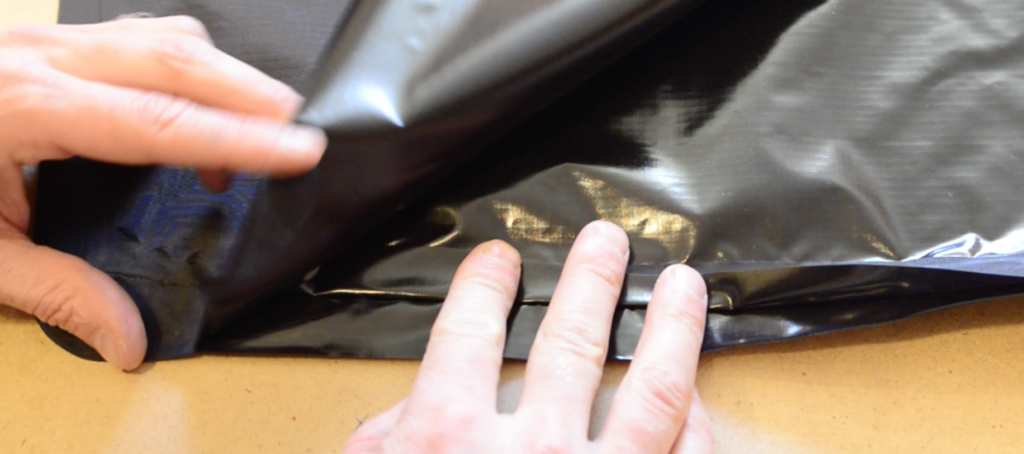
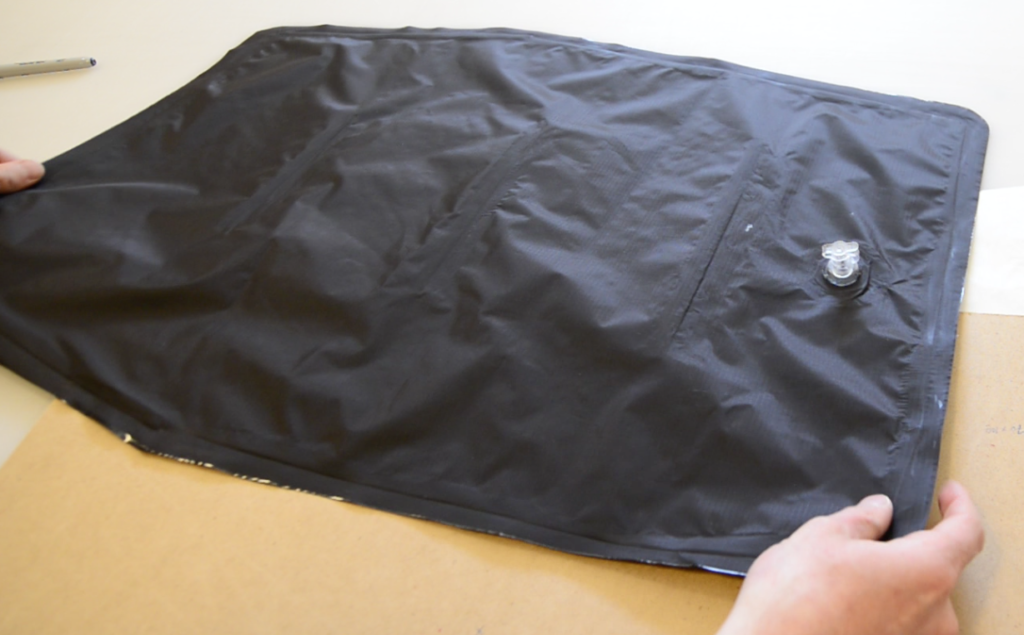
Fold a section of reinforcing strip over so the TPU side is facing up and align the edge of the top piece with the bottom piece. Heat seal the top piece to the bottom piece and the reinforcing strip. Repeat this procedure all the way around the perimeter of the seat. (If your top and bottom pieces are connected, you do not need to seal the fold.)
Not pictured here are the tie-down tabs (semi-circular “ears” extending from the sides of the seat). Before sealing these areas together, insert a small piece of scrap packraft floor material (420D or 1000D fabric with TPU on both sides) between the top and bottom tie-down tabs. By sealing this heavy-duty fabric between the tabs you’ll create a reinforced area that you can tie to (make a circular hole with a hole punch or drill so it’s less likely to tear).
If you have questions, please leave a comment below!

16 Comments
Blair · January 10, 2021 at 6:55 pm
Hi Matt, do you have any pictures you could add of the finished attachment points?
Also, if you’re doing an updated, could you mention the size the reinforcing strips for the baffles should be? (I’m guessing the same as the reinforcing of the outside seams)
Matt (Admin) · January 11, 2021 at 10:08 am
The attachment points end up looking similar to the “Type 2” attachment points on this page: https://www.diypackraft.com/construction/how-to/making-tie-downs/ with a bit of floor fabric sandwiched between the semi-circular tabs for reinforcement.
The width of the reinforcing strips isn’t critical… make them slightly wider than your iron so it’s easy to seal them in place (I usually don’t give a measurement for the reinforcing strips because people use different irons). I’ll try to make this clear in the text.
sorapong pattarapornnunt · April 13, 2020 at 3:33 am
I purchased V3 kit. Now i start to assembly seat but i wonder about air valve, it’s already cut round shape hole but in V3 kit, i have 2 top up valves (twist cap). no valve type of your instructions. Or I cut to re-shape of valve for it?
Thank you.
Matt (Admin) · April 13, 2020 at 8:20 am
Yes, please re-shape the hole and follow the link in the “Note” in Step 4, above. Thanks
Doug D · May 4, 2019 at 8:58 pm
Which direction do you generally face the top off valve in the seat?
Matt (Admin) · May 5, 2019 at 11:12 am
If you point the valve stem towards the center of the seat fabric (the dashed line in the diagram above) it will end up pointing forward and up from the bottom front of the seat so it’s easy to access but not in your way (when the seat is flipped over compared to the picture above). Cheers!
Scott · April 14, 2018 at 10:48 am
When making the final perimeter seal, I found it helpful when sealing the top piece to the reinforcing strip on the bottom to follow along the inside fold with a piece of parchment paper. This prevented me from overshooting the reinforcing strip and inadvertently sealing the top and bottom pieces beyond the reinforcing strip. I was able to employ this technique for all but the final few centimeters of the seal.
Matt Norberg · January 18, 2018 at 6:22 am
I am just starting my new packraft build. I have the standard kit (210D). Do the baffles need the holes cut in them? Also. Can the valve be installed before sealing the baffles as stated in an earlier post?
Thanks,
Matt
Matt (Admin) · January 18, 2018 at 9:32 pm
Hi Matt,
The holes are not required – I had originally been adding them to help people orient the pieces, but since you still have to measure them to figure out which one goes where, I decided it wasn’t really worth the time I was spending on it.
And yes, the valve can absolutely be installed before the baffles if you prefer.
Cheers,
Matt
Fred · December 11, 2017 at 2:41 am
Hi
I’m currently working on a folding version of the seat kit.
I have been following you instructions point to point, however i found that the installment of the valve was a bit troublesome.
After the baffles are bonded to the top and bottom there is very little room left to work with the valve.
I believe it would be easier to have the valve fitted before finishing work with the baffles.
Install valve as step 4 or 5.
Cheers
Fred.
Matt (Admin) · January 18, 2018 at 9:46 pm
Thanks for the tip – I wrote the instructions for a previous version of the seat in which it was easier to install the valve after the baffles were finished, but I see now why you had trouble. I have re-ordered the instructions to make it easier. Cheers!
Kaspar Delhey · November 29, 2017 at 9:35 pm
Hi Matt,
thanks for that, it makes sense!
Kaspar
Kaspar Delhey · November 23, 2017 at 3:15 pm
Hi Matt,
I just received the V3 kit and I noticed that the seat piece has two small ‘ears’ on the side that do not seem to be described in the instructions. What is the purpose of these and how should I deal with them.
Thanks in advance and also for the great site and resources!
cheers
Kaspar
Matt (Admin) · November 23, 2017 at 4:57 pm
Hi Kasper – the newer seats have tabs added to the perimeter to make tie-down points. You can heat seal them together when you’re sealing the rest of the perimeter, then cut holes in them (or use a hole punch) so you can tie the seat to your packraft. I’ve updated the text above, but please let me know if it’s unclear what to do. Cheers!
Patrick Dewane · October 23, 2017 at 1:06 pm
I have found that a stainless steel ruler with cork on one side works much better than parchment paper for placing on the back side of straight seams.
Matt (Admin) · October 23, 2017 at 1:15 pm
Great – thanks for the tip!