Assembly time: 30 minutes, excluding glue curing time.
First, why an inflation bag?
I tried to inflate a packraft by mouth once, but after half an hour it was only partially inflated and I was dizzy – packrafts are just too large to be inflated that way. Luckily, there are lightweight solutions to this problem: an inflation bag, or an electric pump.
An inflation bag allows you to scoop a large volume of air into the bag, close the top, and then squeeze the bag to force the air through a nozzle into the packraft (see how in the video below). Alternatively, you can purchase a small electric pump (also shown in the video below).
Note: Inflating your packraft entirely through the one-way (“check”) valve is possible, but airflow is quite restricted by the valve so it takes longer than the above method, even though some air is lost to back-flow when using the above method. Portable electric pumps are typically not strong enough to inflate through the check valve.
Assembling Your Inflation Bag
Note: The lightweight fabric is coated with TPU on one side, but the heavy floor fabric is coated with TPU on both sides (the finish may be glossy on one side and matte on the other). If you iron for too long in one place you will melt through to the TPU on the far side of the heavier fabric – be sure to watch the Heat Sealing video and practice on scraps before you begin.)
Packraft inflation bag kit parts (included with your packraft kit):
- Small piece of black silicone rubber tubing (roughly 5 cm or 2″ long and 2 cm or 7/8″ in diameter)
- Small piece of packraft floor fabric fabric, approximately 10 cm (4″) square (cut this from the excess fabric attached to your floor piece)
- Approximately 1 x 1.45 m (57 x 39″) of lightweight ripstop fabric (unlabelled, and color depends on availability)
- Caution: If you ordered a spray skirt kit with your packraft kit, the skirt fabric may be the same type of lightweight ripstop fabric as the inflation bag fabric (depending on when you ordered). Check for scored lines on the fabric before proceeding – scored lines indicate that it is the spray skirt fabric; the inflation bag fabric has no scored lines.
Tools required:
- Heat sealing iron
- Scissors
- Parchment paper (silicone coated baking paper)
- Polyurethane glue, such as Aquaseal+WP or Seam Grip+WP
- Ruler
- Small wood block or thick book
- Heat-resistant work surface
- Knife
- Thread (optional)
- Plastic coat hanger (optional)
Optional (shown briefly in the video above): Cut two ~15-20 cm (6-8″) lengths of plastic rod from a plastic coat hanger or other cheap plastic object. These will make convenient handles for your inflation bag, but are not necessary if you want to save a few grams and make your inflation bag more packable.
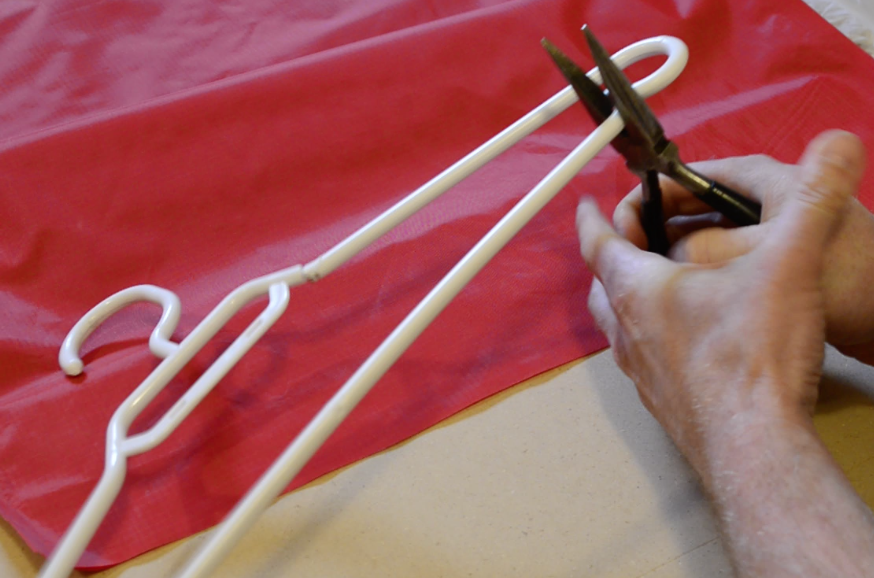
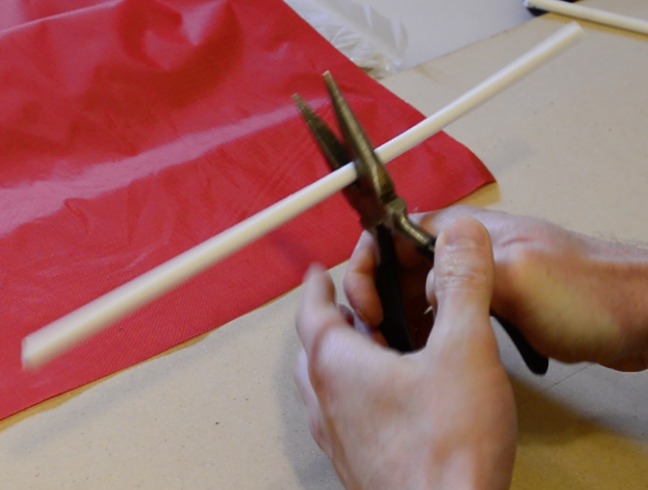
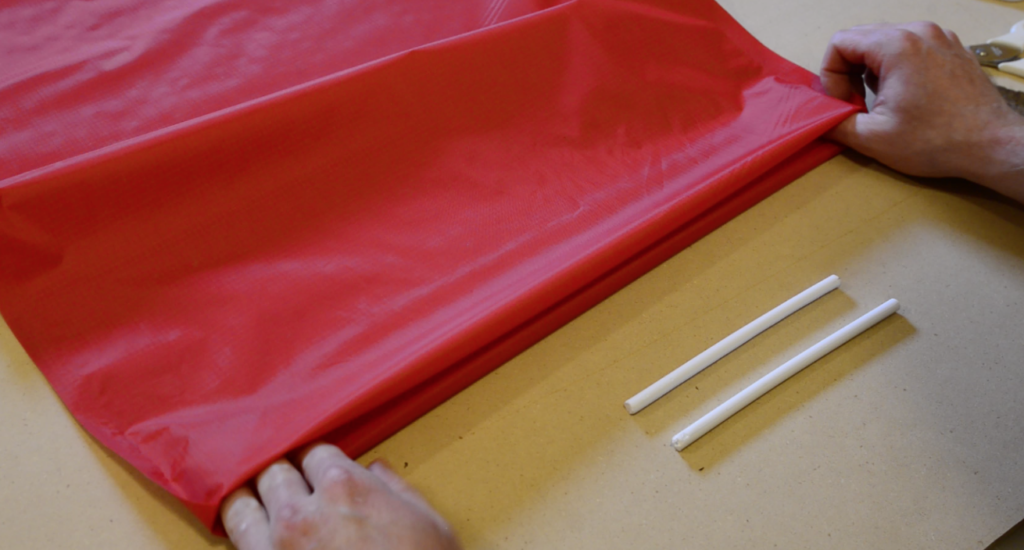
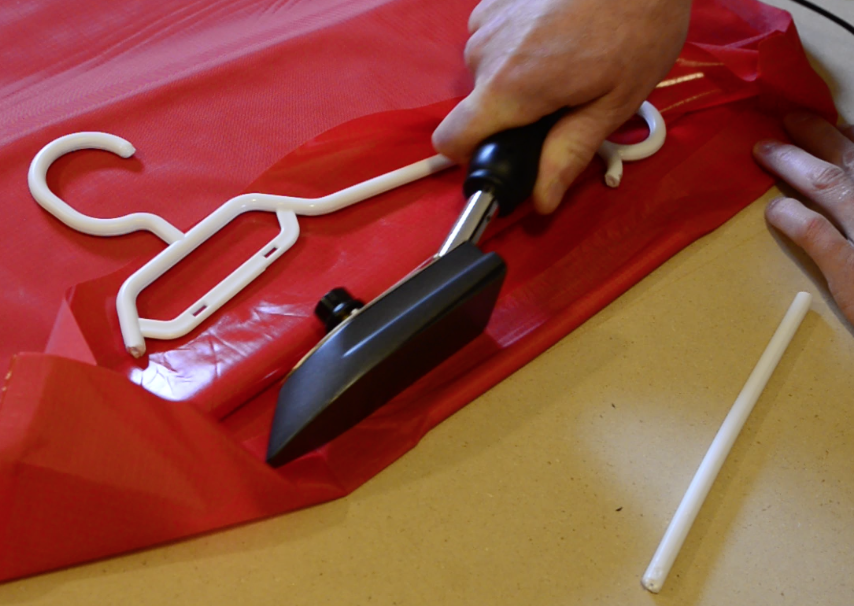
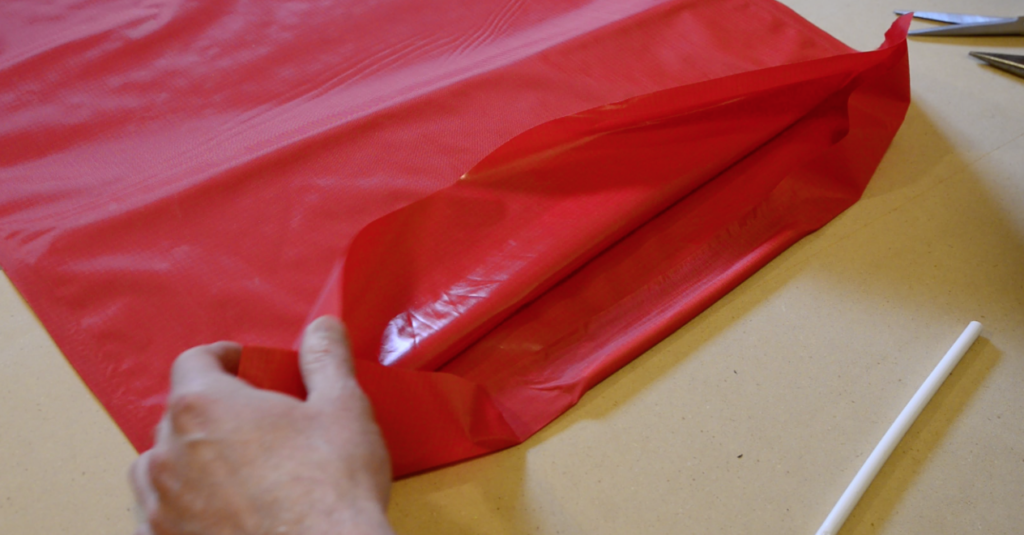
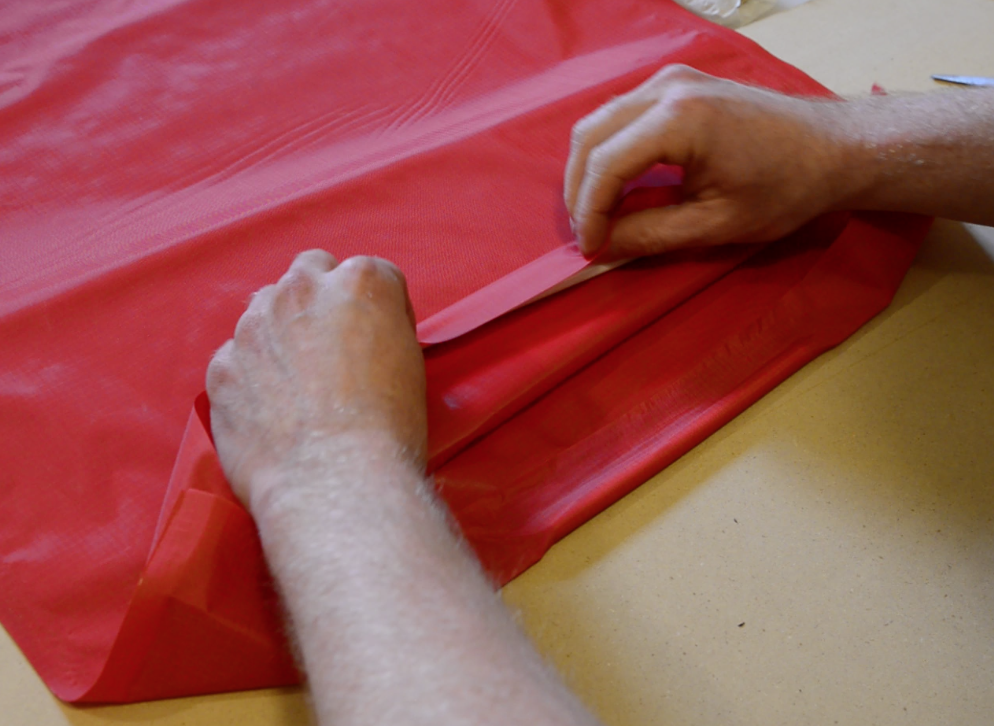
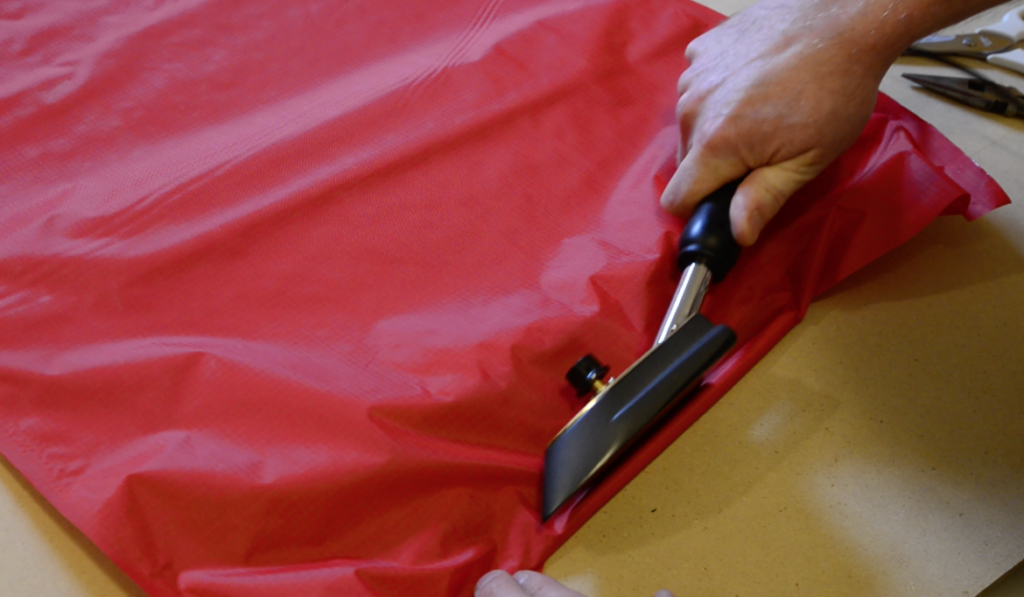
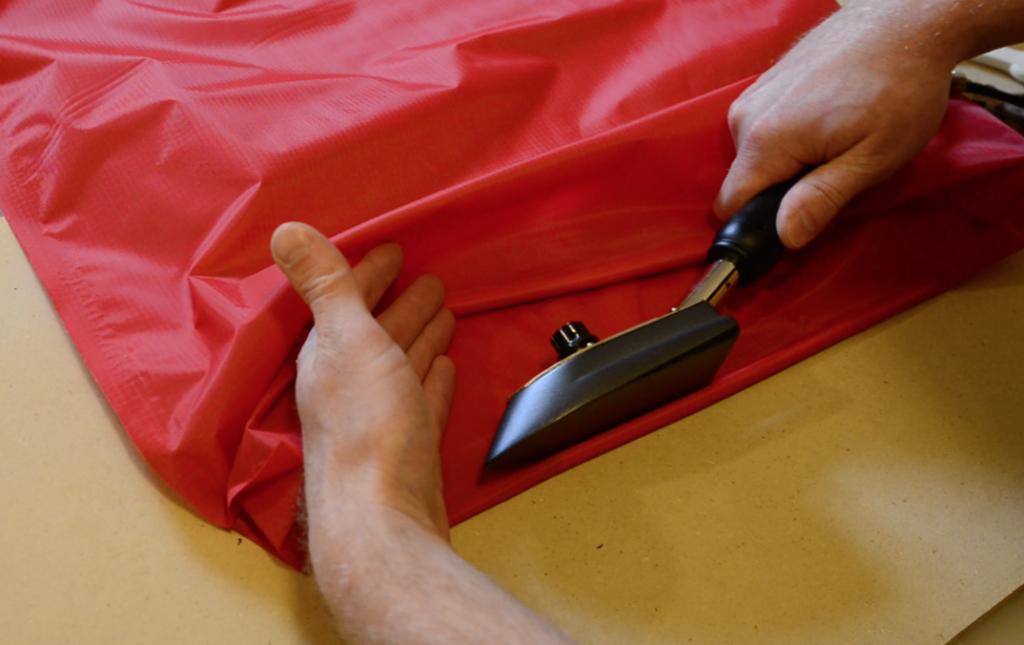
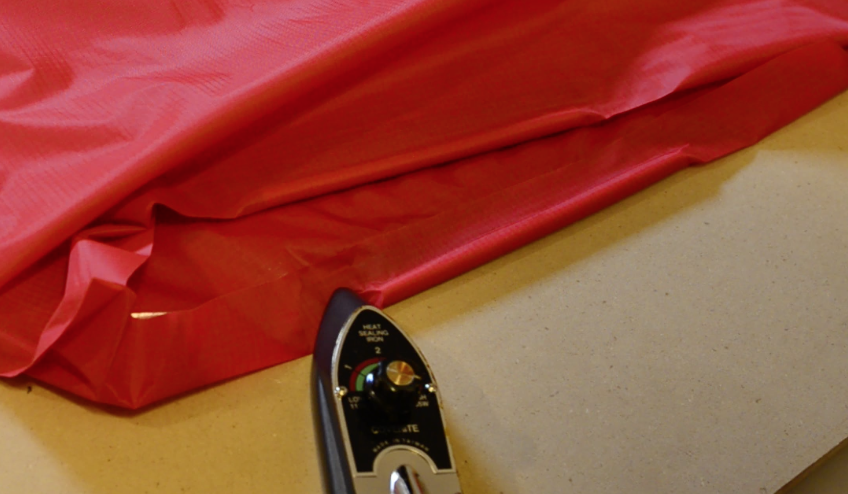
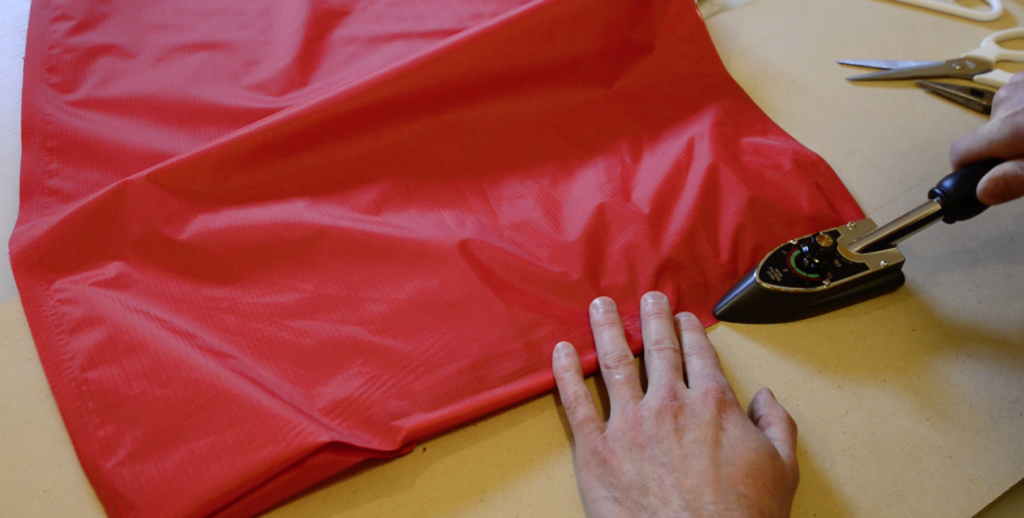
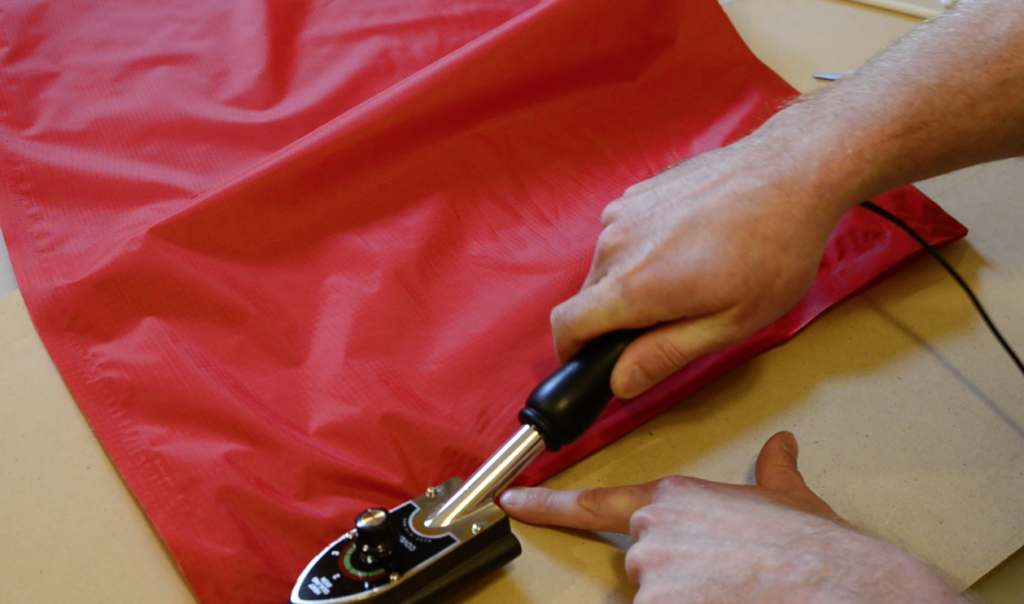
Fold approximately 3-5 cm (1-2″) of the unfinished end of the sack around the optional plastic rod and center the plastic rod between the two edges of the sack. Heat seal the fold around the plastic rod or, if you are not adding plastic rods, simply heat seal the fold to provide a finished edge to your inflation bag. Flip the bag over and do the same on the other side.
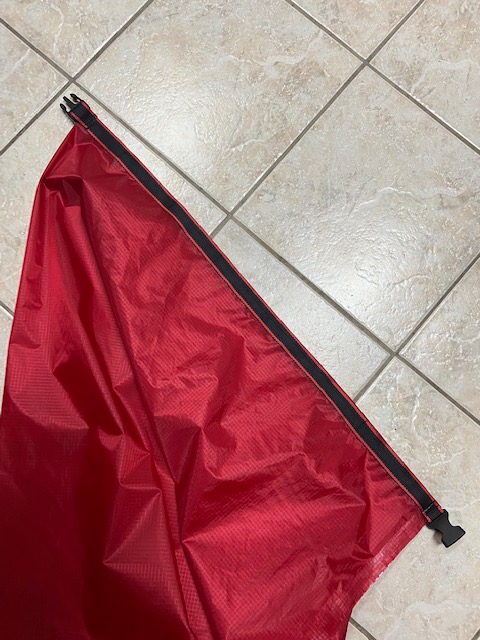
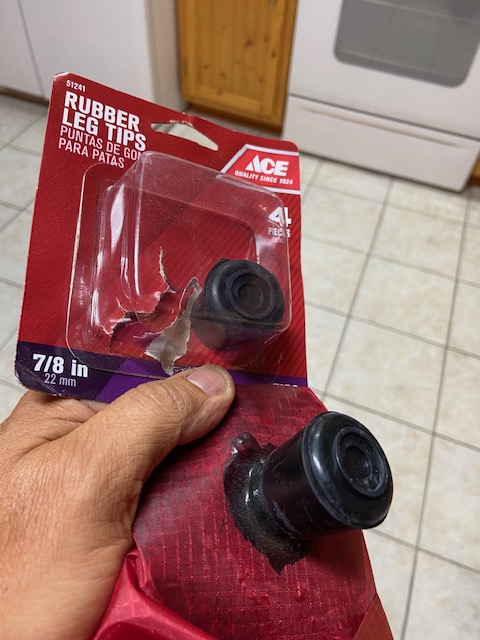
Tip: Your inflation bag can do double duty as a drybag! Ron S. found that a rubber chair leg tip with an inner diameter of 7/8″ (22 mm) makes a great cap for the inflation tube, and he added a buckle to his inflation bag so the top can be rolled and then clipped closed:
Questions? Leave a comment below!
30 Comments
Tamas · May 17, 2023 at 11:50 am
Hi Matt,
I built a nice packraft, thanks or the design, but I have a problem with the small hose the kit has, the rubber hose’s diameter doesn’t match with the Boston valve! Now I have to be on a hunt at home depot to find something that fits. Am i missing something here? Thanks
Matt (Admin) · May 17, 2023 at 12:55 pm
Hi Tamas, I use that hose in the larger part of the Boston valve, not the inner check valve, because it’s much faster to inflate it that way even though you lose some air. Then screw in the check valve when it’s almost fully inflated and finish with a few breaths. Hopefully that answers your question!
Alexander Latham · January 8, 2022 at 4:10 am
Hi Matt, I’m finally starting my packraft build! Phew…
I’m still not clear on the placement of the nozzle with the new 1×1.45m fabric however. I have read all the comments and notes and I see this info:
“Install the nozzle beside the center of one of the shorter (~0.76 m) sides (i.e. not beside the fold).”
What I’m not so clear about however – does that mean the nozzle is installed slightly in from a welded edge? That’s very different to the video where the nozzle is installed slightly in from a folded edge.
Any clarification here would be appreciated. Thanks. 🙂
Matt (Admin) · January 8, 2022 at 9:30 am
I will post a picture above.
Alexander Latham · January 11, 2022 at 10:30 am
Hi Matt, thanks that picture makes it absolutely clear! Cheers!
GabC · June 1, 2021 at 3:45 pm
I don’t know if I’m just overthinking this but it seems to me that the piece of fabric for the inflation bag in my kit is pretty large when I fold it widthwise. It’s almost square then, while in the vids the proportions are closer to 2:1 (L:W).
I’m assuming there’s just more fabric than needed and I can make it narrower?
Matt (Admin) · June 1, 2021 at 3:59 pm
I’m not sure which way you mean by widthwise, but regardless, did you see the first and second “Notes” above? I think those will answer your question.
GabC · June 1, 2021 at 5:46 pm
Aha! Weird that I read the entire thing and still missed that. Thanks.
Matt (Admin) · June 2, 2021 at 2:34 pm
No problem 🙂
Anthony DeLorenzo · April 5, 2020 at 4:21 pm
Hey Matt! Is this red 115 GSM fabric available for sale?
Matt (Admin) · April 6, 2020 at 8:21 am
Not at this time. Cheers!
Curtis MacDonald · January 20, 2020 at 8:11 pm
Hi there, would this project still be possible with using a higher threaded fabric for the main body closer to 440D? Or would that be too heavy?
Matt (Admin) · January 21, 2020 at 8:17 am
I wouldn’t recommend it, but it would be possible.
citybadger · May 22, 2019 at 8:59 am
“…fold it in half so it is 1.0 x 0.76 m and locate the nozzle near the center of one of the 0.76 m sides.”
I think this would be clearer if it read “locate the nozzle just beside the center of one of the 0.76m edges.”
Also the 7/8″ hose is 2cm (7/8″) hose. Bouncing around between systems is jarring. Maybe you Canadians are more used to it. 🙂
krstahl · December 15, 2018 at 11:49 am
Matt, First off: You have a great product and some really good instructions on how to build a packraft! I finally purchased my V3 kit and received it recently.
Question: Your inflation bag video and pics you show that you are assembling with the TPU on the inside of the bag. In Bruce Campbell’s pics he is assembling with the TPU on the outside. I intend on picking up on Bruce’s idea of using the IB as a drybag. I assume that for a dry bag I’d want the TPU on the exterior. I practiced on a “mini” bag with scraps, sans nozzle, and it seemed pretty simple to weld TPU inside then turn the whole thing inside out. So, would the only difference be installing the nozzle in reverse reinforcement and protrusion of the nozzle tube?
Matt (Admin) · December 16, 2018 at 8:46 am
Thanks! That’s right 🙂
Matteo · August 23, 2018 at 11:45 pm
Is it possible to use a thinner tube so it can be attached to the smaller top valve? ( the piece you screw off )
Matt (Admin) · August 24, 2018 at 7:45 pm
Yes, I find it inflates a packraft too slowly though, because the air flow through the check valve is much more restricted. It also makes an annoying noise.
Matteo Scalas · September 1, 2018 at 6:20 pm
Yes I agree, I tried to use an adaptor from a Kmart pump and the noise is really annoying
Peter · July 5, 2018 at 1:50 pm
Hi. I’ve just received three v3kits. Can it be that my red fabric should be turned 90deg compared to the guide above? (Its app 140x100cm)
Regards Peter
Matt (Admin) · July 5, 2018 at 2:17 pm
Yes, please do. I will update the instructions above to reflect the new, larger size. Thanks!
Ted · April 25, 2018 at 5:06 pm
Just finished mine, and it works great! I was just thinking that with a little effort, it could double as a removable splash deck. You know, since you’re taking it with you anyway, it may as well be useful the whole time.
DatLima25 · November 10, 2018 at 7:57 am
Or you can use it as a drybag.
Matt (Admin) · November 19, 2018 at 10:17 am
Yep, that’s what I do – inflate the packraft and then stow my gear in the inflation bag 🙂
unnamedpeaks · January 25, 2020 at 8:14 am
How do you seal the inflation end when it’s a piece of unthreaded tubing?
Matt (Admin) · January 25, 2020 at 10:09 am
You can make a cork for it, or just use it as a splash-proof cover and not a true drybag.
Craig · April 22, 2018 at 11:13 am
I used a knife to taper the exposed end of the black tubing. This made it much easier to insert the tubing firmly into the valve and inflate the boat.
Matt (Admin) · April 23, 2018 at 9:06 am
Hi Craig, thanks for the tip – I’ve added this to the written instructions above.
Simon · March 9, 2018 at 12:28 am
FWIW, I happened to have TPU webbing (https://www.shelbyoutdoor.com/product_info.php?products_id=2842) that I used for handles. So far the idea seems to work as expected. Weldable and flexible, but provides some handles and stiffness.
Bruce Campbell · September 10, 2017 at 11:38 pm
I just completed an inflation bag, took me about two hours,. The 40D ripstop material is great for an inflation bag. It was much faster than the one I sewed together from Sil Nylon. Of course, I made a few changes. I left a gap and will glue the 7/8″ tubing into a bottom corner, added 1/2″ nylon webbing and a plastic buckle at the top so I can use it as a behind-the-seat drybag. I’ll post photos in the forum.