In the last step, we joined the tube pieces to the floor, and in this step we’re going to join the tube pieces to each other.
Our first task is to cut narrow strips of heat-sealable fabric that will form the seams between the tube pieces. Your kit will include one or two pieces of fabric large enough to cut these strips from (if you ordered extra fabric, the seam fabric may be added on to that piece, so check the length). Avoid cutting the strips much longer than necessary, as that will waste fabric that could be used for other things.
Here are the lengths of 2 cm (0.8 inch) wide strips of heat-sealable fabric required for bonding tube pieces together (includes at least 5 cm/2″ extra length):
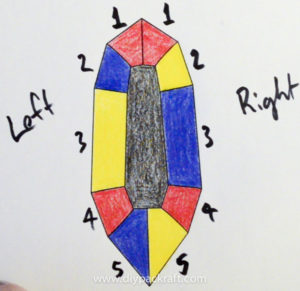
- Seam between pieces #1 & 2: 90 cm (35.5″) (two required)
- Seam between pieces #2 & 3: 95 cm (37.5″) (two required)
- Seam between pieces #3 & 4: 95 cm (37.5″) (two required)
- Seam between pieces #4 & 5: 100 cm (39.5″) (two required)
- Front center seam* (between pieces 1-Left & 1-Right): 110 cm (43.5″)
- Rear center seam* (between pieces 5-Left & 5-Right): 60 cm (23.5″) + 115 cm (45″) to meet at pointed tip, or a single 175 cm (69″) piece
*Do not seal the front and rear center seams yet.
These narrow strips of fabric should be 2-2.5 cm wide – any wider than that and you may have trouble avoiding wrinkles in your seams. For the demo packraft, I cut strips 22.5 mm wide. This width provides enough overlap for a very strong seam, without being so wide that wrinkles will form as the fabric is curved in multiple directions.
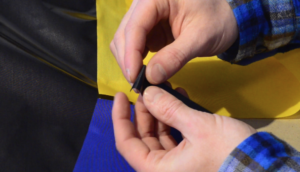
When your narrow strips are ready, lay out your packraft with the TPU (shiny) side of the floor facing up (TPU side of the tube pieces facing down). Fold the end of one of your narrow strips so a 1 cm tab is created, with the TPU on the outside of the fold.
Center the folded end of the strip between the tube pieces and the floor, with the fold halfway between the outer edge of the floor piece and the corners of the tube pieces. The TPU side of the long strip should be facing up, touching the TPU side of the tube pieces, and the 1 cm fold should be facing down, in contact with the floor piece.
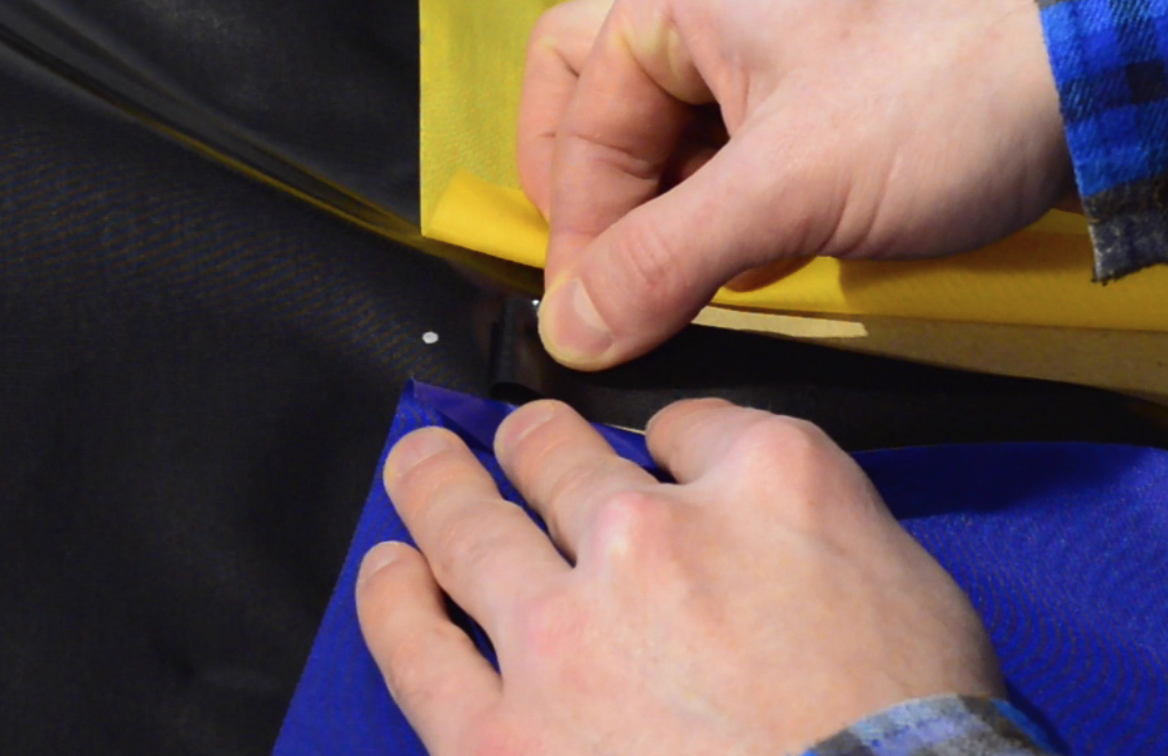
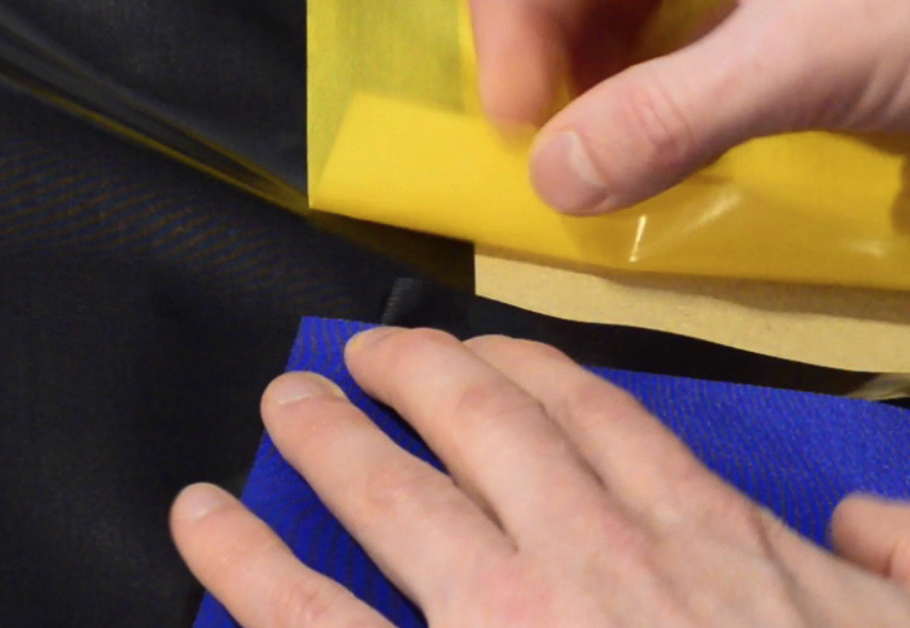
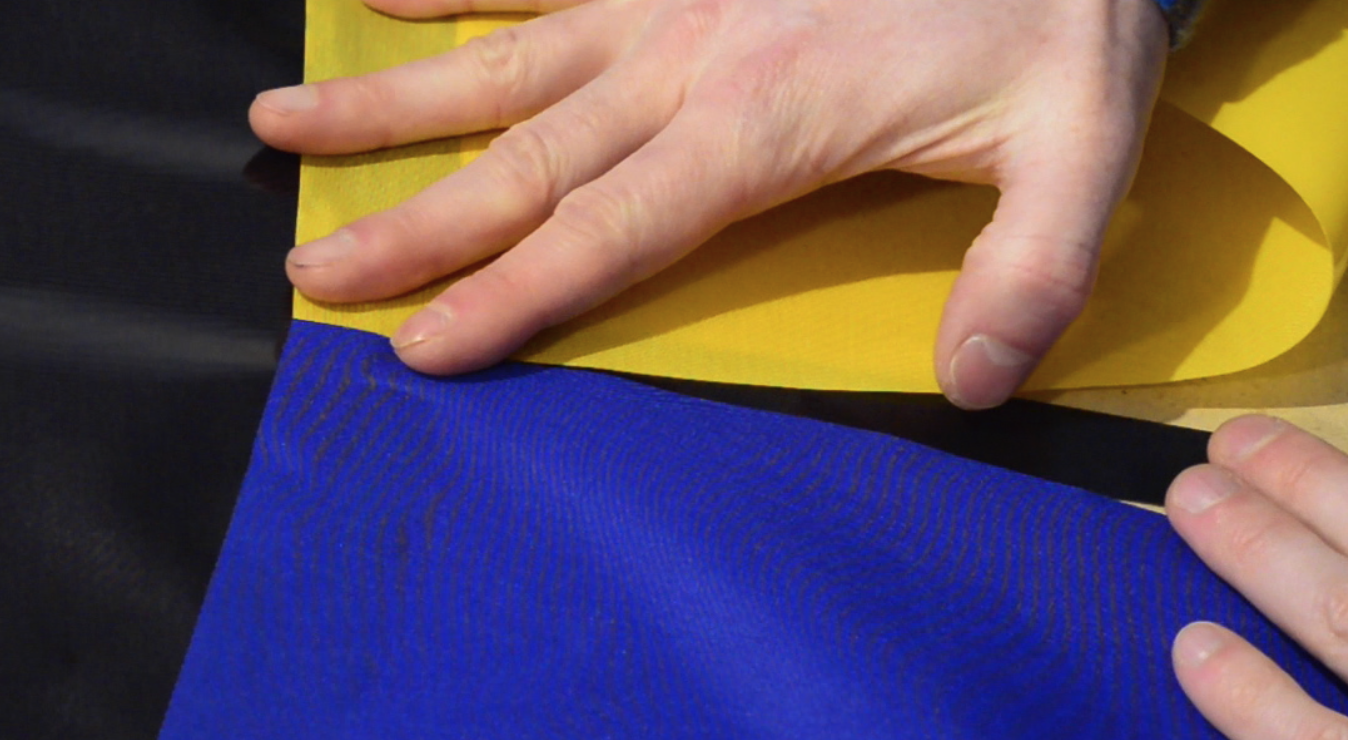
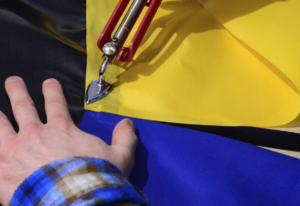
Use your heat-sealing iron to bond the tube pieces to the end of the strip and to the floor around it. Remember to apply pressure to create a good bond. Then flip the packraft over to seal the 1 cm fold to the floor. We will come back to this area later, so don’t worry about the small pocket that has formed at the corner of the floor.
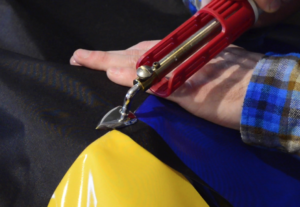
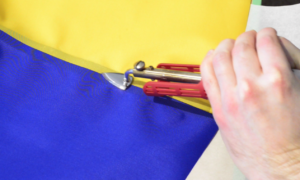
Now that the narrow strip is on top of the tube pieces, cover a bowl in parchment paper and place it under the fabric so you have a raised, curved surface to seal over. This will help you create a wrinkle-free seam. Hold the tube pieces together and bond the strip to them with your iron, being careful to keep the strip centered over the seam as you work your way along, a few cm at a time.
Check the Tips & Tricks topic in the Forum if you are having trouble holding the fabric in place as you work.
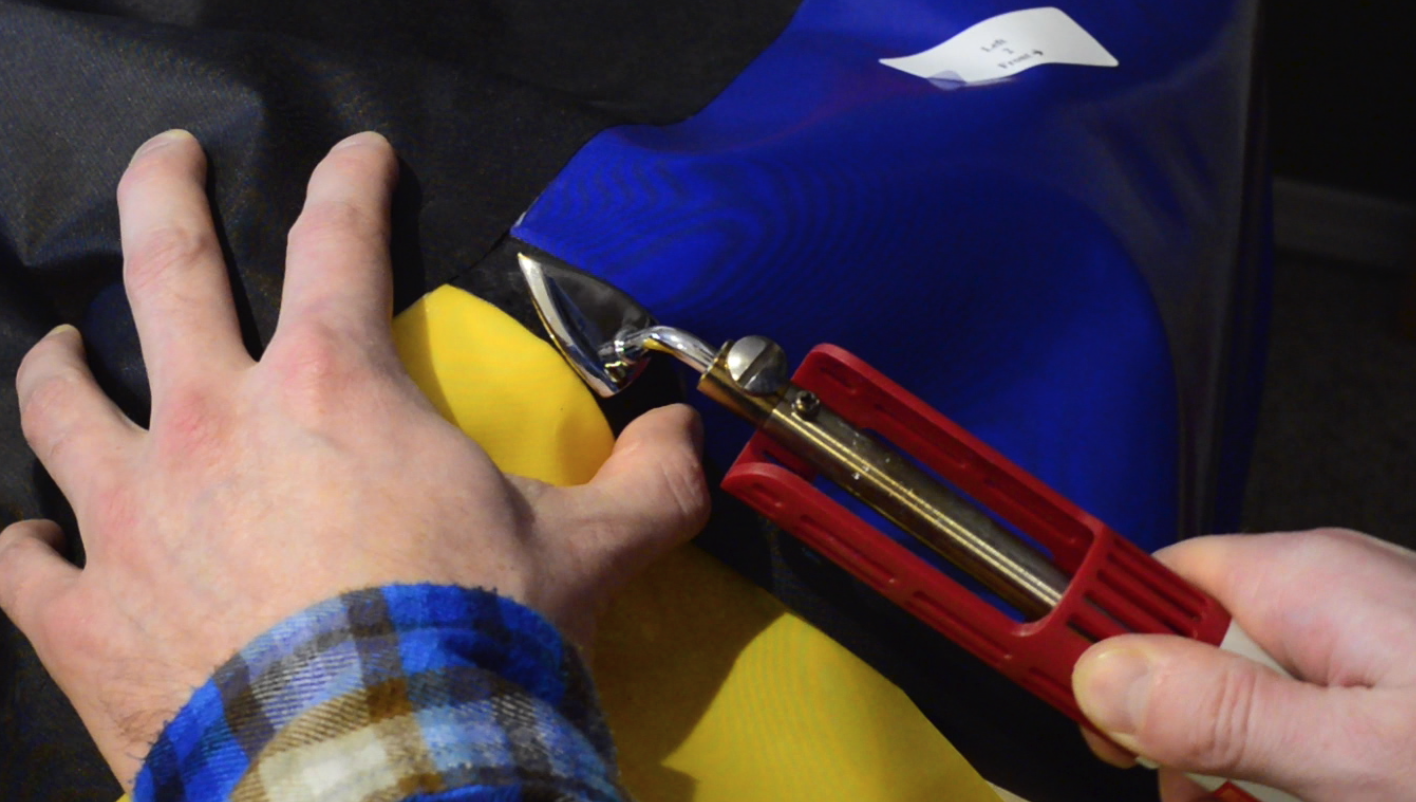
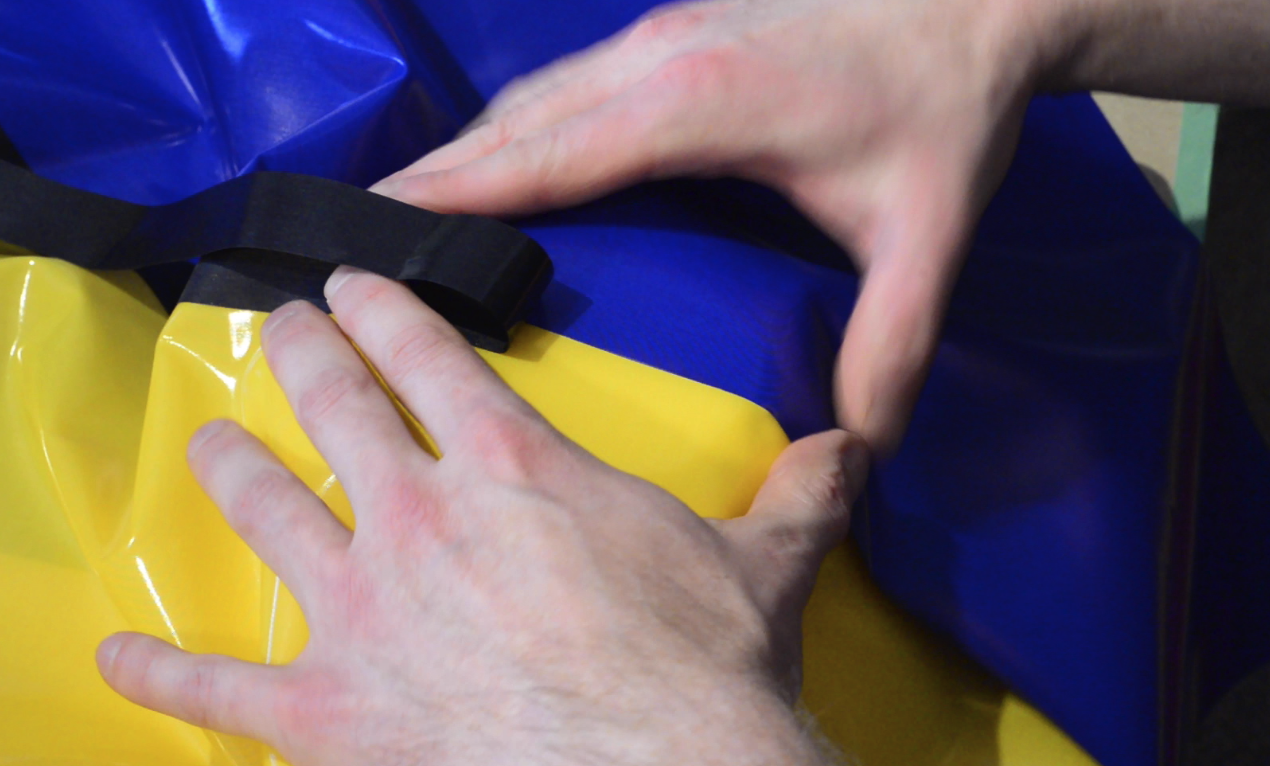
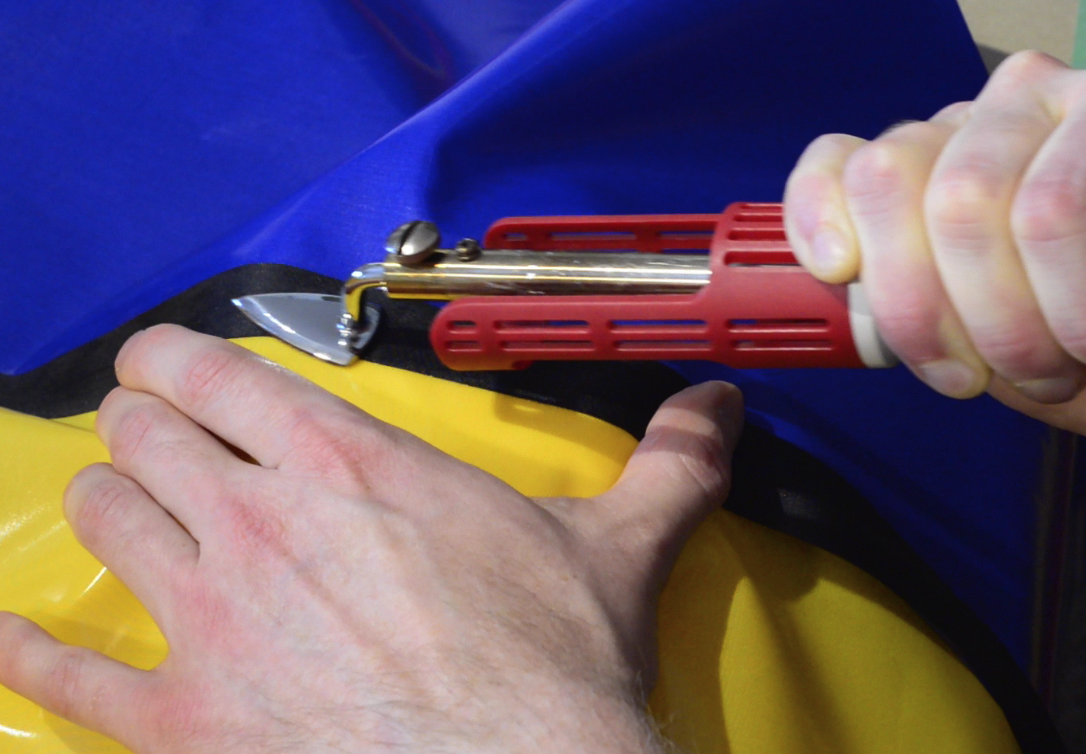
Important: as you work your way along the seam, keep the finished portion hanging as straight as possible away from you (aligned with the part you are sealing) to prevent biasing the curve towards one side of the seam. If you allow the sealed part of the seam to curl consistently to one side, the corners of the tube pieces will not line up properly when your reach the end of the seam even though the sides are the same length. Watch this video for an explanation:
Note: Some people prefer to tape the seam first before heat sealing it. This takes longer, but allows them to make sure everything is lined up correctly before a permanent seal is made, and may make possible to seal the seam on a flat surface.
When you’re nearing the end, leave the last few cm unsealed, as we will finish the end in a later step. For now, you can flip everything over and run your iron over the seam from the other side, just to make sure you’ve got a good seal.
When that’s done, you can seal the other seams following the same procedure, but leave the front and back center seams unsealed for now.
Questions? Please post a comment below.
11 Comments
Lepa · November 13, 2018 at 10:29 pm
Hello 🙂
I bought your v2 plans and pre-cut extremtextil fabrics 2nd hand from local guy that gave up on his protect when he couldn’t get even the seat to hold air. I had no problems fixing the seat nor welding tube pieces to floor.
Anyways I noticed that he had cut all pieces like 1-2mm too wide so tube pieces come a little bit over each others on corners. Will this be a problem when welding pieces together or should I try to cut out little bit and risk f**king up the shape or can I just ignore it and weld it together as it is?
Also that guy forgot to buy fabric for these strips. But he had cut extra piece of #3 which might have enough fabric to seam tubes together, but there is no way to get 110cm strips out of that piece. Can I use 2 shorter pieces instead and soak that connecting part with aquaseal? Any potentional problems for doing so?
Matt (Admin) · November 19, 2018 at 10:14 am
Hi 😀 Pieces 1-2 mm wide will not be a problem – you can overlap the start a little bit if necessary and then make them align properly (this small difference should not affect the design noticeably). Two shorter pieces should be okay on the seams. I might seal the ends together or glue a little patch of fabric on the inside of the joint to make sure it’s airtight. Cheers!
Thomas · August 7, 2017 at 6:19 pm
Hello,
im working on joining the side pieces together and am worried i have wrinkles that are going to let air out. Is there a best way to seam seal the seams on the inside before i start to close it all up?
Matt (Admin) · August 7, 2017 at 9:24 pm
Hi Thomas, you can apply Seam Grip or Aquaseal (or a similar polyurethane based adheasive) to the inside of the seams to prevent leaks. Cheers!
nick prasser · May 9, 2017 at 6:29 am
Hi,
I am wondering what are the consequences of slightly different length seams on the tube pieces and is there any tolerance for imperfection? I am trying to decide if i need to redo my seams or if i can move forward with a few seams that are about 1 cm off.
Matt (Admin) · May 9, 2017 at 7:44 am
Hi Nick – a ~1 cm overlap will be no problem; just trim off the excess so the corners line up. Cheers!
James · March 10, 2017 at 8:38 pm
I’m having a really hard time cutting nice even 2 cm strips. I’ve tried a utility knife (left a jagged edge), and exacto knife (not rigid/strong/sharp enough to cut through) and scissors (super slow). Probably just operator error on this, but am I missing something? Any tricks?
Matt (Admin) · March 11, 2017 at 8:45 am
Hi James, an x-acto knife works well for me. A utility knife should work well if the blade is new… a ragged edge suggests the blade isn’t sharp enough. With either tool, running the blade along a straight-edge helps because you can hold the fabric in place by pressing down on the ruler near the blade. You may have to go over a few spots more than once, but with the ruler in place that’s easy. The surface you’re cutting on matters too – it should be firm and smooth but not too hard or it will dull the blade. A self-healing mat is ideal, but wood or particle board works fine. If you’re finding your x-acto blade too flimsy, maybe try a stouter blade shape?
James · March 11, 2017 at 3:13 pm
yeah i tried a brand new utility knife on a smooth plywood surface, with an aluminum level as a straight edge… it just didn’t go well. i’ll keep trying tough. Thanks for the reply!
Cliff martin · May 12, 2017 at 7:45 am
Hi James . Try cutting your fabric with a rotary cutter . 12 dollars for one with about a 1 inch diameter wheel . Use a aluminum straight edge for a guide . The thickness of the aluminum straight edge will require the 1 inch diameter cutting wheel . You can resharpen the blade using one of those knife sharpeners that sell as a keychain type tool that has white crossed ceramic rods on one end and crossed carbide blades on the opposite end .. Cost about $5.00 .
I use this set up to cut latex sheeting and it is very precise . I use adhesive backed floor tiles to hold the latex sheet in place . The mild glue backing prevents the sheet from sliding around , and does not contaminate the material being cut . Should work excellent on urethane fabric .
Cliff martin · May 12, 2017 at 7:50 am
The ceramic knife sharpener works very well at sharpening the utility knife blades . 3 or 4 strokes and the blade is back to new . Saves from changing the blade when it stops cutting precisely.