A heat-sealing iron is the only specialized tool you’ll need to make a DIY Packraft. (Learn about the DIY Packraft heat-sealing technique here.)
DIY Packraft doesn’t sell irons, but I can offer some unbiased recommendations:
My favorite iron is a leather iron I purchased for $25 USD including shipping from www.aliexpress.com
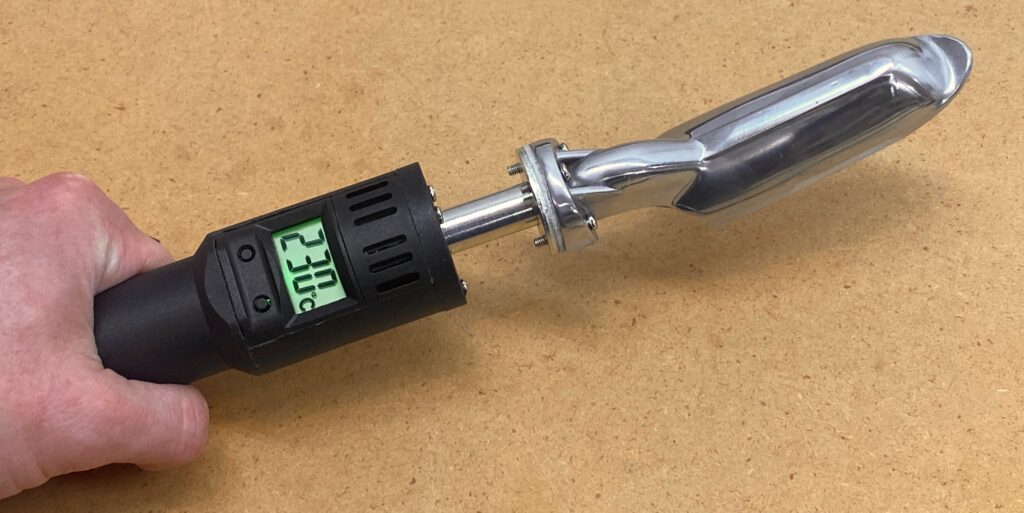
To purchase one, visit www.aliexpress.com, enter “digital leather iron” in the search bar, and then choose the 110V one that looks similar to the one pictured above.
Mine took about two weeks to arrive from China. Leather irons are often available from Amazon as well, but at higher prices.
Notes about leather irons:
- If you’re in the USA or Canada, choose an iron that is advertised for 110 V electricity so it will come with the correct plug. If you live elsewhere, choose the appropriate voltage.
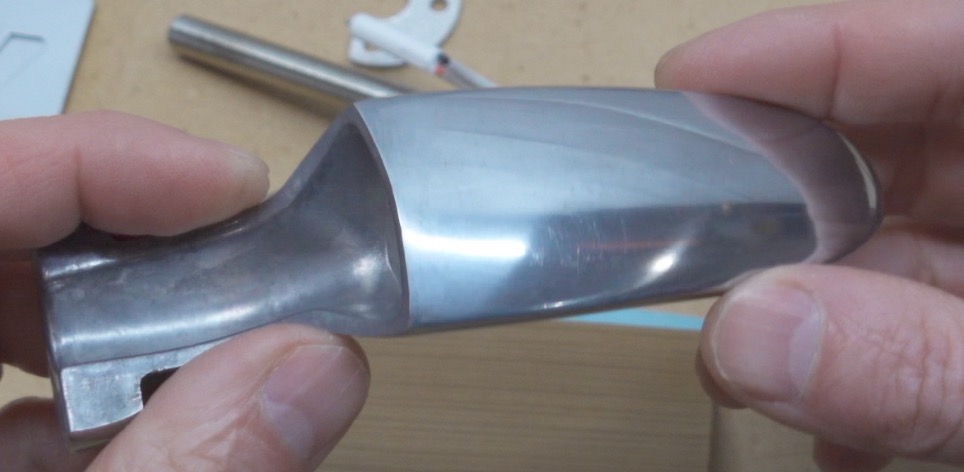
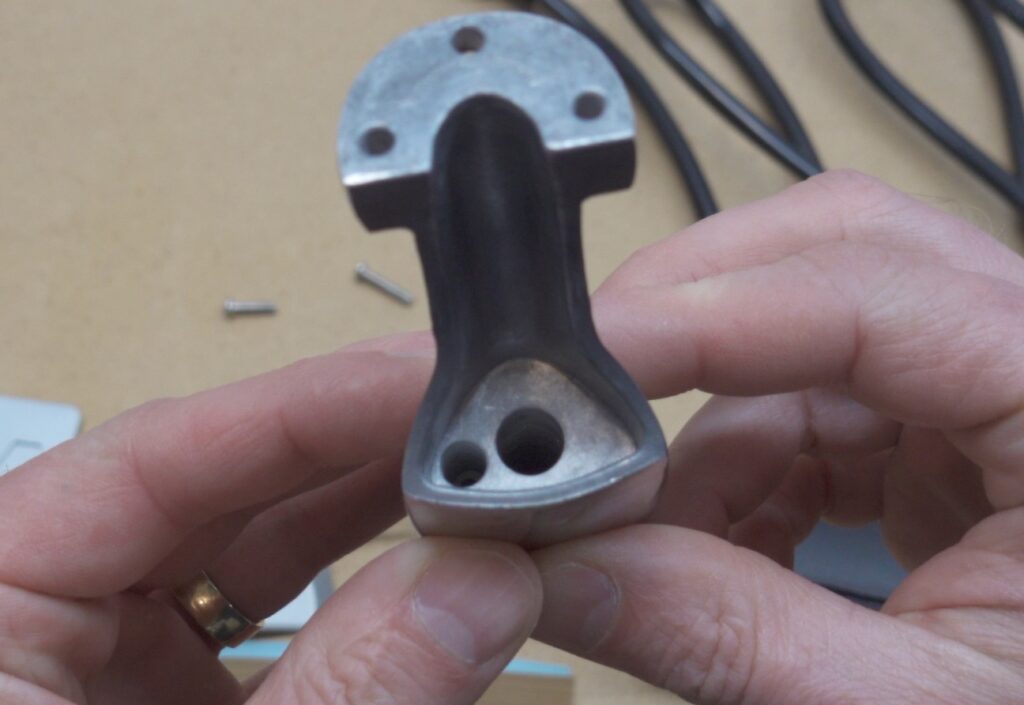
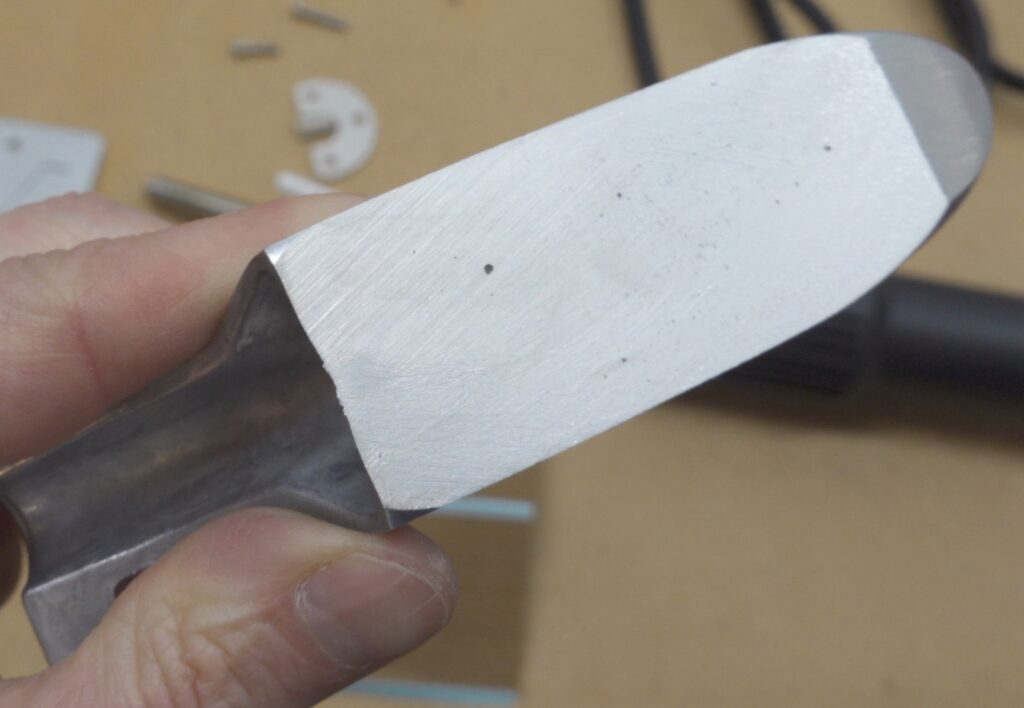
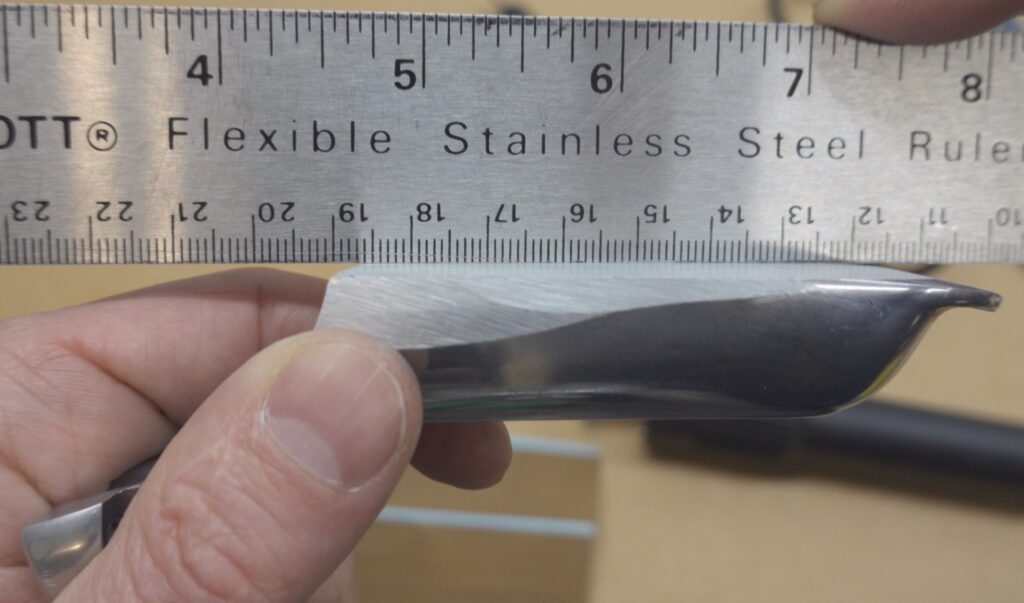
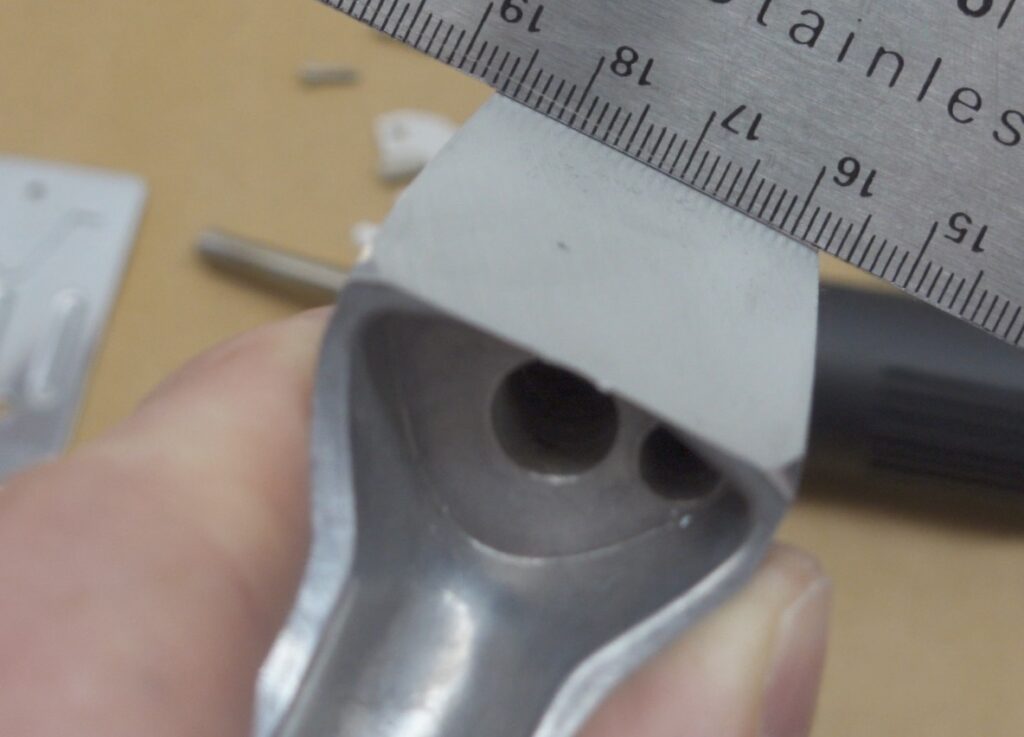
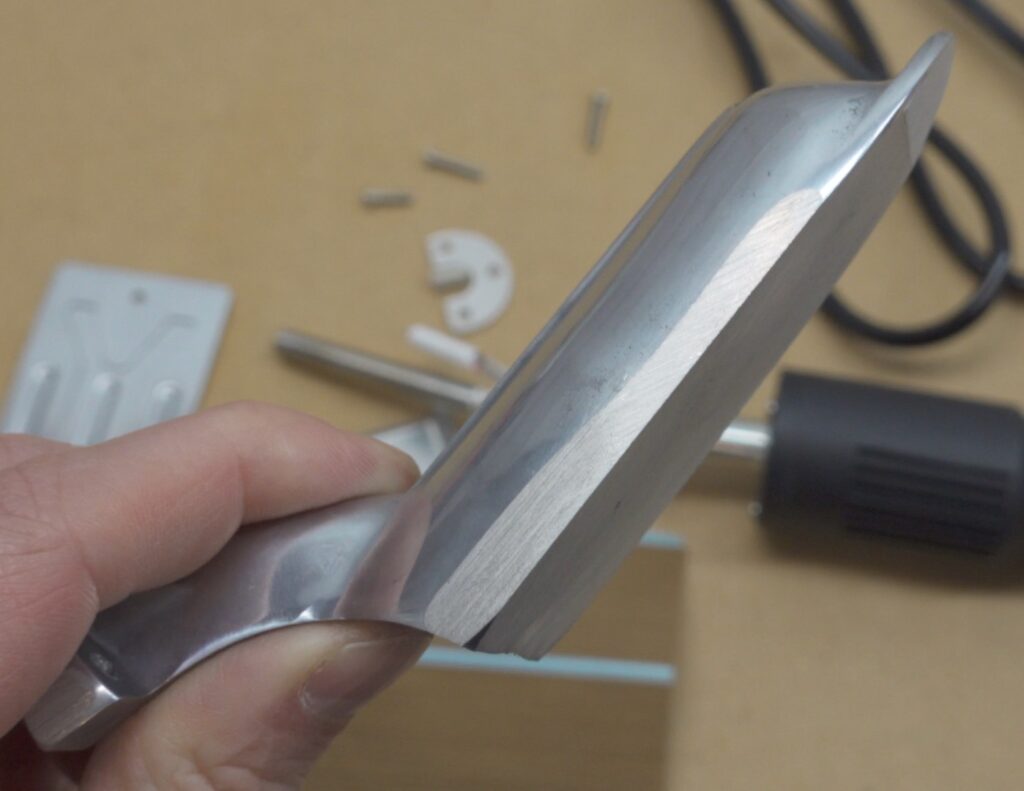
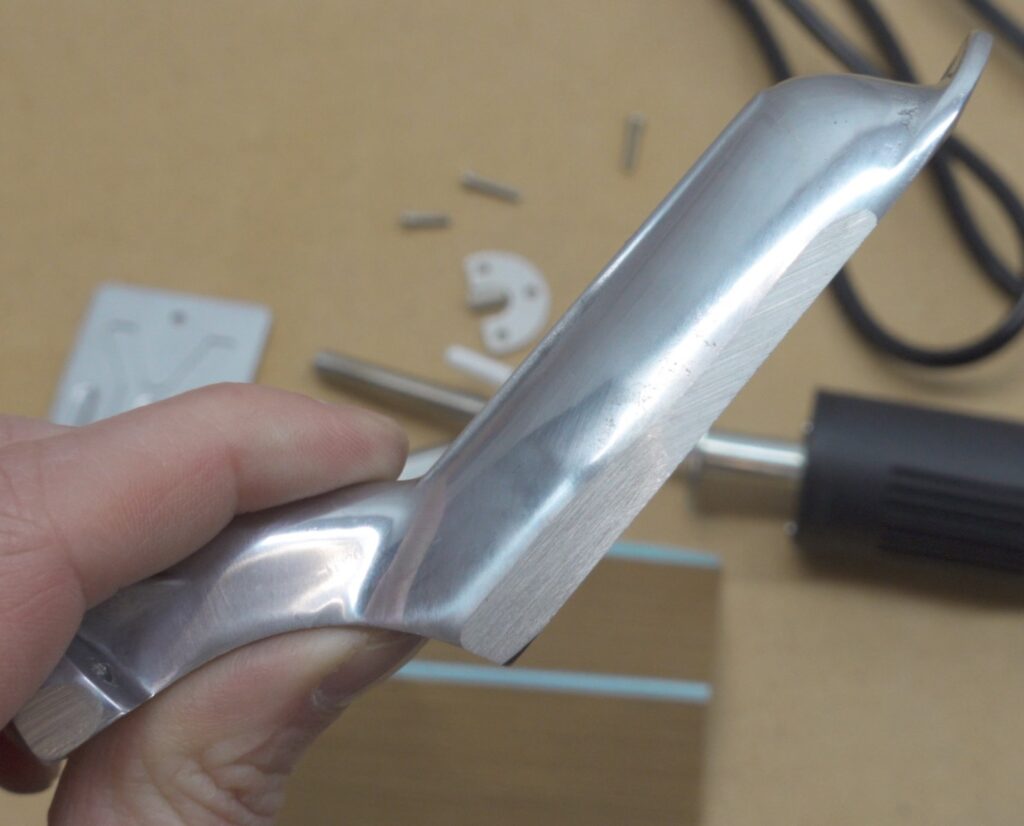
- The leather irons are slightly rounded on the bottom, and for heat sealing fabric we need them to be flat, so you will have to file or sand yours flat. A belt sander works well, but a metal file or sandpaper works too.
- The digital leather iron has a more rounded foot than the analog version with the round temperature selection dial, so it requires more sanding. An electric sander such as a belt sander is recommended.
- Choose the analog version if you don’t have access to an electric sander.
- Even irons designed for 220 volt electricity work fine in North America if you use a travel adapter. A simple plug adapter works – it doesn’t have to include a voltage converter.
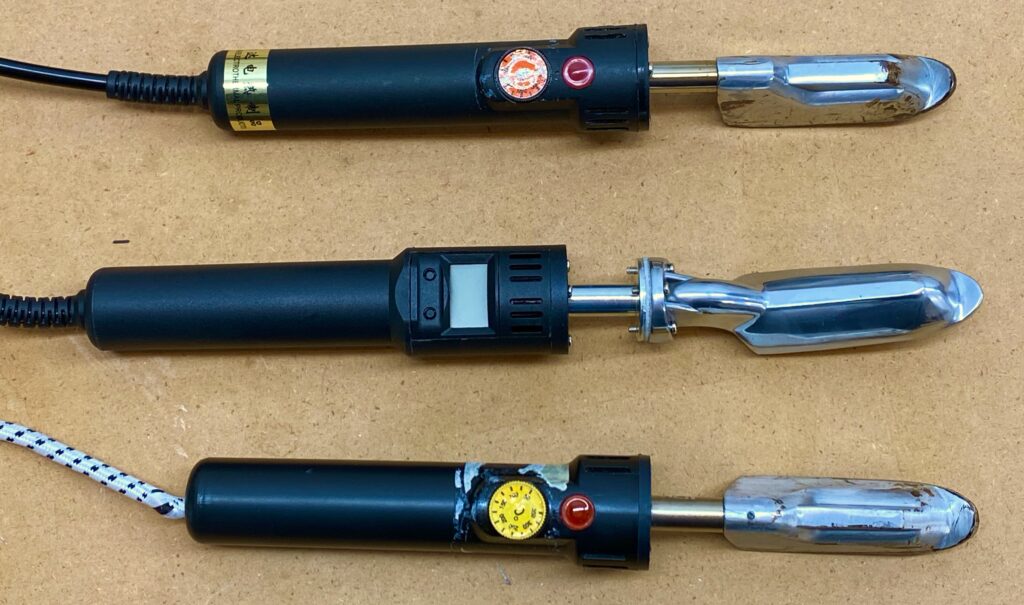
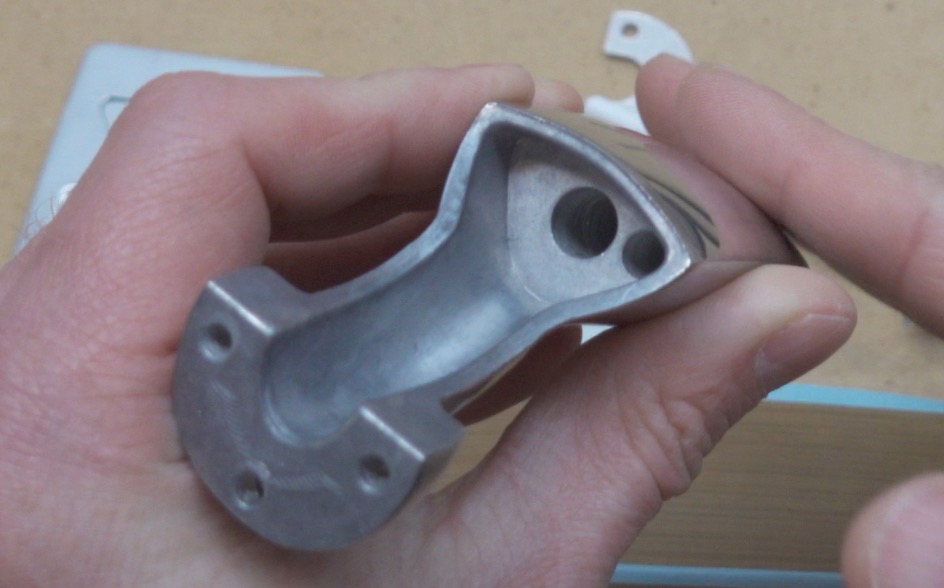
The photos below show the digital leather iron’s rounded foot and how I sanded mine flat (see the video above). You don’t need to disassemble the iron to do this.
Other things you’ll use when constructing a packraft:
- Sharp scissors or fabric shears
- A permanent marker (silver Sharpie works well on dark fabric)
- Parchment paper (a.k.a. “baking paper” used as a non-stick surface for baking, available in your local grocery store). I’ve included some parchment paper in your packraft kit, but you may want more. Biodegradable parchment paper also works.
- Paperweight-type items, such as books, to keep your fabric from sliding around
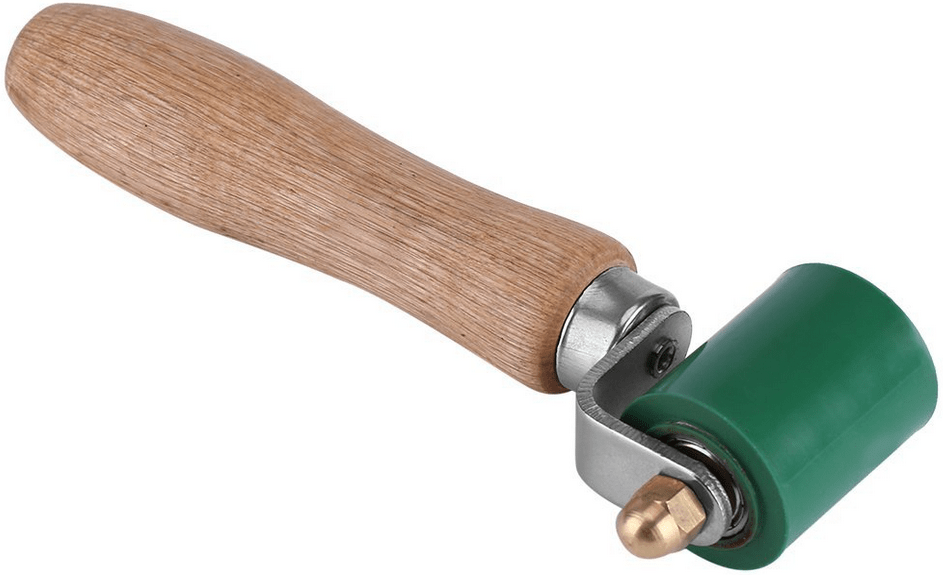
- A clean rag or glove for pressing on the seams as they cool – or a silicone roller is even better:
- Masking tape for holding things in place
- A fairly large work surface in an area with good lighting. You don’t need a workshop or garage – I built my first three prototypes on my dining room table
- Pieces of wood, cardboard, or some other smooth, flat, heat-resistant material to protect your dining room table from burns…
- You should probably wear some kind of heat-resistant glove on the hand you use to hold the fabric (I have burned myself several times because I don’t always follow my own advice)
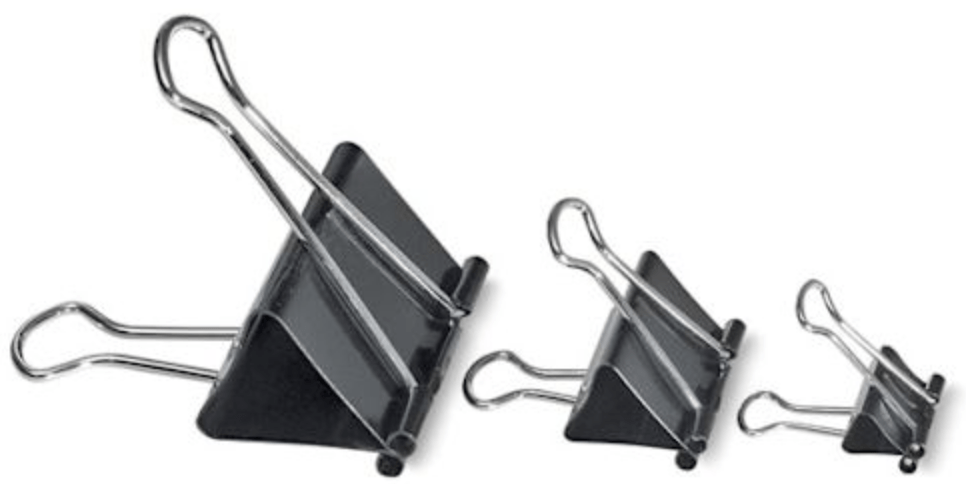
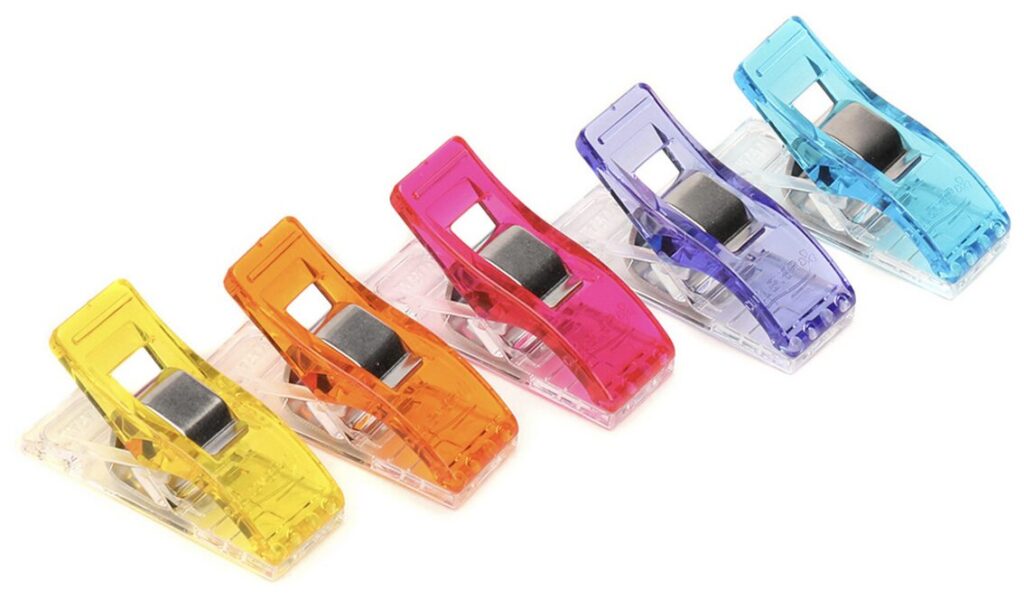
- Several paper clips, binder clips, Wonder Clips, or small spring clamps to keep fabric out of the way while you’re working.
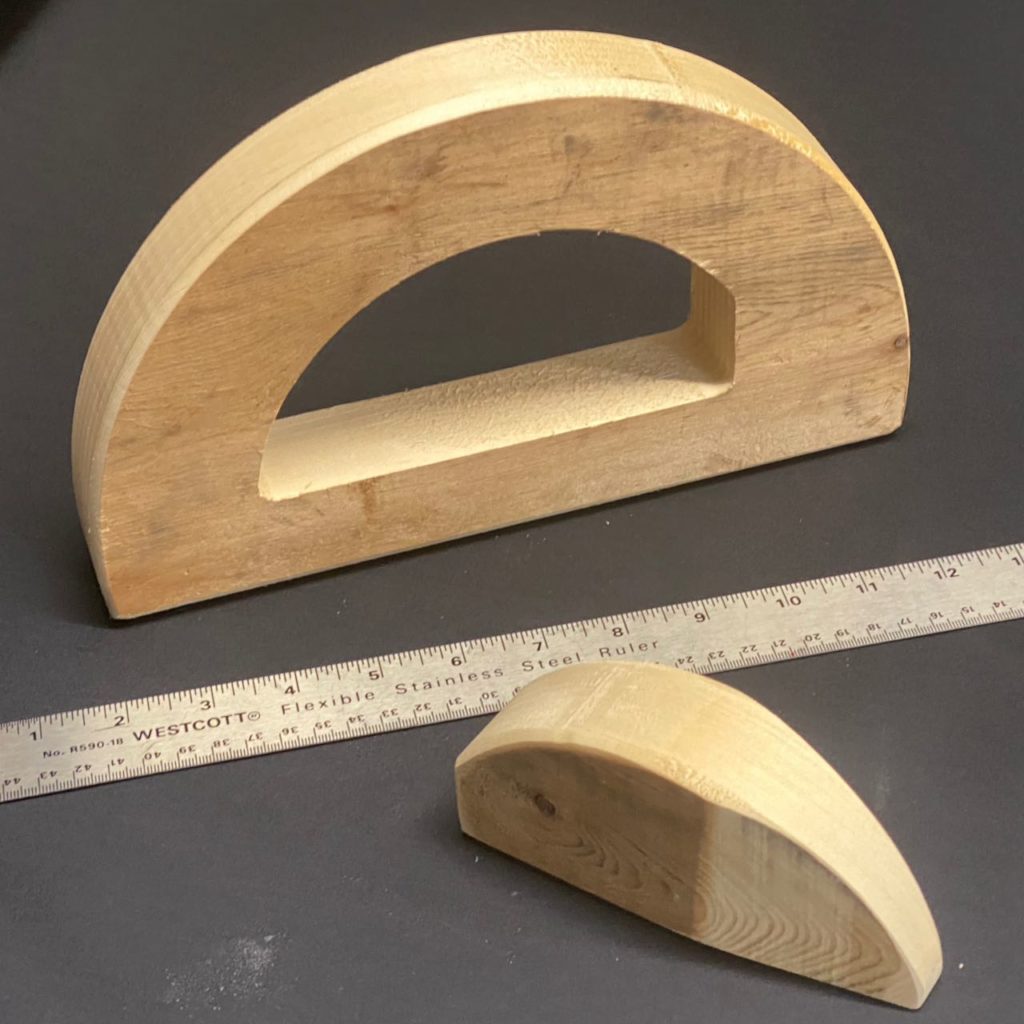
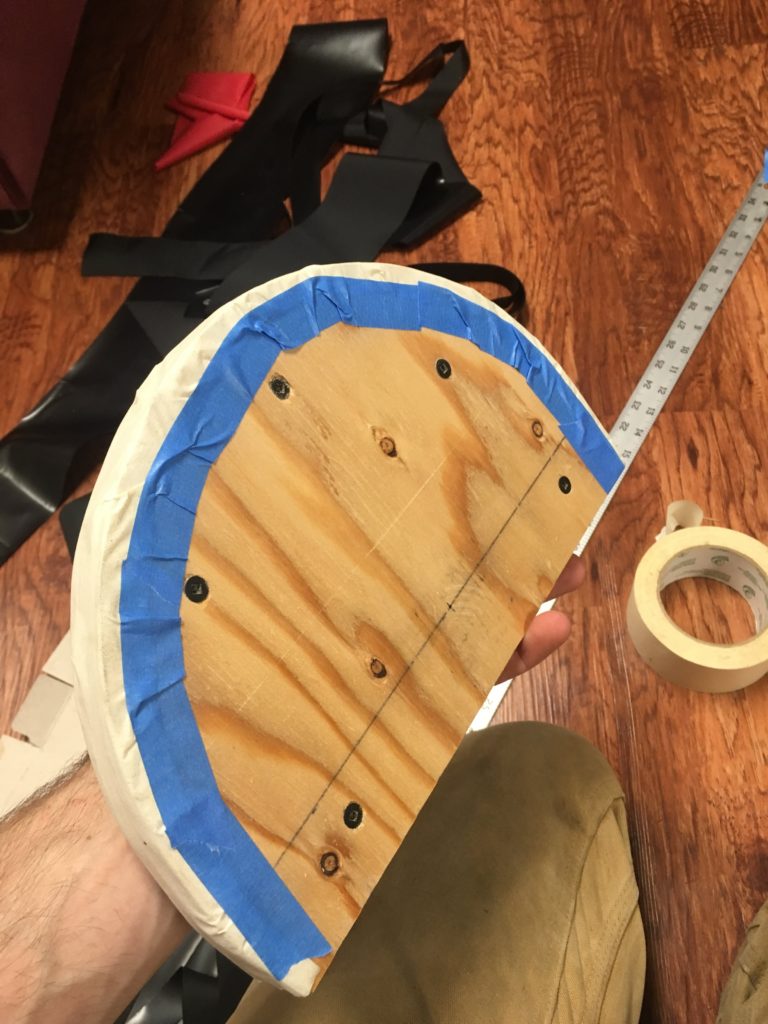
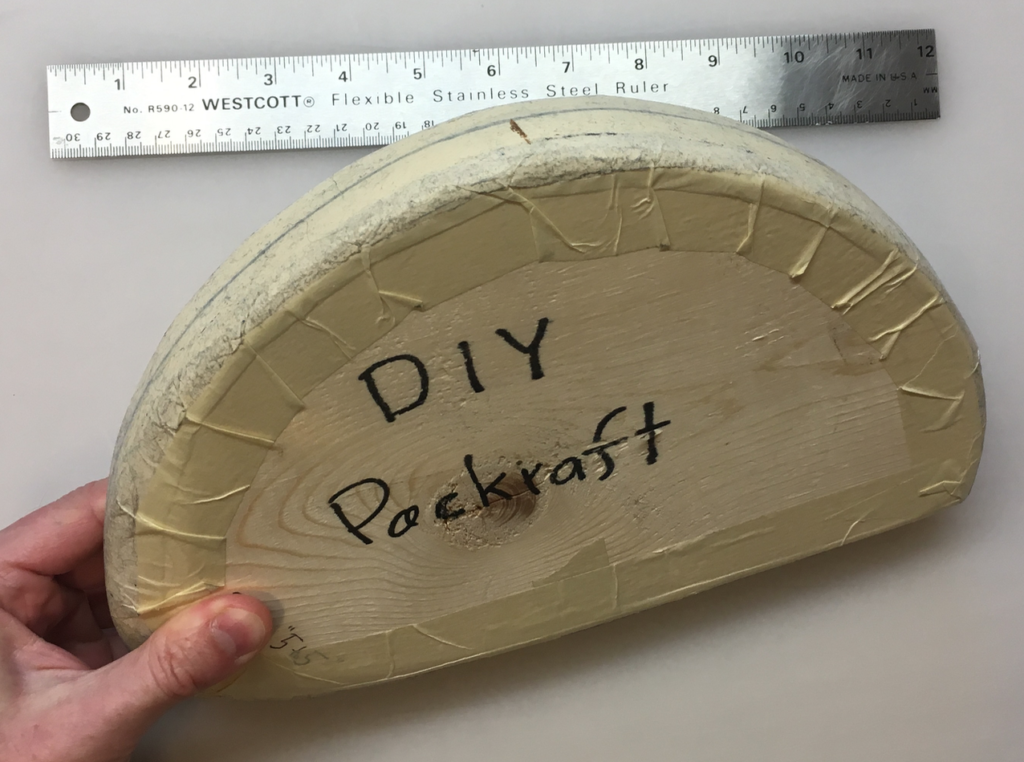
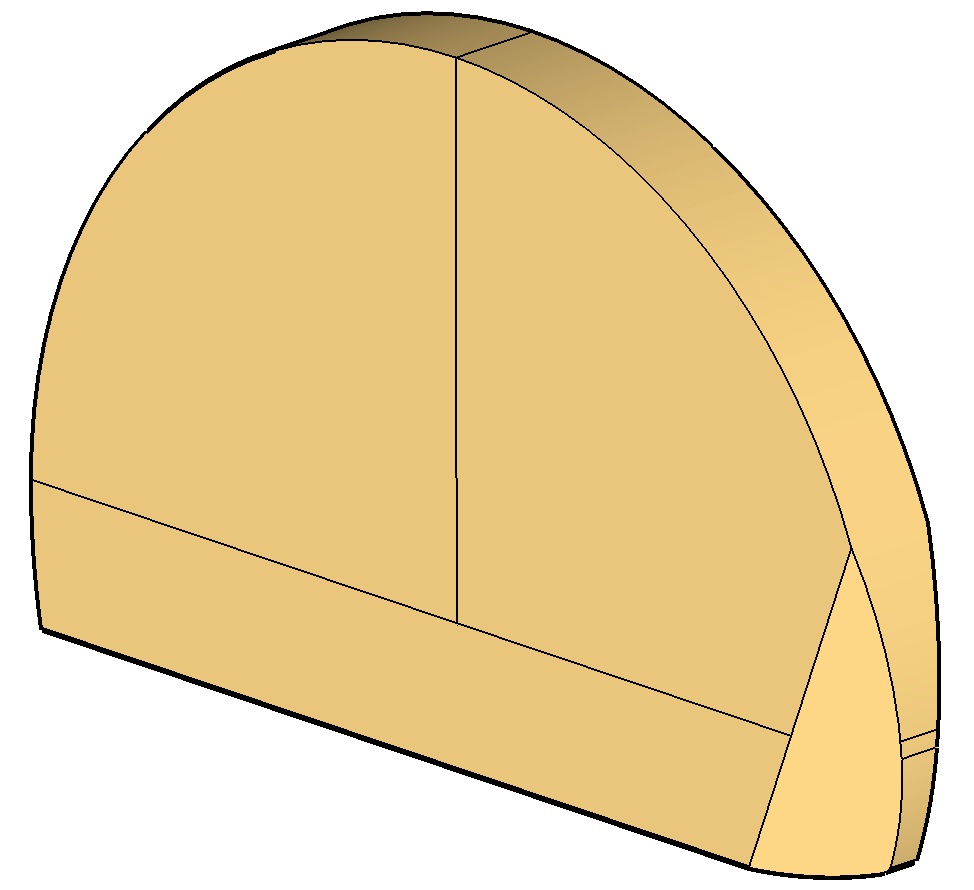
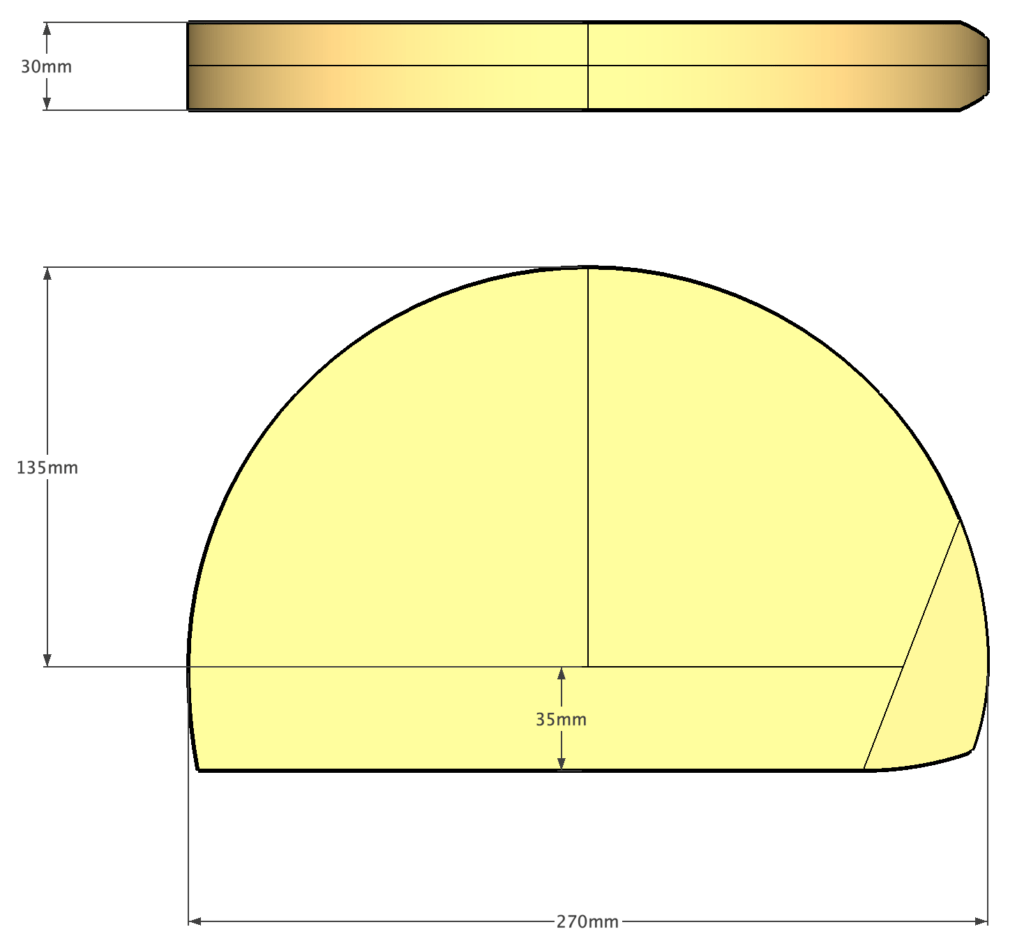
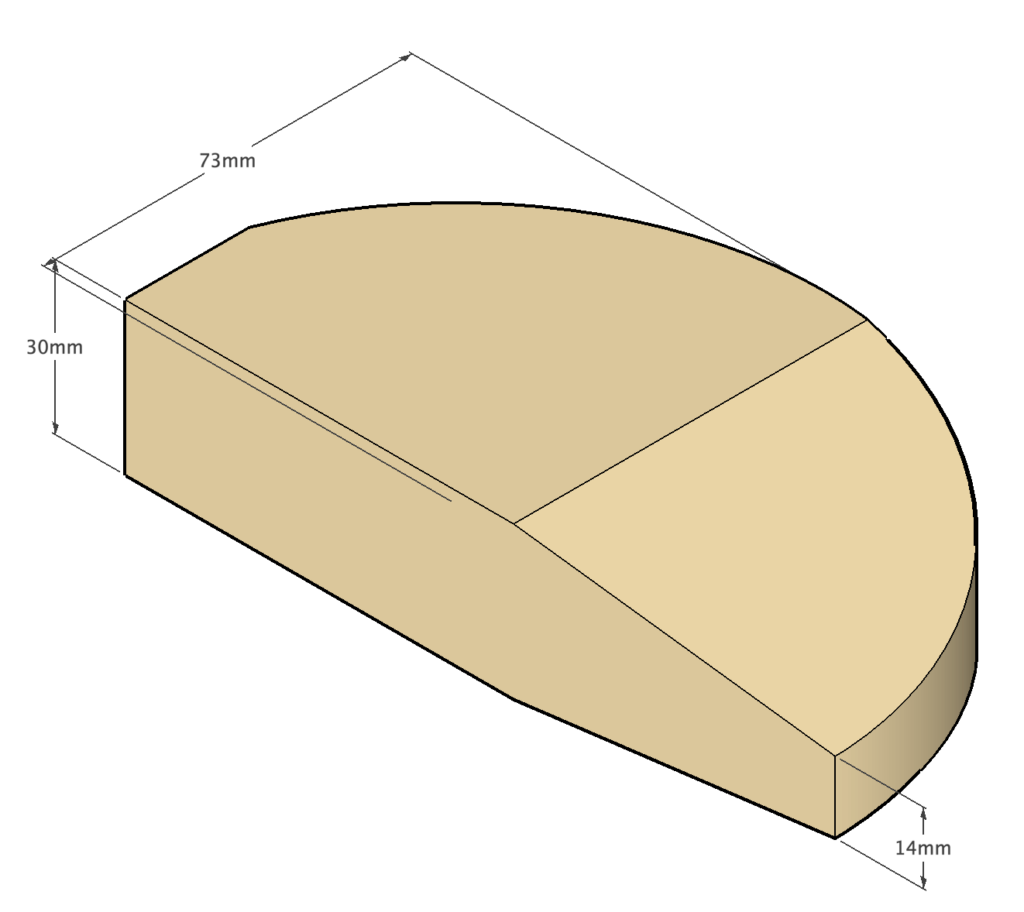
- For sealing curved seams (see the Heat Sealing video), you’ll need a ceramic or wooden bowl with no sharp lip around the bottom, or a purpose-built wooden form like the ones shown below. Maximum diameter ~25 cm (10″)
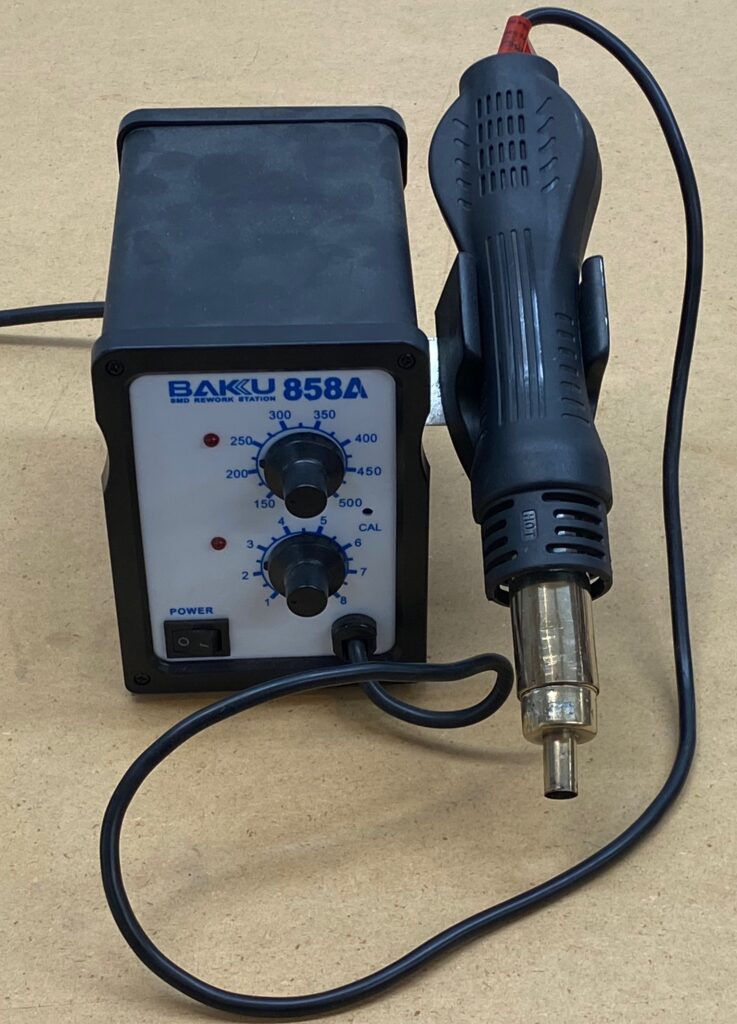
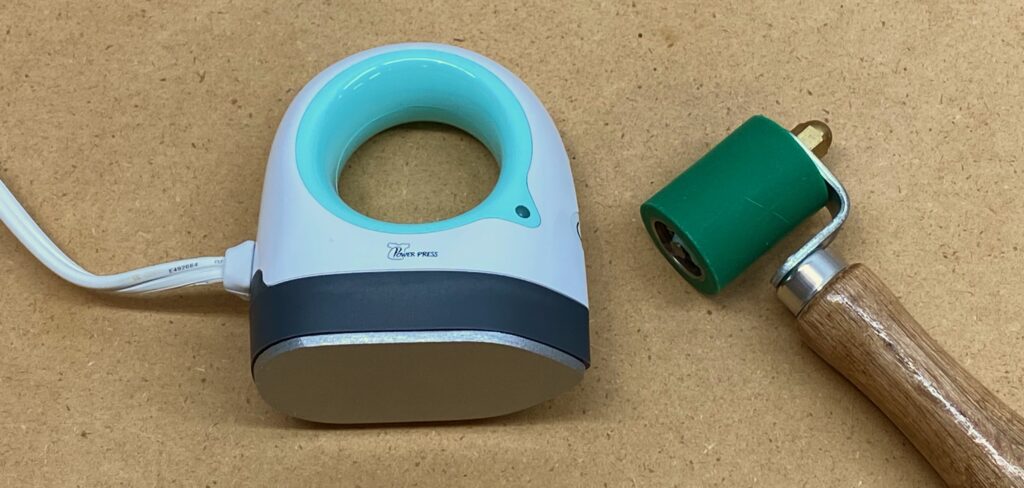
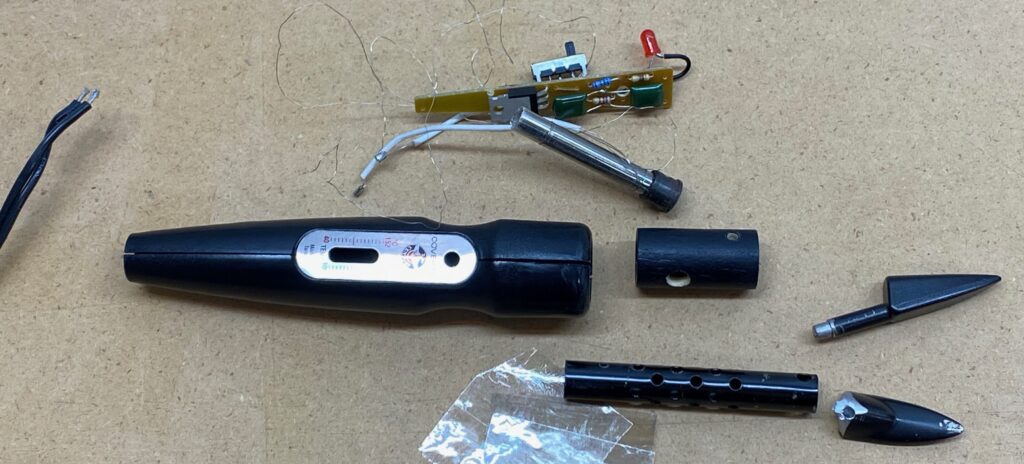
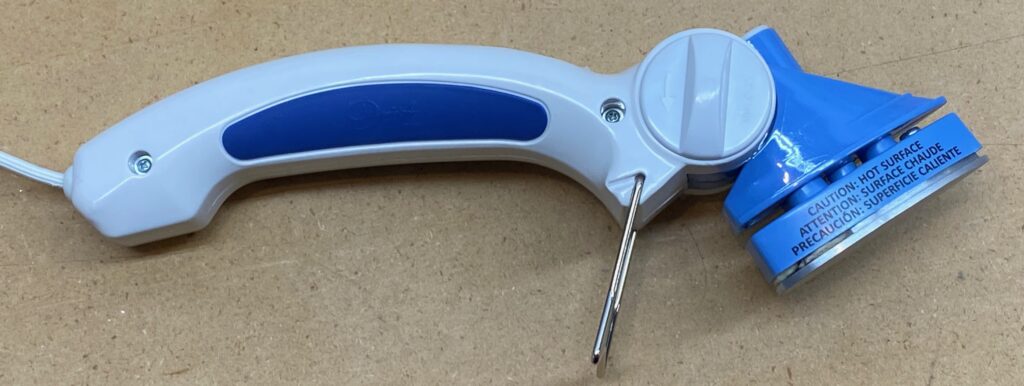
Other Irons that are NOT Recommended:
Over the years I’ve tried several different methods of heat sealing, mostly with various irons, and unfortunately most are unsuitable for packraft making. To avoid making the same mistakes as me, check out the tools I do not recommend:
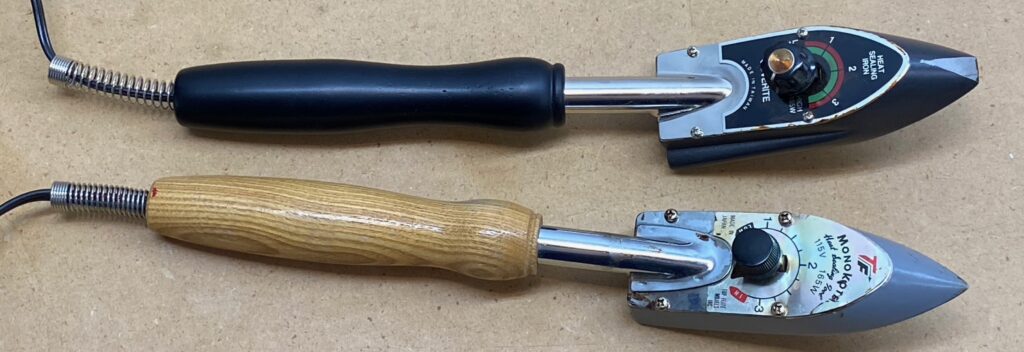



Irons tried by customers that do not work*:
- Jamara Pro Star – poorly constructed, short circuited
- Pichler Profi Star – poorly constructed, short circuited
- Jamara Pro Decal – not hot enough
*Thanks to Stefan D. for sharing this info!
34 Comments
oldcanuck · December 27, 2024 at 3:32 pm
Matt, and anyone else who wishes they had a better iron, what are some of the features you’d improve if you could have an iron specifically for DIYPackraft builds?
The ergonomics of the leather iron handles seem so primitive, especially since repetitve, prolonged pressure needs to be applied for proper TPU adhesion. I haven’t read anywhere that a single iron can be used, right out of the box, without modification.
Are there interchangeable options that would help sealing straight seams vs curved seams vs flat seams vs edges vs attachment points, etc? Think handle shape and orientation, foot size and shapes, etc.
Matt, you mentioned that you liked the Dritz Petite Press, other than its heat output. What features did you like?
oldcanuck
Matt (Admin) · December 28, 2024 at 5:16 pm
Hi, I liked that the Dritz iron had an articulating head so you can press straight down or at an angle, and also that it had a built-in stand so you can set it down without burning anything. If I was designing a heat sealing iron, it would be something like that but with a somewhat larger foot, more precise temperature control (like the digital leather iron), and a much hotter maximum temperature.
A long rectangular foot would be useful on the longer flat seams, too, with a handle more like a traditional iron so you can press straight down on it instead of using your wrist muscles.
A model airplane iron can be used straight out of the box, but it is a bit too wide to be used without taking extra care not to touch the exposed TPU.
oldcanuck · December 30, 2024 at 5:13 pm
Thanks Matt. That’s good info to consider as I will try to build my own heat sealing iron. There will be a little twist to the design … but first step is to order a couple of kits!
oldcanuck
Matt (Admin) · December 31, 2024 at 1:23 pm
Cool! Please let me know how it goes!
Carver · December 31, 2021 at 10:47 am
Do you prefer the analog temperature gauge or a digital one on the YJINGRUI on Amazon? Thanks.
Matt (Admin) · December 31, 2021 at 10:57 am
I would choose whichever one is cheaper – you can’t trust the gauge either way, and once you’ve found the right temperature by trial and error you almost never have to change it, so the type of gauge doesn’t really matter.
Steve Millar · November 22, 2021 at 11:29 am
Just received my iron from
Ali express (took about 3 weeks) and they even included a NA adapter in the package, unasked for. Ready now to embark on my Skeena construction.
Deborah · September 18, 2020 at 3:38 pm
Do you have any reports yet of the newest Amazon special?
https://www.amazon.com/gp/product/B07B3TV2XB/ref=ox_sc_act_title_1?smid=A2ERURQ2JAPKRV&psc=1
It looks like it has a flat head (no need for shaving it down), but I’m leery because it only has two temperature settings. Looks like the first one is 150-180degrees C, which I’m expecting won’t be hot enough, and the second one is 240-285degrees C, which I’m expecting might be too hot. Also plugs into a standard North American outlet, as an added bonus.
Anchorage, AK
Matt (Admin) · September 18, 2020 at 3:42 pm
Nope, and they won’t ship it here so I can’t try it, but if you do, please tell us how it goes. Thanks!
Meg · January 17, 2021 at 2:41 pm
Hi Deborah (and Matt), I gave this one a try and can confirm – the low setting is not hot enough (TPU doesn’t bond), and the high setting is too hot (fabric melts). I have the ultralight kit, so can’t confirm if the same problem would occur with the regular fabric, but I would assume so. My advice is to skip this one and definitely get something fully adjustable rather than with one or two preset temps.
sldrose · October 17, 2019 at 7:00 pm
Is the Aliexpress “leather iron” still the preferred iron?
Also, im in Australia which is 240v, can anyone advise whether this iron works well enough in Australia or anywhere else that is 240v?
Its only taken over a year and i still havent started building.
thanks
Matt (Admin) · October 21, 2019 at 9:45 am
Yep, this is still my preferred iron. I can’t guarantee it will work in Australia, but I think it will – maybe start with it at half power and adjust the temperature up or down from there as necessary.
Pirate323i · October 29, 2019 at 5:22 pm
I’ve started my packraft, and can confirm the Aliexpress “leather iron” works on 240V (I’m across the ditch in NZ) I have it set at ~170°C
Matt (Admin) · October 30, 2019 at 8:54 am
Excellent – thanks for telling us!
Jeremyc1999 · October 5, 2019 at 9:06 am
Have you tried a plug adapter for the leather iron? I was thinking something like this: https://www.amazon.com/ROAD-WARRIOR-Travel-Plug-Adapter/dp/B079ND2M6R/ref=sr_1_20?keywords=american+plug+adapter&qid=1570291454&sr=8-20
Matt (Admin) · October 5, 2019 at 9:48 am
Good idea! I couldn’t find one that cheap so I haven’t tried it, but there’s no reason why it shouldn’t work.
Ivan · June 21, 2019 at 5:19 am
Hi matt,
please help me, I’m looking like 2h straight and can’t find any info which type of temperature controller this aliexpress.com leather iron use. Now, in your last post I see that you mention thermostat and the potentiometer.
So, is this closed loop regulation, it has temp sensor and adjust accordingly?
I see that it has two rods that are going out from handle, one have clearly wires but don’t know does second one are also hollow and what it’s in it.
Anyway, can you confirm 100% that this have closed loop type temperature regulation and not only dimmer like system.
Thanks a lot, Ivan
(sorry for my englisch)
Matt (Admin) · June 21, 2019 at 8:21 am
Hi Ivan, I can’t see which iron you were looking at, so I can’t confirm that it has the type of temperature regulation you want, but as long as it has the ability to adjust the temperature it should work for heat sealing. The ones I purchased have a thermocouple, but even a dimmer should work fine. Cheers!
Nick G · June 1, 2019 at 2:01 pm
Hi Matt,
I’ve been working with the aliexpress.com leather iron that you recommend and mine doesn’t seem to be getting hot enough. I even tried the tin foil wrap trick. Any reports of this happening to others? Any suggestions, or should I just try a black baron instead?
Nick G.
Juneau, AK
Matt (Admin) · June 4, 2019 at 8:57 am
Hi Nick, I haven’t experienced this, but I’ll open up my iron to see if there’s a way to adjust the thermostat’s set point independent of the potentiometer. In the meantime, check to make sure all the connections are secure and there’s lots of wire in contact with the plug prongs.
Oskar · September 21, 2018 at 12:09 am
Whats wrong with the non NA version of the Clover Mini Iron II?
Matt (Admin) · September 21, 2018 at 9:05 am
Some people have reported that it does not get hot enough.
Frank · December 14, 2016 at 9:27 am
Hi Matt,
As promised my 2cts about that iron sold by a Polish shop.
I gave it a bit of testing this afternoon and my opinion would be to stay clear from it:
I first tried the setting that was meant to give me the right temperature with no luck so I gradually increased.
Ended at the max setting, with one hour of preheating and still it kind of bonded but would not get the proper fusion of both TPU layers (they’d still come appart each on its original fabric when I rip it appart)
Fair enough it’s pretty cold in my workshop at the moment but still.
And after only about 15cm of sealing tests the so called teflon treatment on the tip starts to show some wear and lets the aluminium thru.
What I ended doing was adapt the tip on a 40w soldering iron I had around and it worked a treat, perfect strong bond like you get in your fabric testing video, no melted nylon, all good.
For those looking for a solution in Europe when searching I came across models made by Antex (which I’ve seen my father using soldering irons from for the past 30 years) for quilting that might be a better option than what I bought.
I hope this helps.
Cheers
Frank
Matt (Admin) · December 14, 2016 at 4:33 pm
Hi Frank! I was going to order one and give it a try myself, so thanks for saving me the trouble. The Antex quilting iron looks like it might be a good option, and possibly cheaper than the Clover in Europe. I will see if it’s available here and if so I will try one.
Thanks again!
maximumplaid · October 28, 2016 at 1:27 am
Hi Matt,
I stumpeled upon this heat sealing iron which I now believe will fit the purpose for packraft building, unmodified in terms of size and temperature range. I ordered one all the way from Poland, I live in Denmark and it was EUR 11,90
(http://www.modele.sklep.pl/en/Katalog/NARZEDZIA-I-PRZYRZADY/Zelazka-i-suszarki-do-folii/Q-MODEL-606-1-ZELAZKO-TRIM.html)
but there many retailers out there, so I through I would give it a shot. When I got the iron there were temperature settings on the box as stated below, however not if it was given in celsius or fahrenheit.
The temperature range if compaired to Coverite trim sealing iron, seems to be very close provided the temperature measurements on my trim iron are given in fahrenheit. I was dissapointed and also ordered a soldering iron, so that I could do the recommended modifications.
(https://www.amazon.de/dp/B01HYUR7SG/ref=pe_386171_51767411_TE_dp_1)
However when I orderes the trim iron I also approached the Taiwan manufacture Ming Yang via Taiwan trade approx. two weeks ago and I got an answer from them today that the temperature range is indeed in celsius.
Hence I believe this would work, have not tried it on facric yet as, it is in the mail. Below see some photos of the iron and the well short but still reply from Ming Yang in Taiwan.
It has four temperature settings :
HI: to etched line 270 °C (518°F)
HI: to set pin 318 °C (604.4 °F)
Low: to etched line 186 °C (366.8 °F)
Low: to set pin 215 °C (419°F)
https://goo.gl/photos/mZ4sAKitKUrkhpwS6
Best regards
Christoffer
Matt (Admin) · October 28, 2016 at 7:50 am
Hi Christoffer,
Thanks for the tip! Please tell us if it works!
Christoffer Dyre · November 1, 2016 at 2:58 am
Hi Matt,
Received your material I ordered today, thanks.
Made a small test with my Ming yang 606 sealing iron.
Small video on this link, I used the high setting but did not give it time to heat up and it worked, 5 min after it was warmer and I believe this is the amount of seal that is required. Not sure because it is my first attempt with your fabric, however for me it looks promising and I think I can recommend the product instead of doing modification with soldering iron.
https://goo.gl/photos/mZ4sAKitKUrkhpwS6
Looking forward to build a packraft.
Best regards
Christoffer
Matt (Admin) · November 1, 2016 at 10:22 am
Thanks, Christoffer – that is great news! I will try one too.
Craig · July 9, 2016 at 7:41 am
Matt,
I have been experimenting with bonding the fabric I bought before making my packraft. (200d Oxford TPU one side). I have had no luck with a small (seal rite) trim sealing iron or soldering iron with the seal rite iron tips. Neither irons seemed to get hot enough. I was successful bonding practice pieces with a full size regular iron, which I know is too big.
Can you post your latest soldering iron/copper tubing mod soon so I can try that?
Thanks, Craig
Matt (Admin) · July 9, 2016 at 9:30 am
Hi Craig,
I’m surprised your soldering iron isn’t getting the tip hot enough to work… maybe there is not enough contact area between the soldering iron and the tip for sufficient heat to flow into the tip?
I have just posted a quick overview of how I made my new iron – it’s on the blog and also under the How To menu.
Cheers,
Matt
Ben · July 7, 2016 at 7:47 am
Hi Matt. What wattage would you recommend in regards to soldering irons? I noticed on a previous post you said you were using a 25 watt iron, but the one you’ve linked in this description goes up to 60 watts…Was 25 inadequate? Also, why have you switched from the trim sealing iron tips to a crimped piece of copper tubing? Were they also not performing? Cheers.
Matt (Admin) · July 7, 2016 at 8:05 am
Hi Ben,
The 25 Watt iron was hot enough – even too hot at times – but the temperature on that one was not adjustable. The trim sealing iron tip worked very well but I haven’t found a supplier for those tips that doesn’t charge a ridiculous amount for shipping and I wanted to design an iron that would be cheaper and easier for other people to replicate. The 60 Watt adjustable iron + copper tubing is not perfect, but I can fine-tune the temperature and I chose that iron because it’s readily available and has good reviews online. If you have purchased a different iron and have trim sealing iron tips, I think you will have no trouble. I was disappointed that my Century 21 trim sealing iron would not get hot enough, so I can’t recommend it, but I may have just received a bad one (though it still wasn’t hot enough when I modified the circuit inside to increase the power).
Cheers,
Matt
Ryan · April 28, 2016 at 12:06 pm
What are you thoughts on a hot air plastic welder?
1600w Handheld Hot Air Plastic Welder Gun PVC Welding GUN Plastic Welder Similar to Leister Hot Air Gun
Matt (Admin) · April 28, 2016 at 8:02 pm
I haven’t used a hot air welder before, but I’ve seen videos of people using them and it looks like it could work well, especially for fabrics without a heat sealable backing because the plastic coating appears to get hot enough to fuse to another piece of fabric when it’s put under pressure.
Some caveats are that it would be more difficult to heat up only the part of the fabric you want welded, so it might not work on fabrics with an actual heat sealable backing (because it might stick where you don’t want it to). Also, 1600 watts is a lot of heat output, so you would need to use it in a large or well ventilated area if you were using it for any length of time…
Where I’ve seen these used it’s been either in joining two straight edges that are laid out on a flat surface, or where one or two people are working together to feed the fabric into a machine that has the heat gun mounted so it shoots hot air over the fabric right before it gets pressed between two rollers (you have to apply pressure to get the weld to form properly). The problem is that if you’re joining curved edges that won’t lie flat, you need more than two hands to hold the two pieces of fabric plus the heat gun, plus the roller to press them together – definitely a two person job if the heat gun and rollers aren’t mounted in place and controllable with foot pedals.
I’ve actually been thinking about trying to rig up something like this: http://www.jpwinc.com/pages/images/compdogretroends3em.JPG which is what I’ve just described, but that’s a bit beyond the scope of what I’m doing at this point. I just posted a video (https://youtu.be/xqvCLiK5_DE) that shows how I use the sealing iron to join straight edges, and I’ll be posting a video soon showing how I join curved edges (you’ll see then why it’s harder to do).
Thanks for the suggestion and for reminding me of this – if I ever start making packrafts commercially, I’ll definitely consider investing the time and/or money into getting a hot air welder. In the meantime, if you give the heat gun a try, please let me know how it goes!